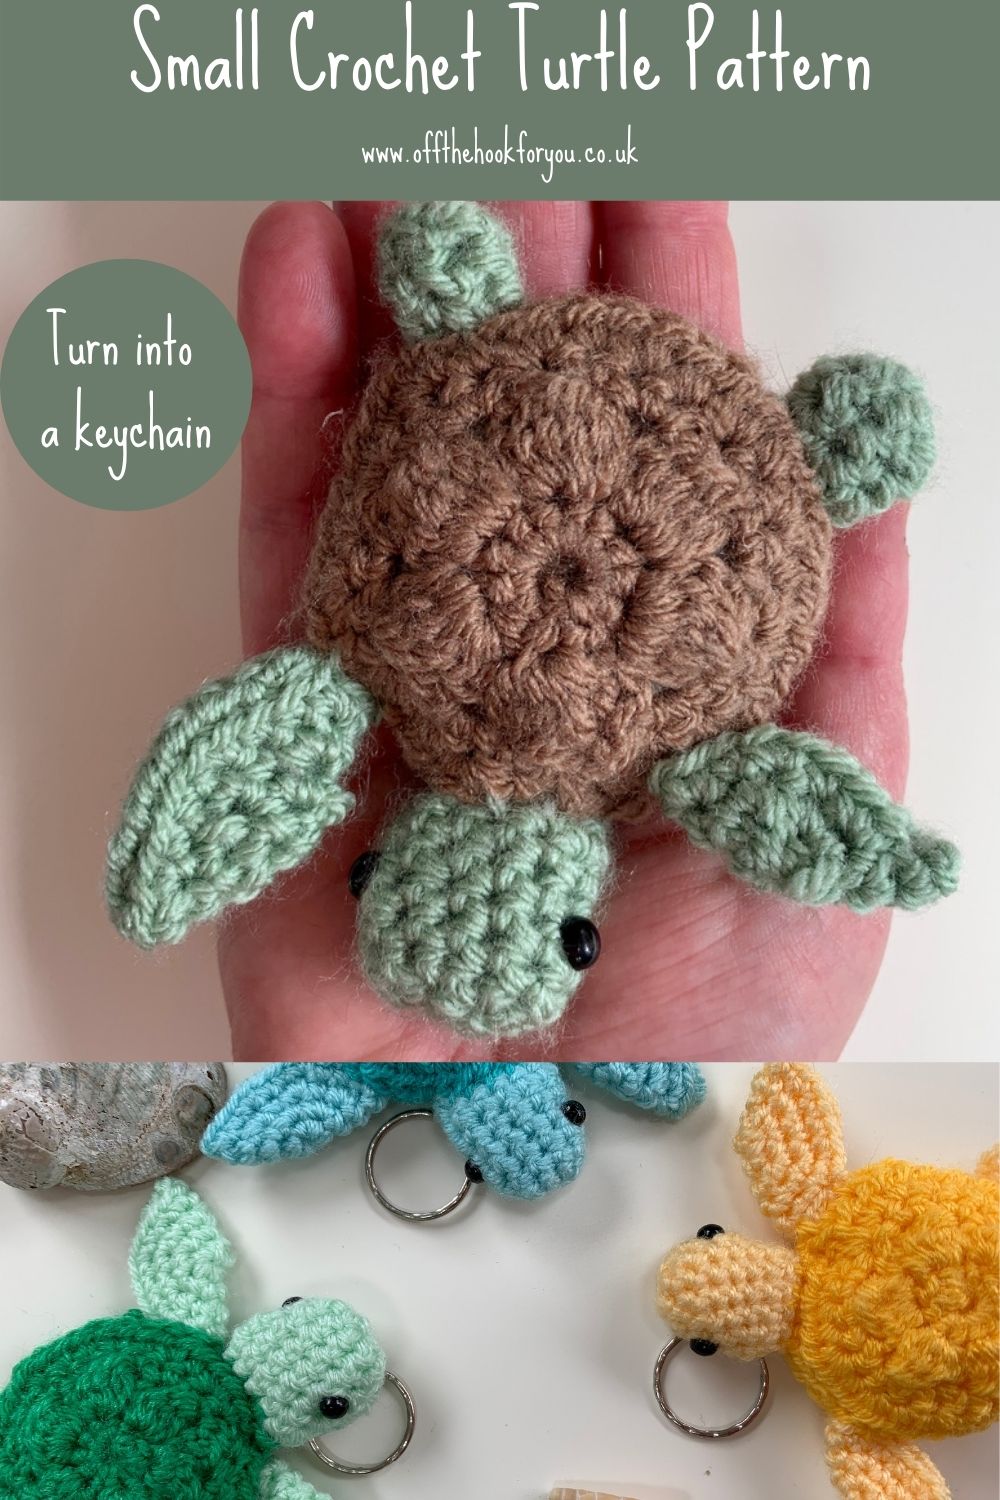
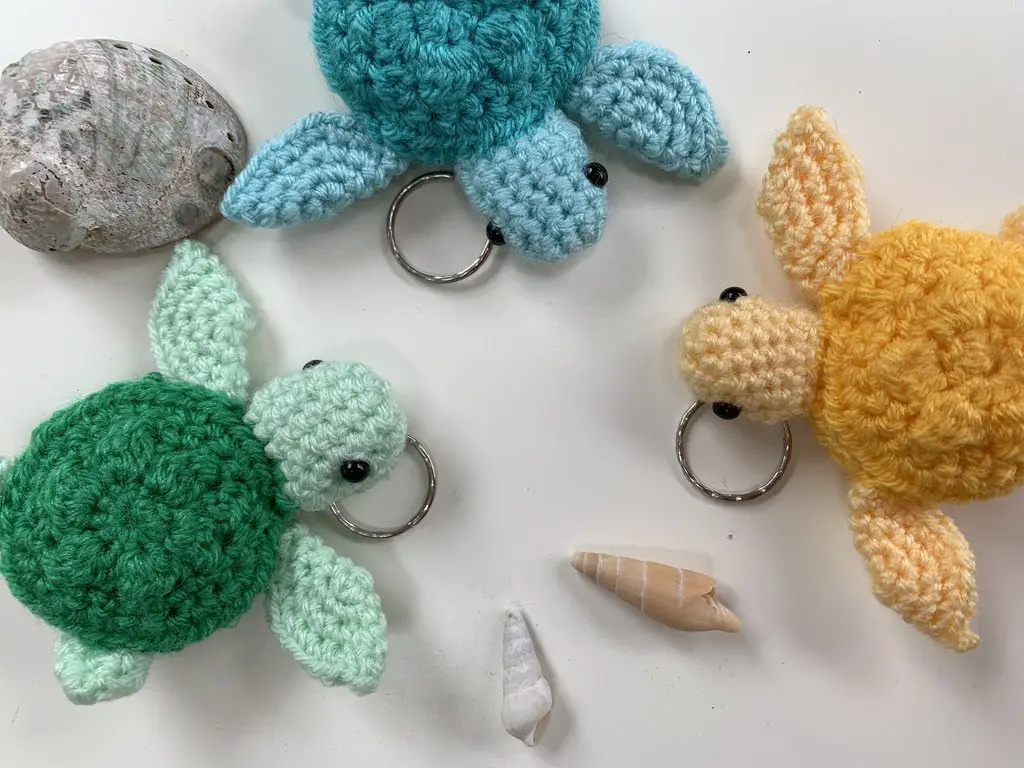
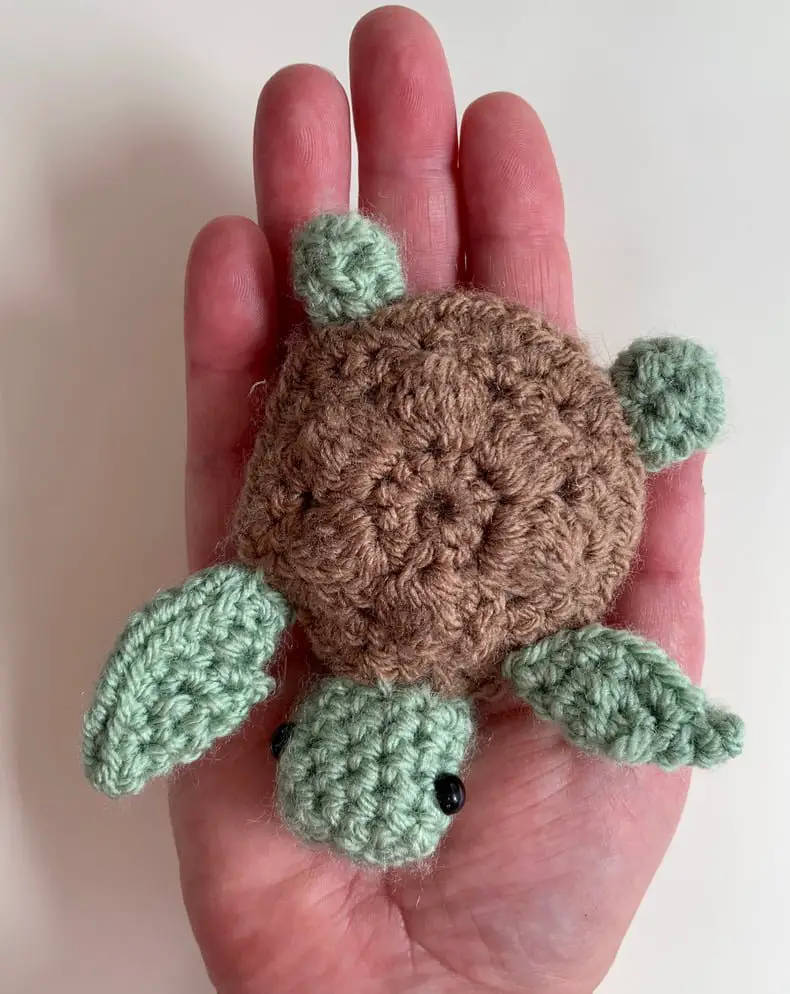
Hello, here you can find the free pattern to make a crochet turtle. This easy turtle crochet pattern uses Amigurumi, as well as some “normal” crochet to give you a small turtle that will fit in the palm of your hand.
These are really simple to make, and even have texture on their shells, with Bobble stitch. I designed them as keyrings, as they are the perfect size for a keychain too.
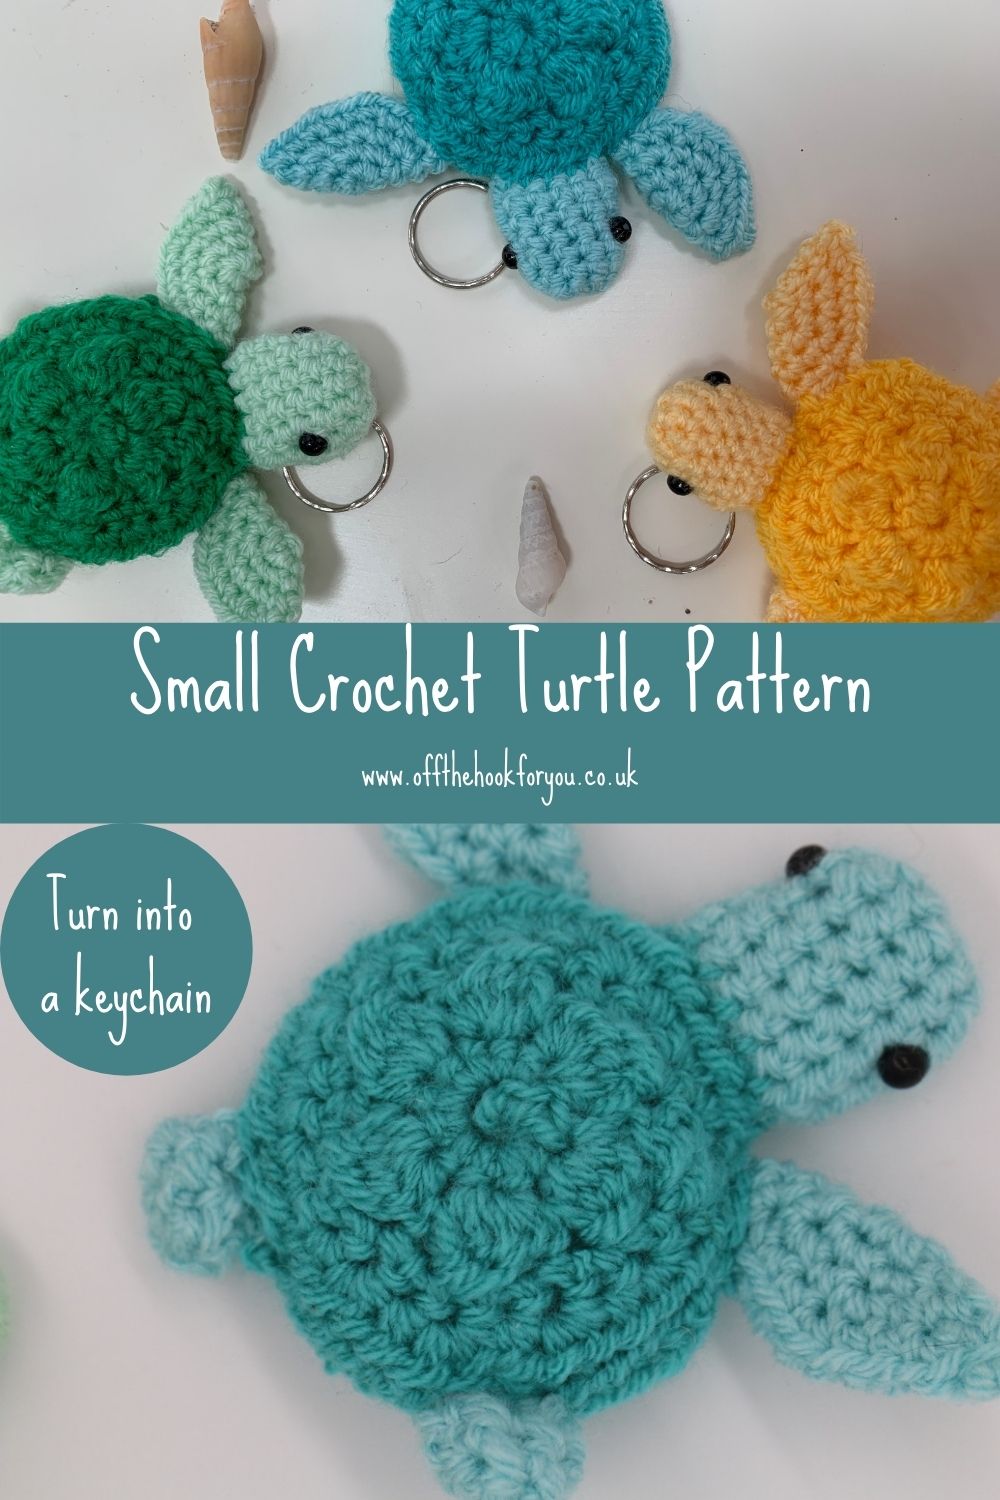
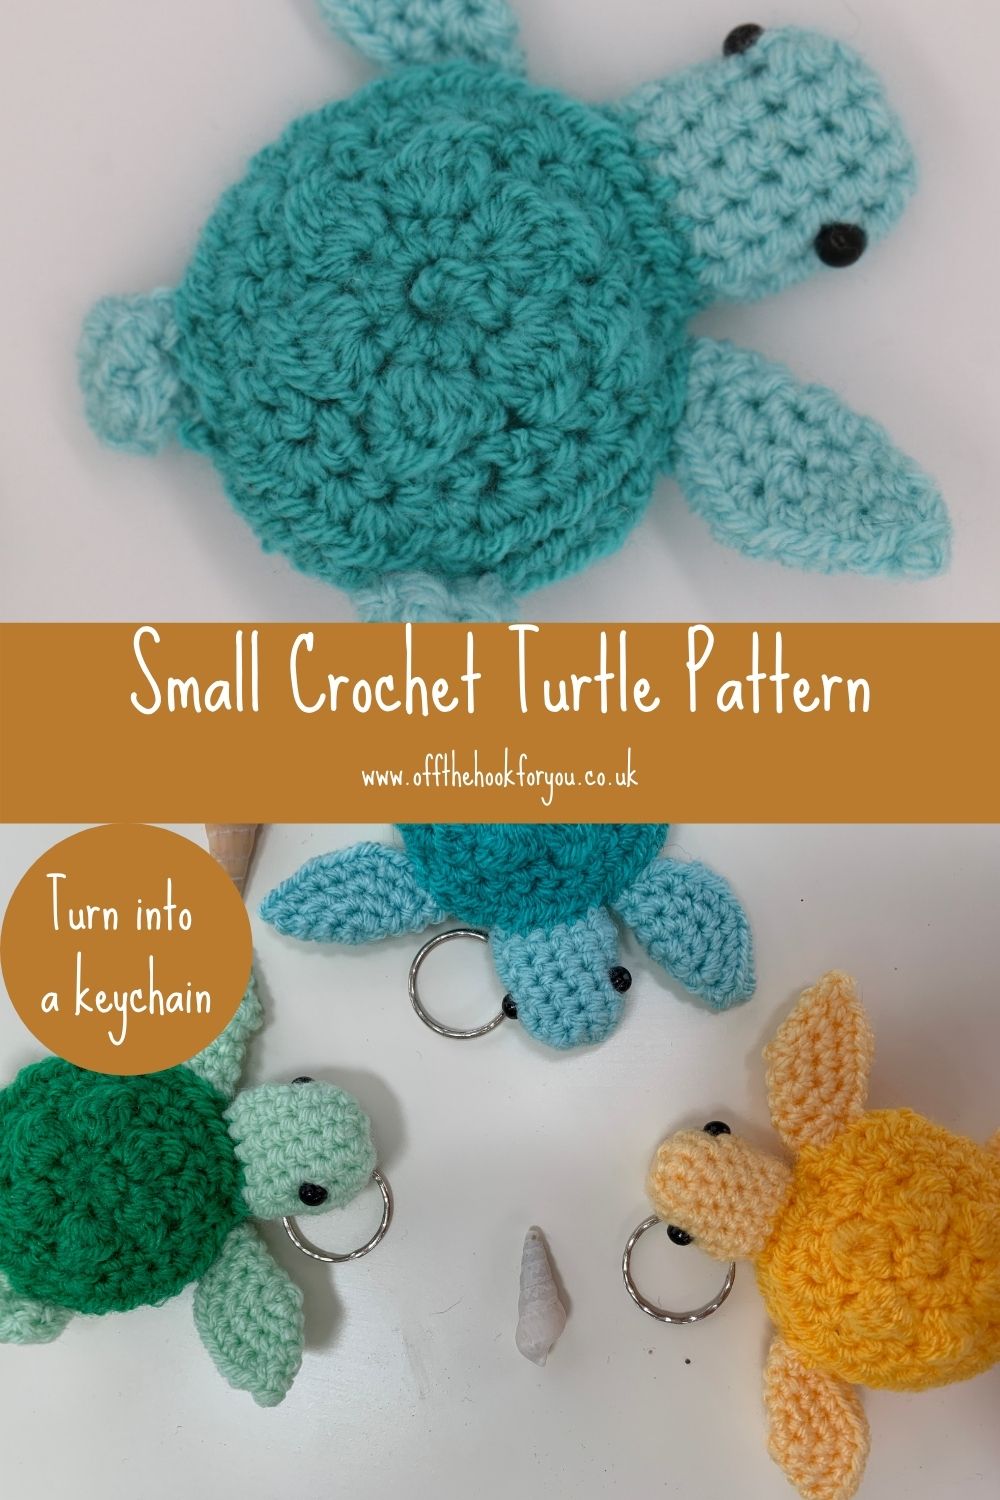
Please Pin them using the picture below.
How do you Crochet a Turtle for Beginners?
These are easy turtles to crochet, you need to know how to:
- Make a Magic Ring
- Single crochet
- Half Double Crochet
- Bobble stitch
The back legs and head are made in the Amigurumi style, so continuously crocheting in a spiral, no slip stitch to join.
The flippers and the shells are made from circles.
Luckily for you – I have a couple of videos and posts for how to make the top of the shell, and one for how to crochet a circle.
Yarn for a Crochet Turtle
I’ve used DK yarn, and a 4mm hook. These are a perfect stash buster, and really cheap to make as they take so little yarn.
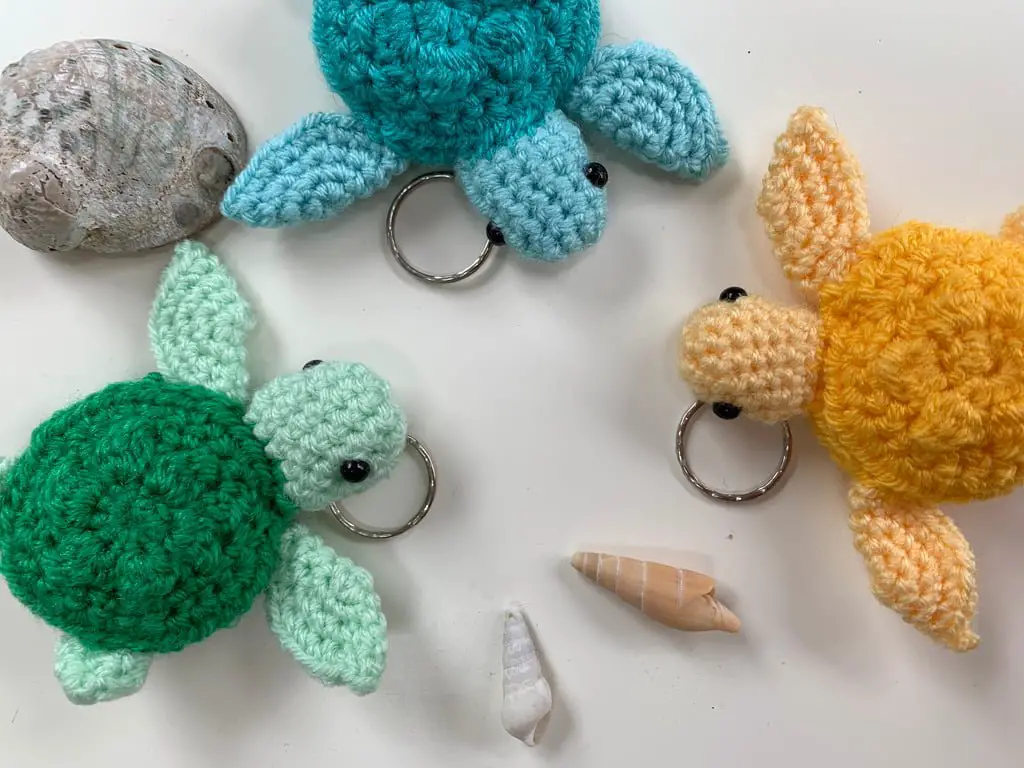
I made the green and brown one “traditional sea turtle colours” with Stylecraft yarn
The 2 tone turtles in yellow, blue and green were commissioned to be featured in Crochet Now Magazine.
These little guys used Cygnet DK Yarn.
In Aqua and Peppermint, Sunshine and Buttercream, and Apple and Mint.
>>>Get Stylecraft Special DK yarn here
How do you Crochet a Large Turtle?
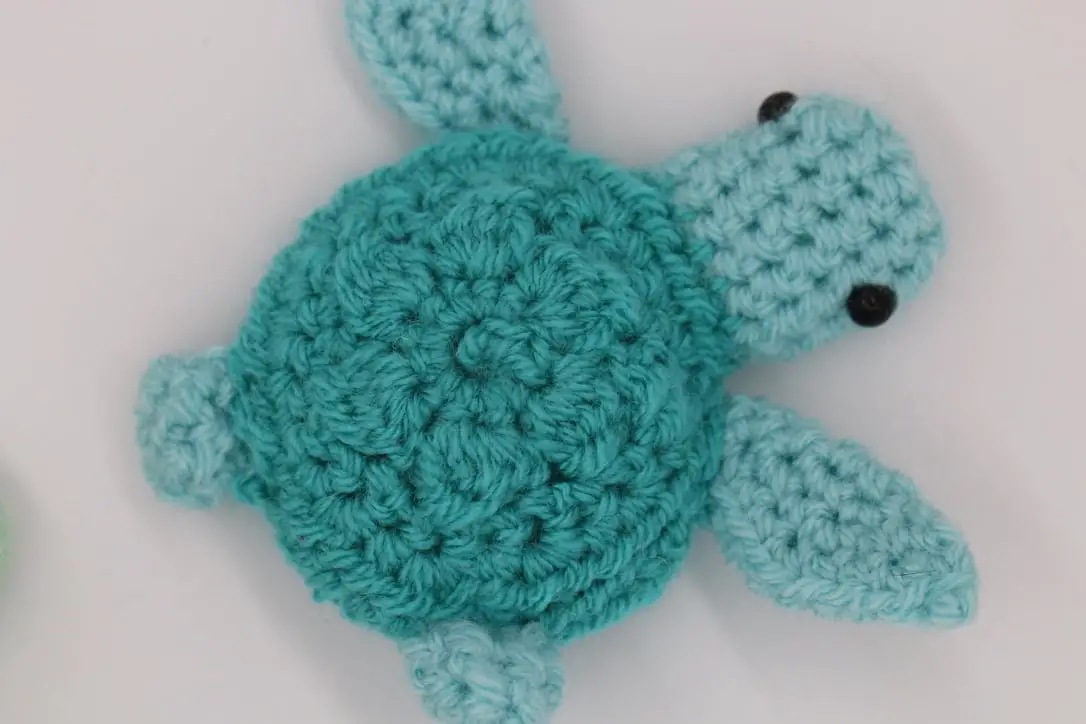
My crochet turtles are made with Double Knit Yarn and 4mm and 3.5mm hook. They measure approximately 9cm x 7cm (3.5inches x 2.5 inches). The shell top and bottom are 6cm.
You could make a bigger turtle using my crochet pattern by using a thicker yarn, for example a worsted weight and 5-5.5mm hook. I’d expect them to be about 12cm x 10cm (approx 4.5 x 4 inches ).
Or use a chunky yarn, and a 6mm hook, for a 14cm x 12cm turtle.
You could make the turtle larger by increasing the number of rounds for the shell, and the number of increases for the legs too, if you wanted them even bigger still!
How do you Crochet a Tortoise?
I used to have a tortoise growing up, and my parents still have her, she’s called Shelley, and is at least 50 years old now, and she’s a great escape artist!
Looking at a tortoise, compared to a turtle, you can crochet my pattern, but instead of the front flippers, make another set of back legs – and you’ll have a tortoise!
How do you Crochet a Flat Turtle?
My turtles are pretty flat, then have a tiny bit of stuffing in the middle of the shell, but you could always not stuff them!
They are about 2cm in height maximum when lightly stuffed.
If you like this crochet turtle pattern you might also like:
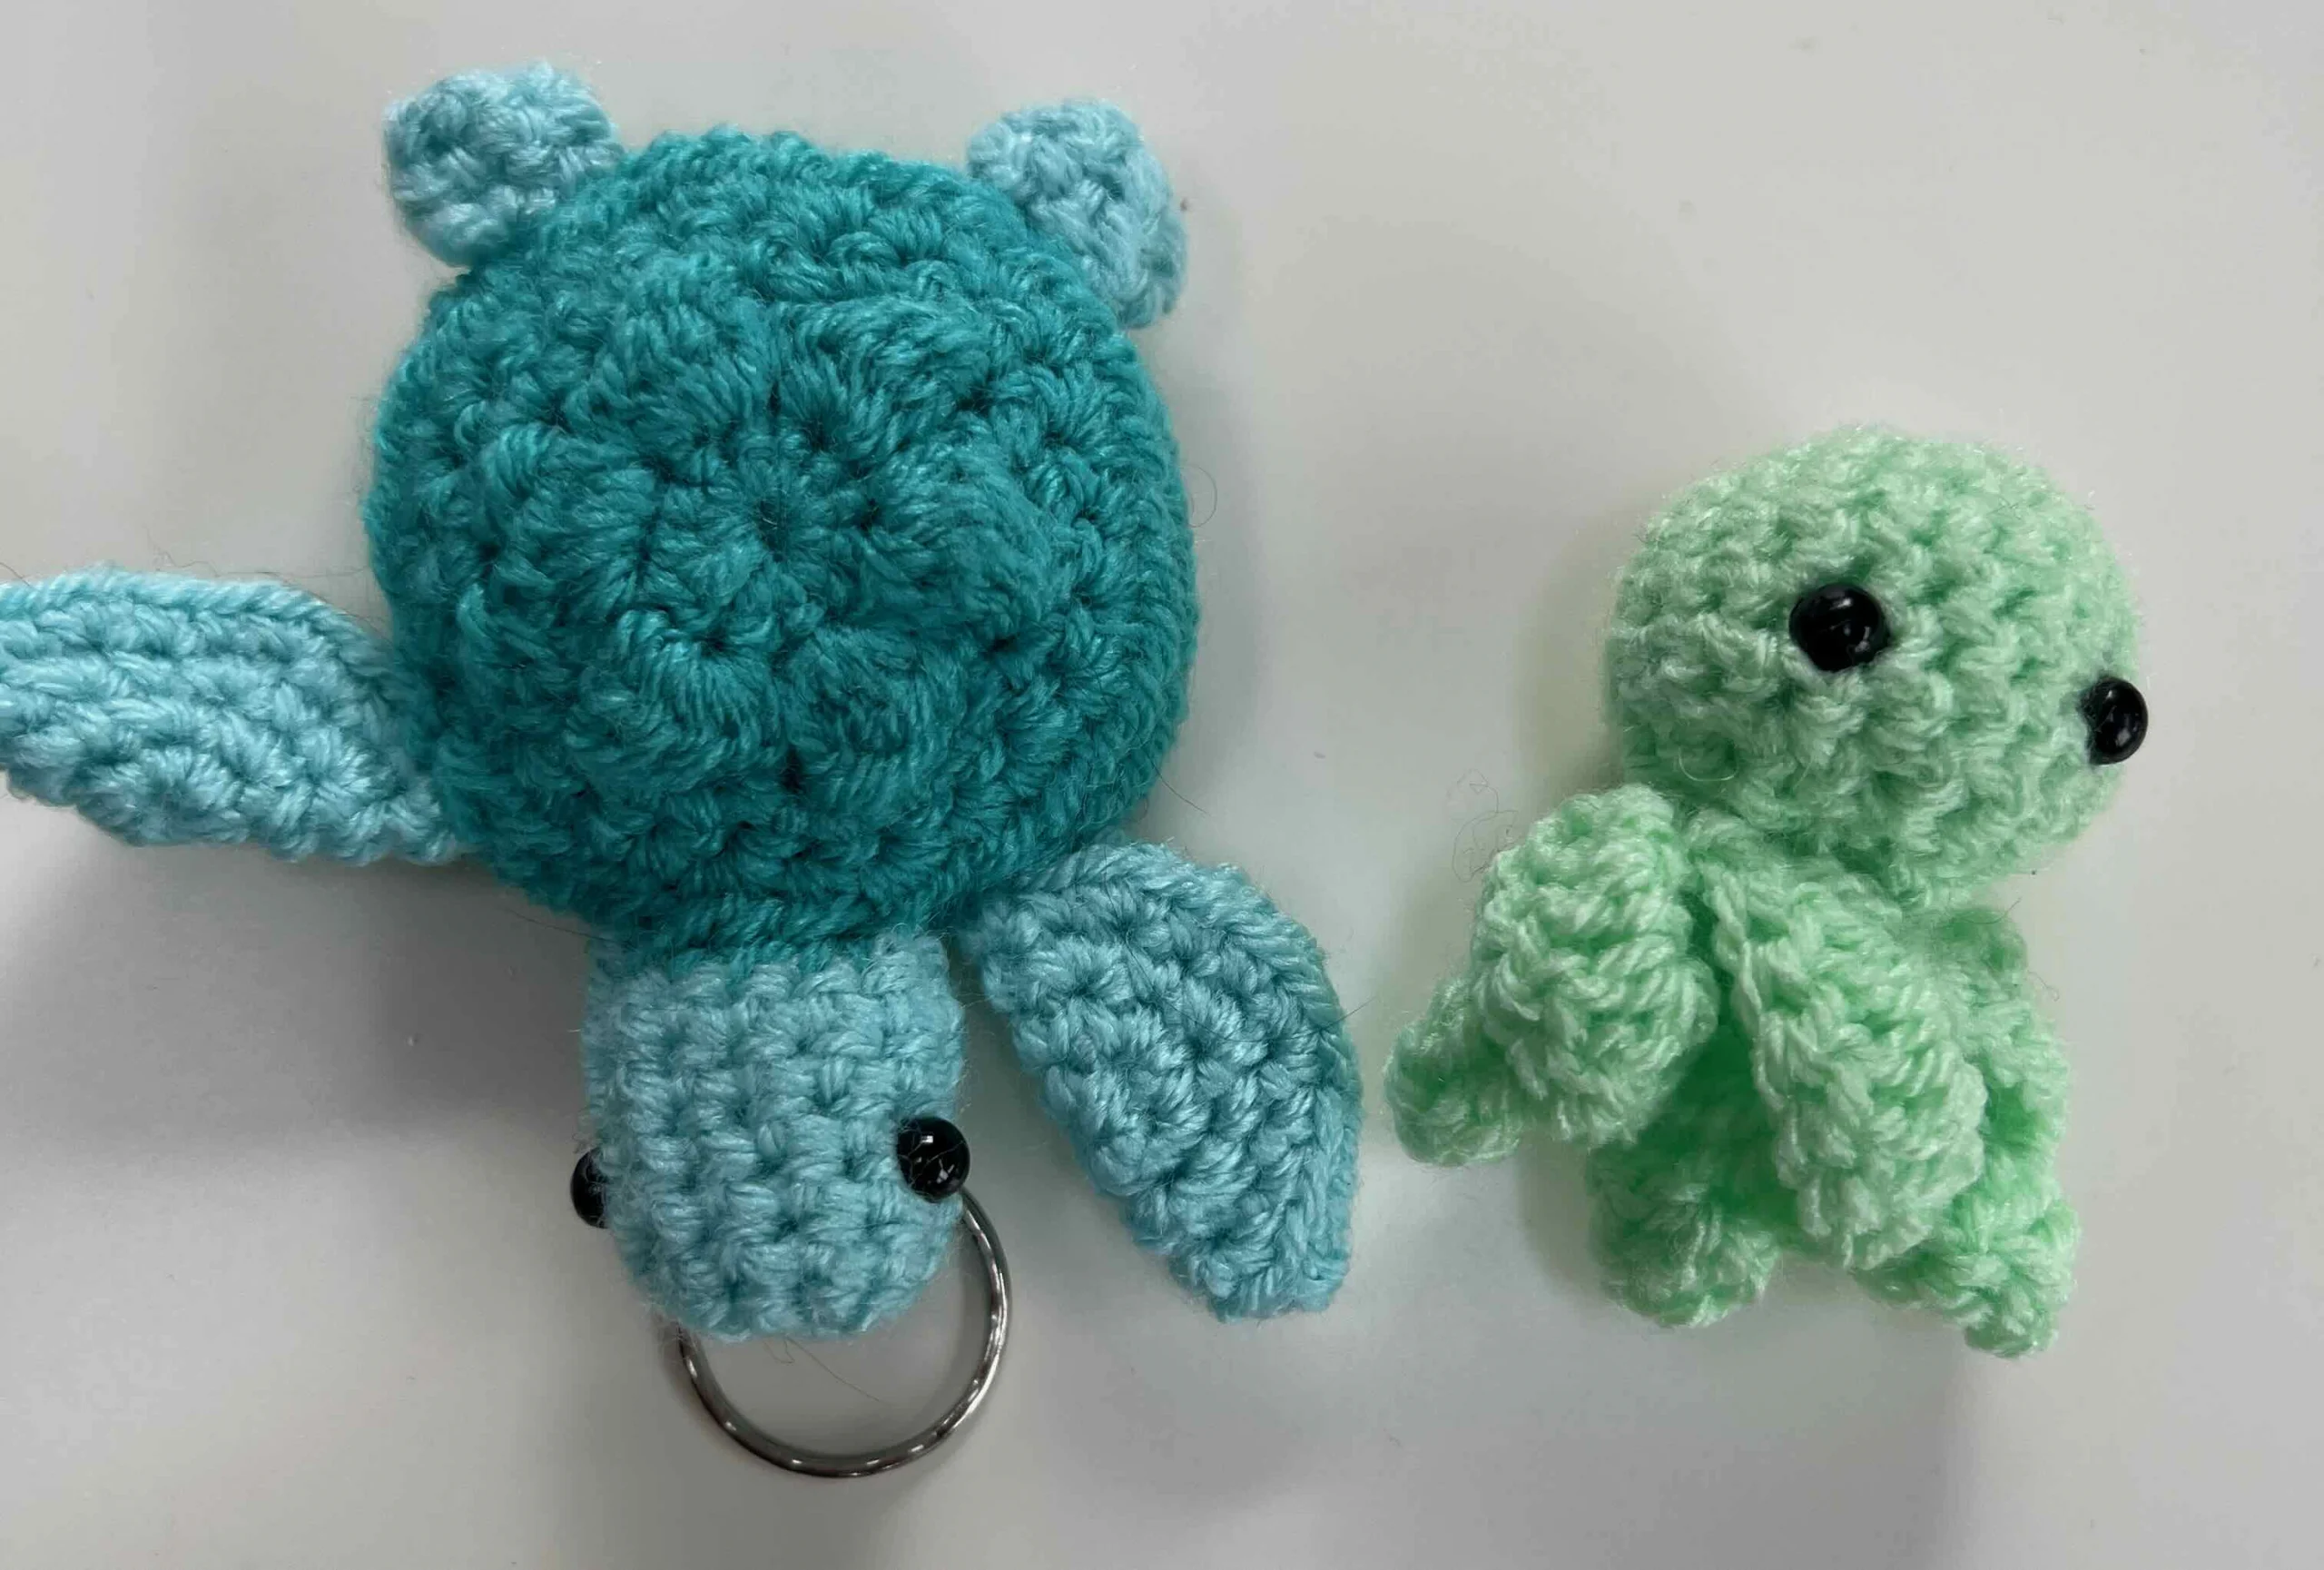
Crochet Jellyfish Keychain pattern
Crochet Pattern Options
As with most of my patterns, I have a few options for you, and how you can support my designs. You can download an inexpensive copy at the following places.
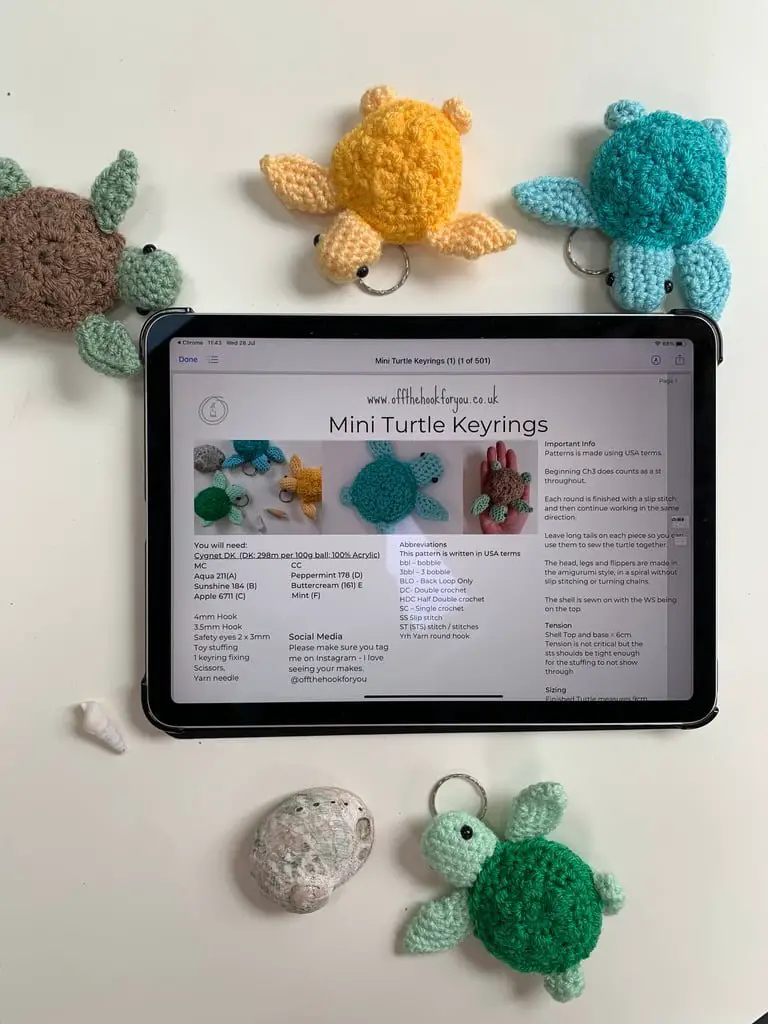
>>>Get the advert free INSTANT PDF DOWNLOAD on Etsy
>>>Get the advert free INSTANT PDF DOWNLOAD on Lovecrafts
Small Crochet Turtle Pattern
Abbreviations – USA Terms (Scroll down for UK Terms)
bbl – bobble
3bbl – 3 bobble
DC- Double crochet
HDC Half Double crochet
SC – Single crochet
SS Slip stitch
ST (STS) stitch / stitches
Yrh Yarn round hook
Equipment
4mm Hook
3.5mm Hook
Safety eyes 2 x 3mm Toy stuffing
1 keyring fixing Scissors,
Yarn needle
Special Stitches
Bobble (bbl): [yrh, insert hook where indicated, yrh, pul, yrh, draw through 2 loops] 4 times into same st, yrh, draw through all 5 loops on hook
3 Bobble (3bbl): 3 ch [yrh, insert hook where indicated, yrh, pul, yrh, draw through 2 loops] 3 times into same st, yrh, draw through all 4 loops on hook
The shell is worked in joined rounds, join with a SS to first st of round. Beg ch does count as a st throughout the shells. Leave long tails on parts to be sewn.
Crochet Pattern
Top Shell
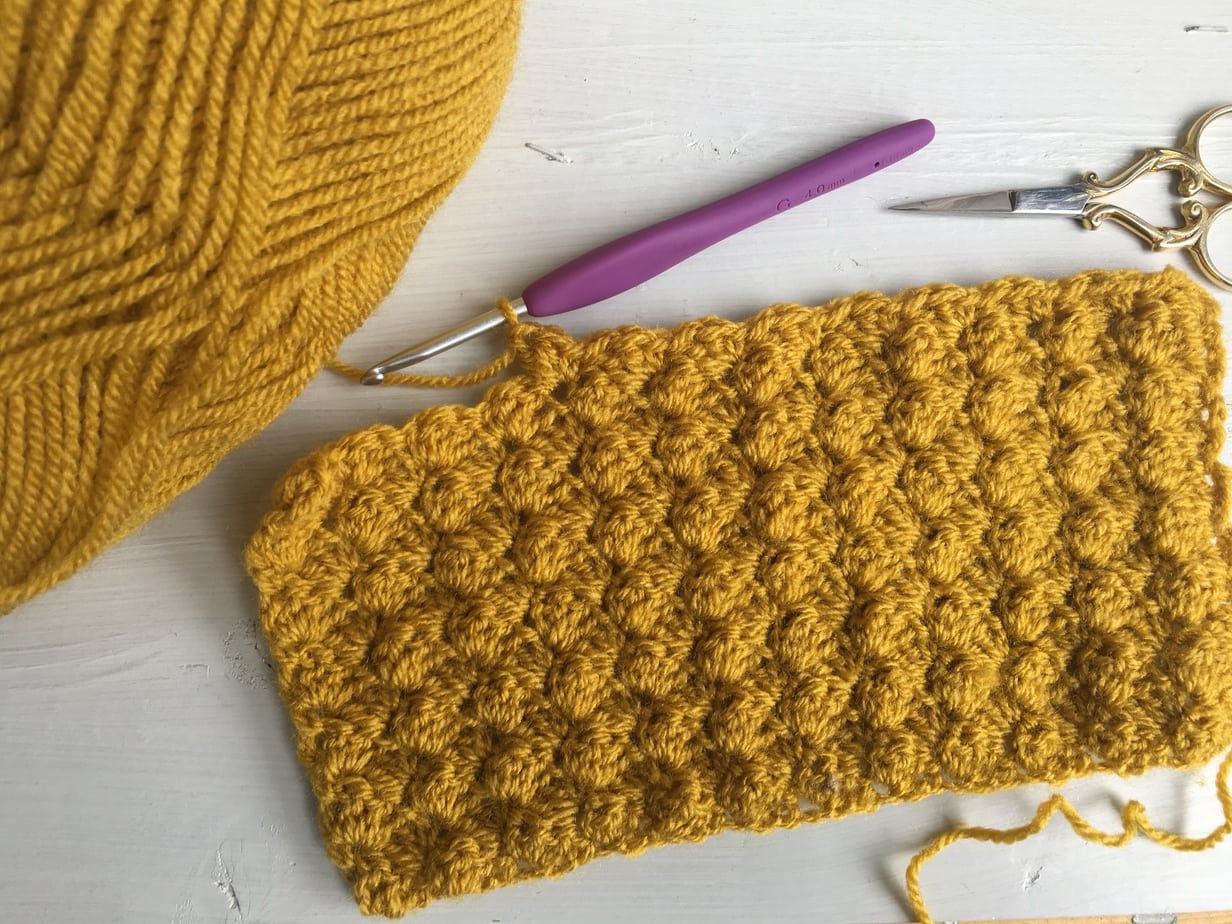
Rnd 1 With larger hook and MC, A, B or C and working into a magic ring, 12SC, join. 12sts
Rnd 2: 3bbl, SC [bbl, SC in next st] 5 times. SS to join to top of Ch3. [6 bbl 6SC]
Rnd 3: Ch1 , [2SC in next st] 12 times [24 sts]
Rnd 4: Ch2 , HDC in the base of chain. 1HDC in next st, [2HDC, 1HDC in next st] 11 times. SS to join. Fasten off. [36 sts]
For a video of how to make the shell – click here (It’s the same as my Face Scrubbie pattern!)
Bottom of shell
Rnd 1: With larger hook and MC and working into a magic ring, 12SC, SS join. [12 sts]
Rnd 2: Ch3, DC in base of chain, [2DC in next st] 12 times. SS to join. [24 sts]
Rnd 3: Ch3, DC in the base of chain. 1DC in next st, [2DC, 1DC in next st] 11 times. SS to join. Fasten off. [36 sts]
>>>For a video on how to make a circle click here
Now working in the Amigurumi style, in a spiral without slip stitching or turning chains. Use a st marker or waste yarn to keep track of the first st of each round. Tension is not critical for this project but sts should be tight enough to avoid stuffing showing through.
You Might Also Like:
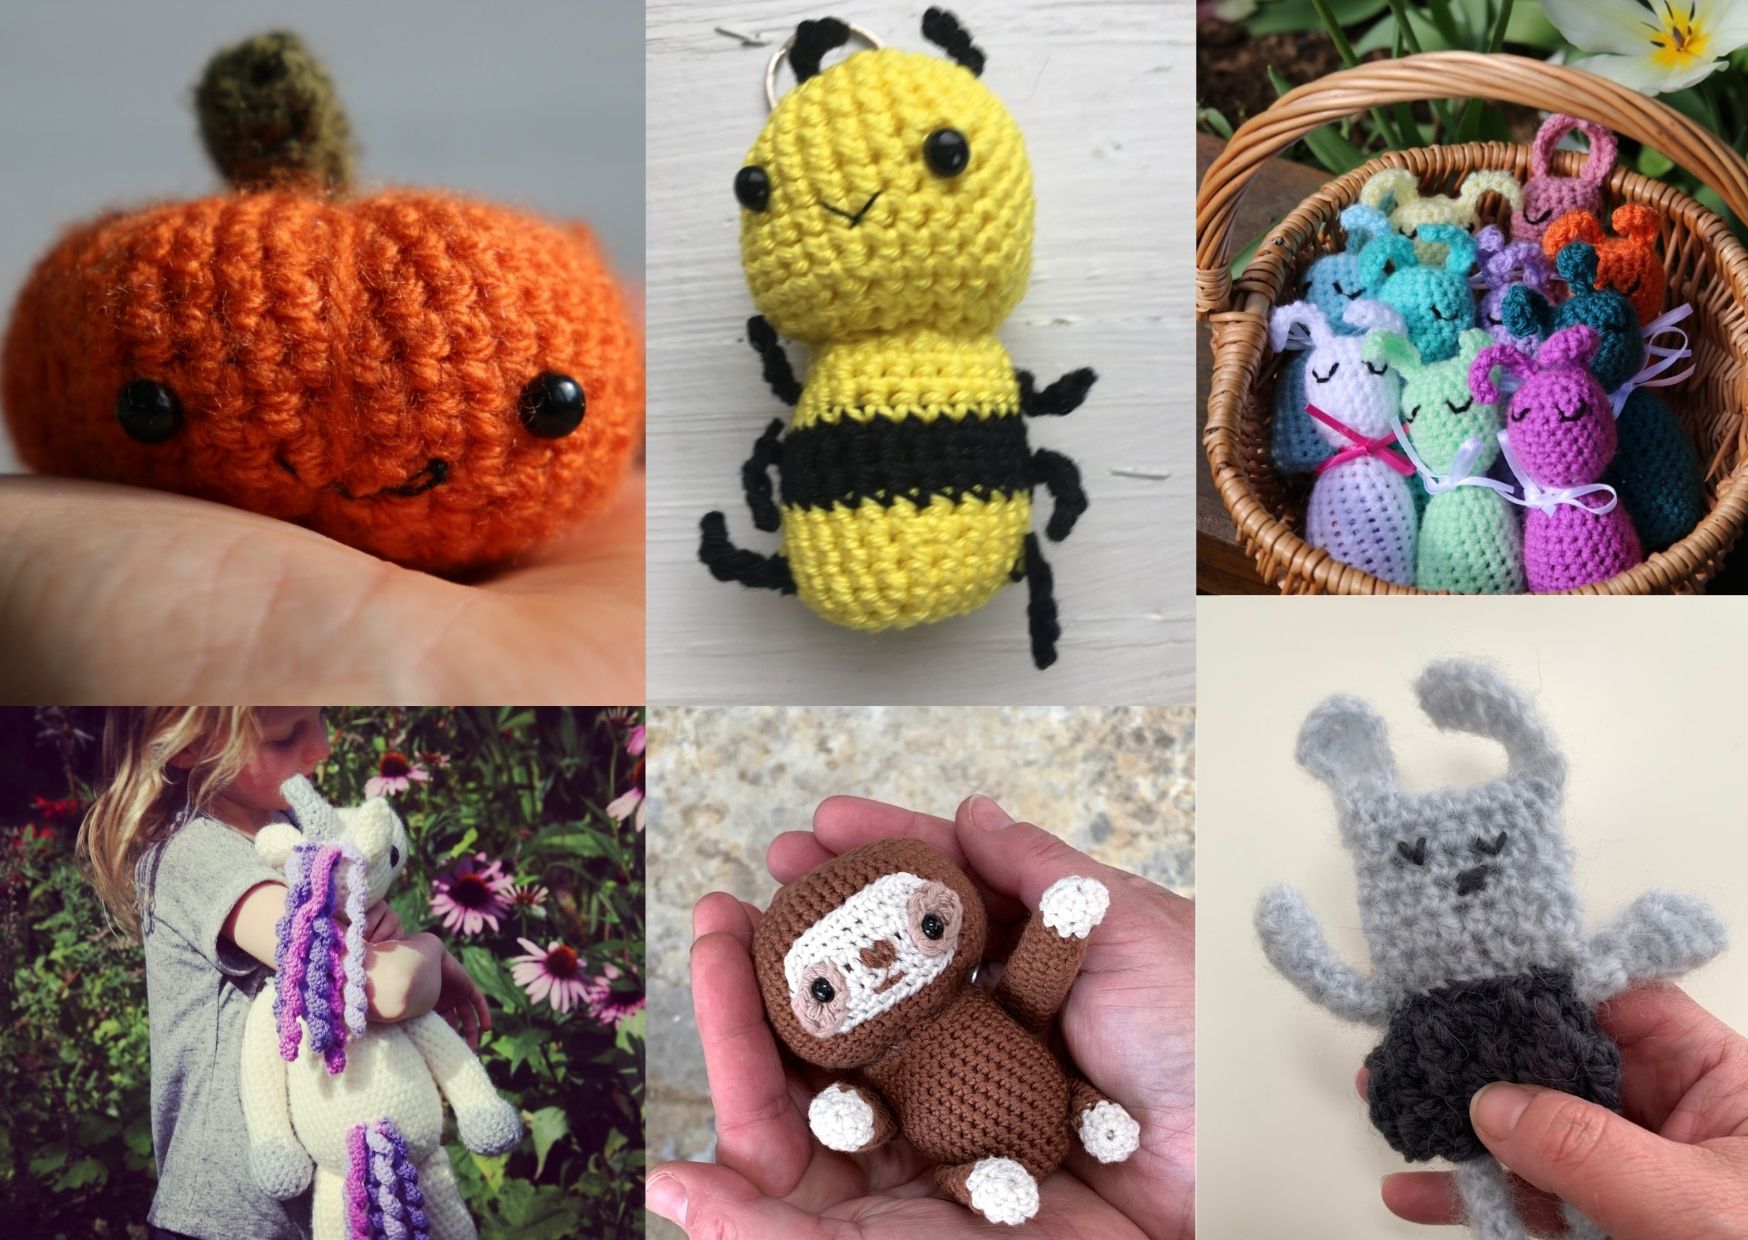
>>> Mini Amigurumi Pumpkin >>>Bee Keychain Pattern >>>Chocolate Egg Bunny
>>>Crochet Unicorn >>>Amigurumi Sloth >>>Dinky Little Rabbit
Flippers (make 2)
Rnd 1: With smaller hook, and CC D, E or F and working into a magic ring, 6SC. [6 sts]
Rnd 2: [2SC in next st] 6 times. [12 sts]
Rnd 3: [1SC, 2SC in next st] 6 times. [18 sts]
Rnd 4: [2SC, 2SC in next st] 6 times. [24 sts]
Feet (make 2)
Rnd 1: With smaller hook and CC and working into a magic ring, 6SC. [6 sts]
Rnds 2-3 – SC around. [6sts]
Use the tail to stuff the leg
Head
Rnd 1: With smaller hook and CC and working into a magic ring, 6SC. [6 sts]
Rnd 2: [2SC in next st] 6 times. [12 sts]
Rnds 3-7 SC around. [12 sts]
Fit the safety eyes on row 3, 6 st apart, stuff lightly.
Making up
Fold flippers in half and sew together using the tail through the BLO using wip stitch.
Using photo as a guide, sew the flippers and legs to the shell bottom.
Sew the bottom of the head to the shell bottom, through BLO using wip stitch.
Sew the shell onto the base using the BLO and wip stitch, when ¾ of the way round, stuff lightly and close, sewing the top of the head to the shell top.
Mini Turtle Pattern
Abbreviations – UK Terms
bbl: bobble
3bbl: 3 bobble
BLO Back Loop Only
Tr: Treble crochet
Htr: Half Double crochet
DC: Double crochet
SS: Slip stitch
ST: (STS) stitch / stitches
yrh: Yarn round hook
Equipment
4mm Hook
3.5mm Hook
Safety eyes 2 x 3mm Toy stuffing
1 keyring fixing Scissors,
Yarn needle
Special Stitches
Bobble (bbl): [yrh, insert hook where indicated, yrh, pul, yrh, draw through 2 loops] 4 times into same st, yrh, draw through all 5 loops on hook
3 Bobble (3bbl): Ch3 [yrh, insert hook where indicated, yrh, pul, yrh, draw through 2 loops] 3 times into same st, yrh, draw through all 4 loops on hook
The shell is worked in joined rounds, join with a SS to first st of round. Beg ch does count as a st throughout the shells. Leave long tails on parts to be sewn.
>>>Get the advert free INSTANT PDF DOWNLOAD on Etsy
>>>Get the advert free INSTANT PDF DOWNLOAD on Lovecrafts
Top of Shell
Rnd 1 With larger hook and MC A, B, C and working into a magic ring, 12DC, join. [12sts]
Rnd 2: 3bbl, DC [bbl, DC in next st] 5 times. SS to join to top of Ch3. [6bbl 6DC]
Rnd 3: Ch1, [2DC in next st] 12 times [24 sts]
Rnd 4: Ch2, htr in the base of chain. 1htr in next st, [2htr, 1htr in next st] 11 times. SS to join. Fasten off. [36sts]
For a video of how to make the shell – click here (It’s the same as my Face Scrubbie pattern!)
Bottom of shell
Rnd 1: With larger hook MC and working into a magic ring, 12DC, SS join. [12 sts]
Rnd 2: Ch3, tr in base of chain, [2tr in next st] 12 times. SS to join. [24 sts]
Rnd 3: Ch3, tr in the base of chain. 1tr in next st, [2tr, 1tr in next st] 11 times. SS to join. Fasten off. [36 sts]
Now working in the Amigurumi style, in a spiral without slip stitching or turning chains. Use a st marker or waste yarn to keep track of the first st of each rnd. Tension is not critical for this project but sts should be tight enough to avoid stuffing showing through.
>>>Check out my large crochet bee pattern here
Flippers (make 2)
Rnd 1: With smaller hook, and CC and working into a magic ring, 6DC. [6 sts]
Rnd 2: [2DC in next st] 6 times. [12 sts]
Rnd 3: [1DC, 2DC in next st] 6 times. [18 sts]
Rnd 4: [2DC, 2DC in next st] 6 times. [24 sts]
Foot (make 2)
Rnd 1: With smaller hook, andCC and working into a magic ring, 6DC. [6 sts[
Rnds 2-3: DC around. [6 sts]
Use the tail to stuff the leg
Head
Rnd 1: With smaller hook, and CC and working into a magic ring, 6DC. [6 sts]
Rnd 2: [2DC in next st] 6 times. [12 sts]
Rnds 3-7 DC around. [12 sts]
Fit the safety eyes on row 3, 6 st apart, stuff.
Making up
Fold flippers in half and sew together using the tail through the BLO using wip stitch.
Using photo as a guide, sew the flippers and legs to the shell bottom.
Sew the bottom of the head to the shell bottom, through BLO using wip stitch.
Sew the shell onto the base using the BLO and wip stitch, when ¾ of the way round, stuff lightly and close, sewing the top of the head to the shell top.
There we have it – a small crochet turtle, please pin it using the picture below.
Join me at Off The Hook For You to share your crochet!
Thanks for visiting – I’d love to stay connected with you so please sign up for my email list where a free PDF pattern is waiting for you (just so you can see what my PDF patterns are like).
Finished one of my crochet pattern makes? I’d love to see it and so would the world, so get sharing! You can find me in the following ways:
- Join my new Facebook group
- Share a picture on Instagram and tag me #offthehookforyou
- Share your projects on Ravelry
- Share your projects on LoveCrafts
Disclaimer
This post may contain affiliate links which I earn a small commission from if you choose to click and purchase anything from. You pay the same price, I get a very small amount for sending you their way. It helps me to make my crochet patterns free on the blog.


