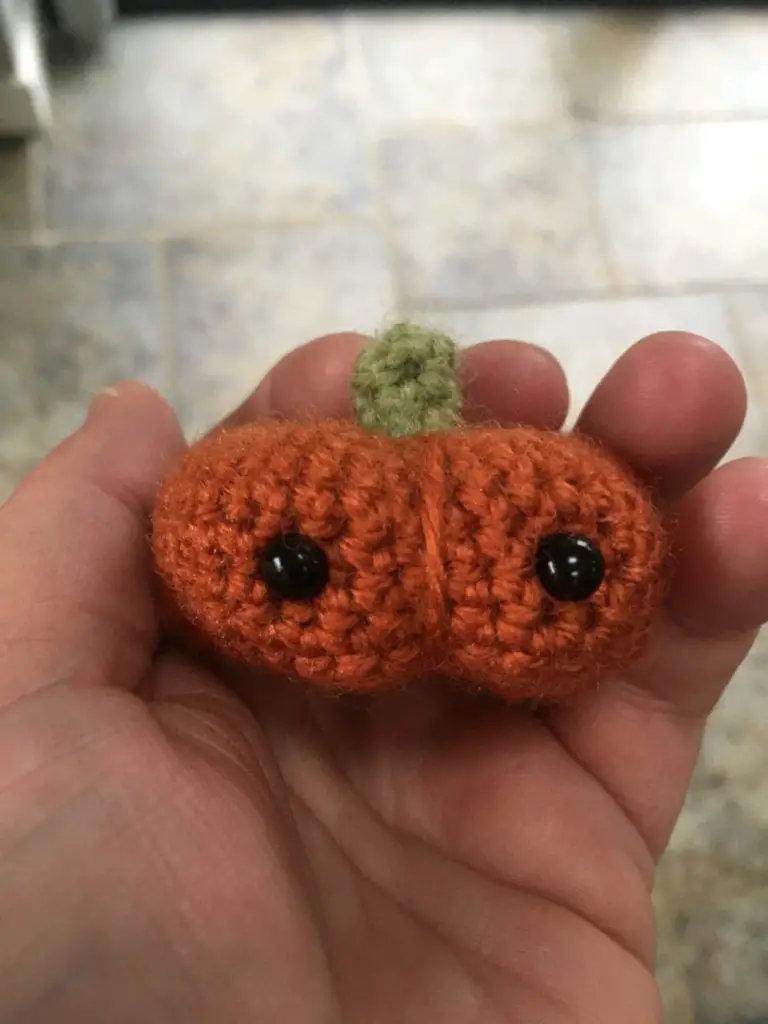
Here you can get the free mini crochet pumpkin pattern that I designed a few years ago. This little guy, that I’ve called Percy, is made using the amigurumi method.
He really is a quick make, at only about 20 minutes, and a little bit of counting, but we expect some counting with crochet don’t we? This little pumpkin measures about 7cm across, so really is “mini”.
I’d describe this pattern as an advance beginner, it’s amigurumi so a little more advanced than say a granny square, but I teach a very similar pattern as part of my crochet course as week 3!
If you’d like to save this for later, please Pin it below.

Never heard of Amigurumi?
Well, carry on reading. Amigurumi is the type of crochet that uses USA single crochets (UK Double crochets) , and it worked in the round, without Slip stitching to join.
It has a whole different way of reading a pattern too.
R3: (2sc in next sc, 1sc) 10 times. [30sc]
Lets take this line of the pattern as an example. What this means is do 2 single crochet in the first stitch, then 1 single crochet in the next stitch then repeat this 10 times.
When I say it using words, and people write it down, we also write it like this 2, 1, 2, 1, 2, 1,2, 1, 2, 1, 2, 1, 2, 1, 2, 1, 2, 1, 2, 1 – and they cross them out to keep track of where they are up too!
It’s not as tricky as it looks.
R4: (2sc in next sc, 2sc) 10 times. [40sc]
2, 1, 1, 2, 1, 1 etc……….
Other Amigurumi patterns:
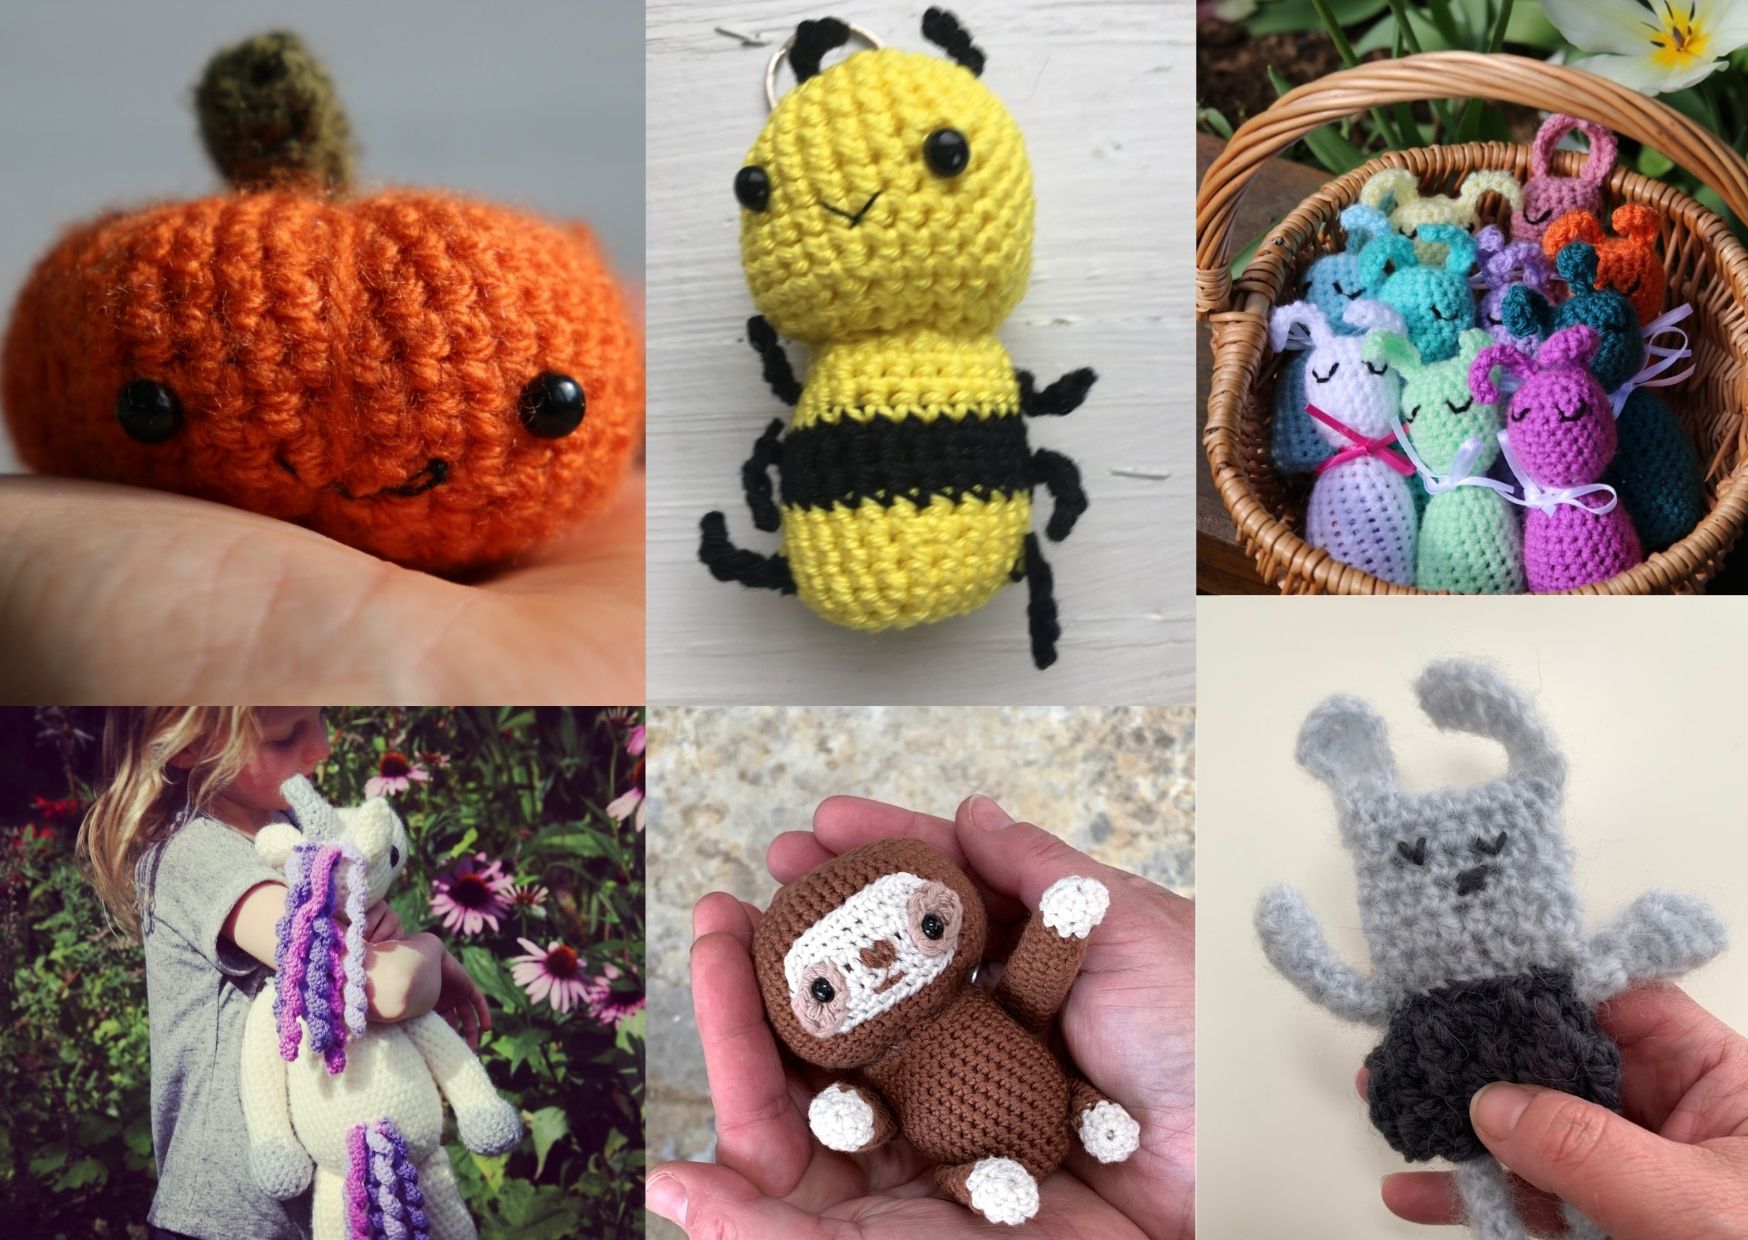
>>> Mini Amigurumi Pumpkin >>>Bee Keychain Pattern >>>Chocolate Egg Bunny
>>>Crochet Unicorn >>>Amigurumi Sloth >>>Dinky Little Rabbit
How do you crochet a mini pumpkin?
There are 2 different ways you can crochet a pumpkin.
First – the Amigurumi method, like this pattern. Working in rounds, no slip stitching to join, and some counting. Like this easy acorn pattern here
Second, by making a length of crochet, then using sewing it together to get the pumpkin shape, exactly like my Quick Crochet Pumpkin here>>>
How long does it take to crochet a pumpkin?
This pattern takes approximately 20 minutes to make. The counting of the stitches is the hardest bit!
What crochet stitches do you need to know?
To make this crochet pumpkin you’ll need to know how to:
- How to make a magic ring
- How to make a US Single / UK Double crochet
- How to work in the top 2 loops of the stitch
- How to make 2 US single or UK Double crochets in a stitch
- How to crochet 2SCtog or 2DCtog to reduce
- How to count!
- All of the above are the basics of how to make a circle – which you can read about here
It sounds complicated but it isn’t!
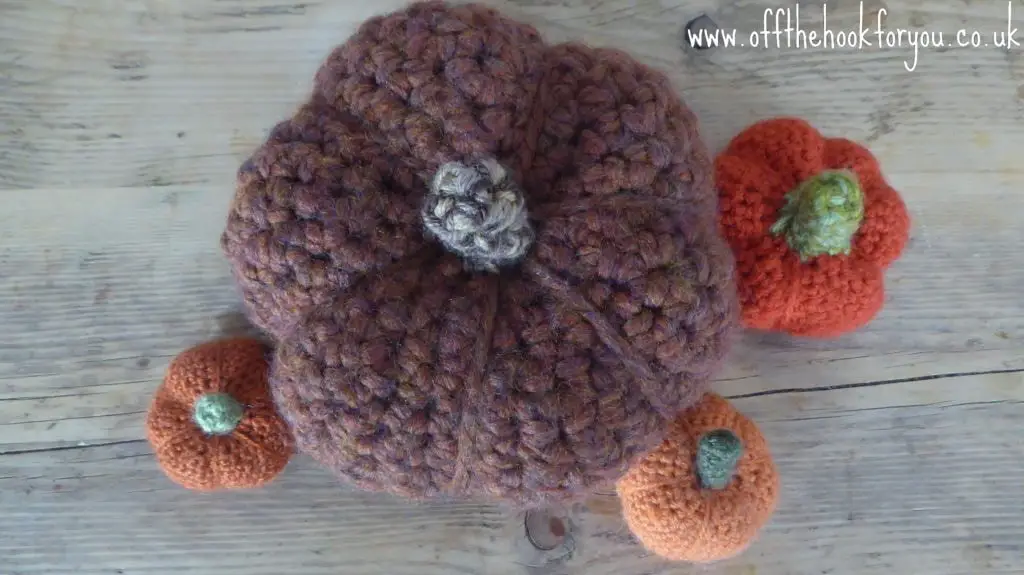
Yarn for the crochet pumpkin
I’ve used stash yarn, Stylecraft Special DK to be exact in spice and Khaki, but you can use any yarn.
You can even make this pattern with Super Bulky Yarn to get a large Pumpkin or chunky yarn to vary the sizes.
Crochet Pattern Options
As will all my crochet patterns there are few ways to get and use this crochet pattern and support me, Vicki at Off the Hook for you.
You can use this pattern for free on the blog here
You can get the Advert free PDF on Raverly
You can download it for free as part of the Halloween Delights Blog Hop with Itchin for some Stitchin
Or you can buy the bundle of 28 Spooky halloween designs here for a great price of $12.99.


Mini crochet Pumpkin Pattern
You will need:
DK yarn I used Stylecraft special DK in spice and Khaki
3mm safety eyes
needle
stitch marker
Scissors
A small amount of soft toy stuffing (for the head)
Some cotton sewing thread (for the mouth)
Abbreviations US Terminology
CH Chain
sc Single Crochet
2sctog 2 Single Crochet together
Percy is made using the amigurumi technique, no need to SS and chaining. Just complete each round and move straight onto the next moving your stitch marker each time.
Round 1: 10sc in the MR
R2: 2sc in each sc around. [20sc]
R3: (2sc in next sc, 1sc) 10 times. [30sc]
R4:(2sc in next sc, 2sc) 10 times. [40sc]
R5-9: 1sc in each. [40sc]
R10: (2sctog, 2 sc) 10 times. [30sc]
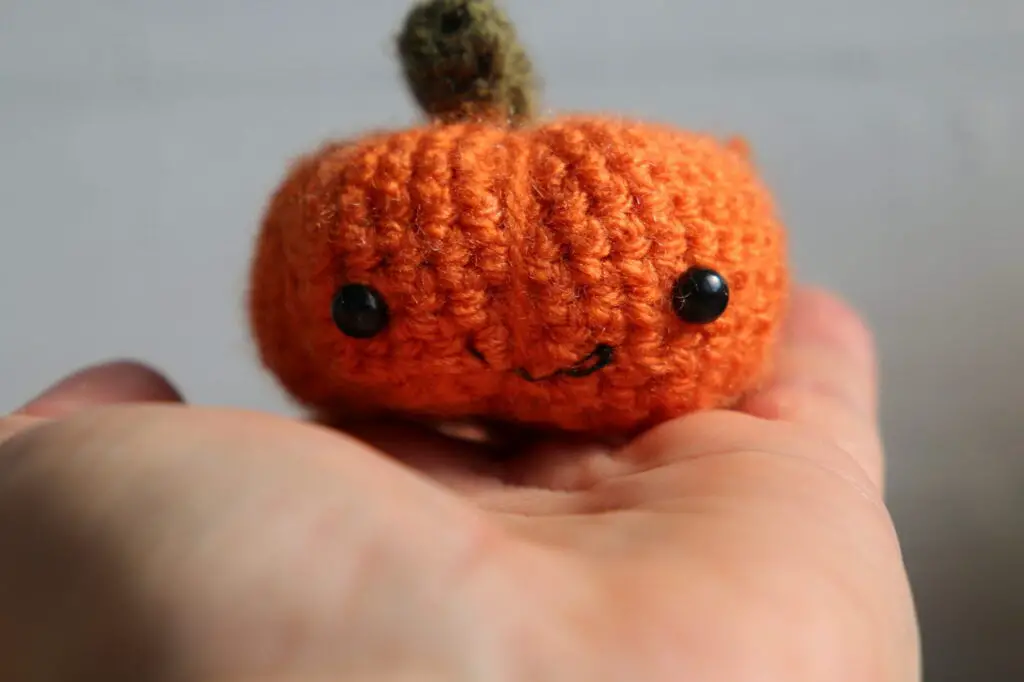
Insert eyes into row 8, 10 stitches apart (has he come alive?)
R11: (2sctog, 1 sc) 10 times. [20sc]
R12: (2sctog) 10 times. [10sc]
Stuff the pumpkin, and the 2sctog until it is closed – this will be the top, and the stalk will cover any small gap. Fasten off leaving a long end (approx 60cm).

Stalk
Round 1: with khaki, make a magic ring, and make 4 sc in the ring.
R2-7 – 1 sc in each. Fasten off leaving a ling end for sewing onto the body.
How to make up
Using the long end from the pumpkin, you need to sew the lines. You will make 6 sections, so imagine a cake / pizza, or a trivial pursuit cheese. Sew going through the centre and pulling tight the six sections (these are made from only 3 stitches), ensuring you start by going through the centre of the eyes. Fasten off.
Sew the stalk to the top, and add a smile (using the photo as a guide) using a double strand of cotton sewing thread. positioned in the middle of the eyes – 3 rows down.
I’d love to see any Percy Pumpkins you make.
Please Pin this for later below.

Join me at Off The Hook For You to share your crochet!
Thanks for visiting – I’d love to stay connected with you so please sign up for my email list where a free PDF pattern is waiting for you (just so you can see what my PDF patterns are like).
Finished one of my crochet pattern makes? I’d love to see it and so would the world, so get sharing! You can find me in the following ways:
- Join my new Facebook group
- Share a picture on Instagram and tag me #offthehookforyou
- Share your projects on Ravelry
- Share your projects on LoveCrafts
Disclaimer
This post may contain affiliate links which I earn a small commission from if you choose to click and purchase anything from. You pay the same price, I get a very small amount for sending you their way. It helps me to make my crochet patterns free on the blog.


