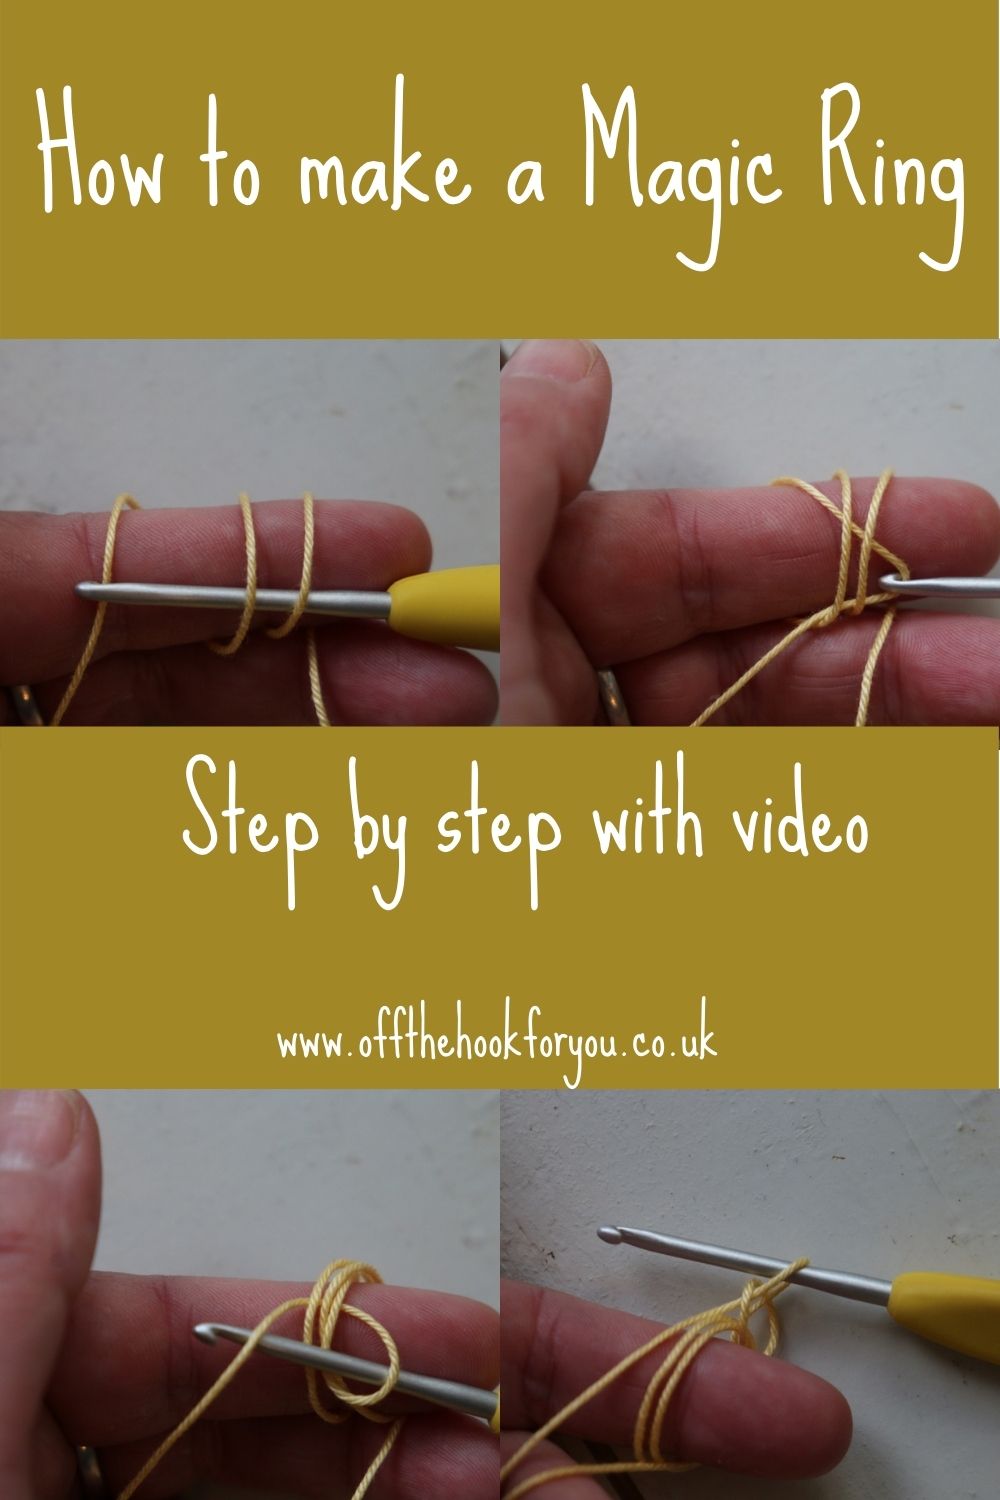
This is something I am asked a lot during my workshops, how do you make a magic ring? Then how do you make it work every time, and why use a magic ring? As a crochet teacher, I couldn’t work out why some people could make a magic ring, then others just couldn’t……. until I broke it down step by step!
Here I explain exactly how to make e crochet magic ring that will work every time, with step by step photos and a handy video!
So if you’ve tried and failed to to make a magic ring – try this method as it really does work every time if you follow every step!
If you want to save this for later please pin it below.
Why use a Magic Ring/ Magic Circle?
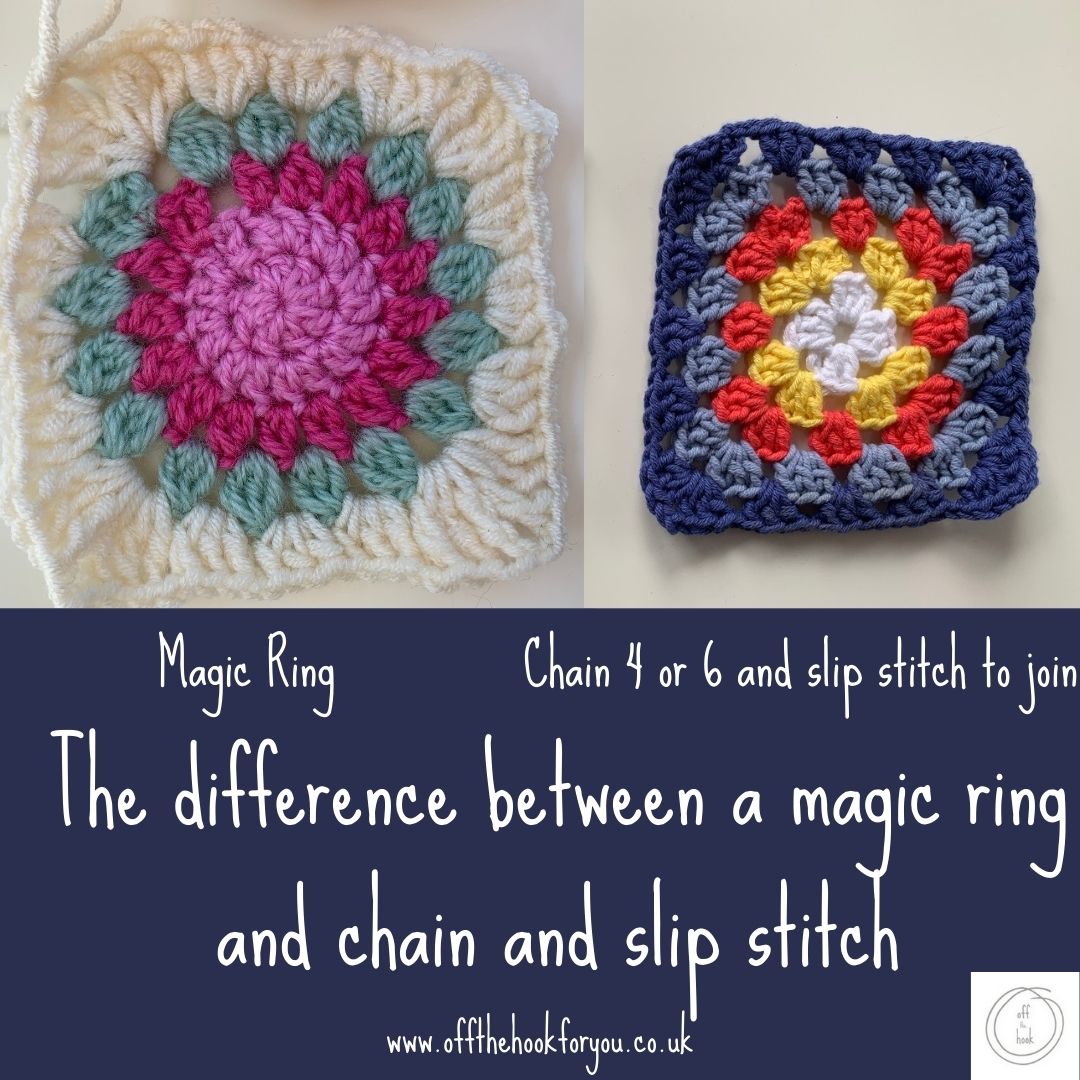
A magic ring or magic circle is generally used when you want a really tightly closed circle.
As a example, a granny square tends to start with a chain 4 or 6, then slip stitch to join, which will leave a little hole, and this is perfectly fine for a granny square!
Try doing the same things for a toy, and it’ll have a hole in it’s head!
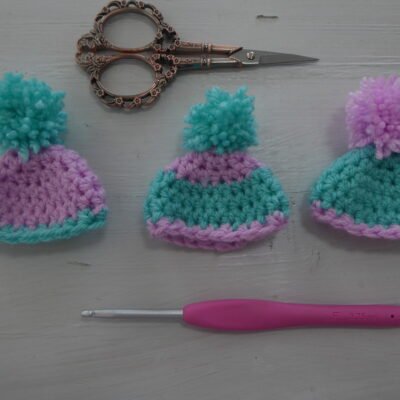
So for a toy, a hat, or a solid circle we need to use a magic ring.
What can you use Magic Ring for?
I use the magic ring for lots of things – but here are a few ideas, Generally anything that starts with a circle!
>>>How to crochet a circle for beginners


How to you make a Crochet Magic Ring
I’m going to explain this with Single crochet (USA) as my guide.
You can make a magic ring with any “Standard” stitch, just adjust the chain height.
SC Chain 1
HDC Chain 2
DC Chain 3 etc
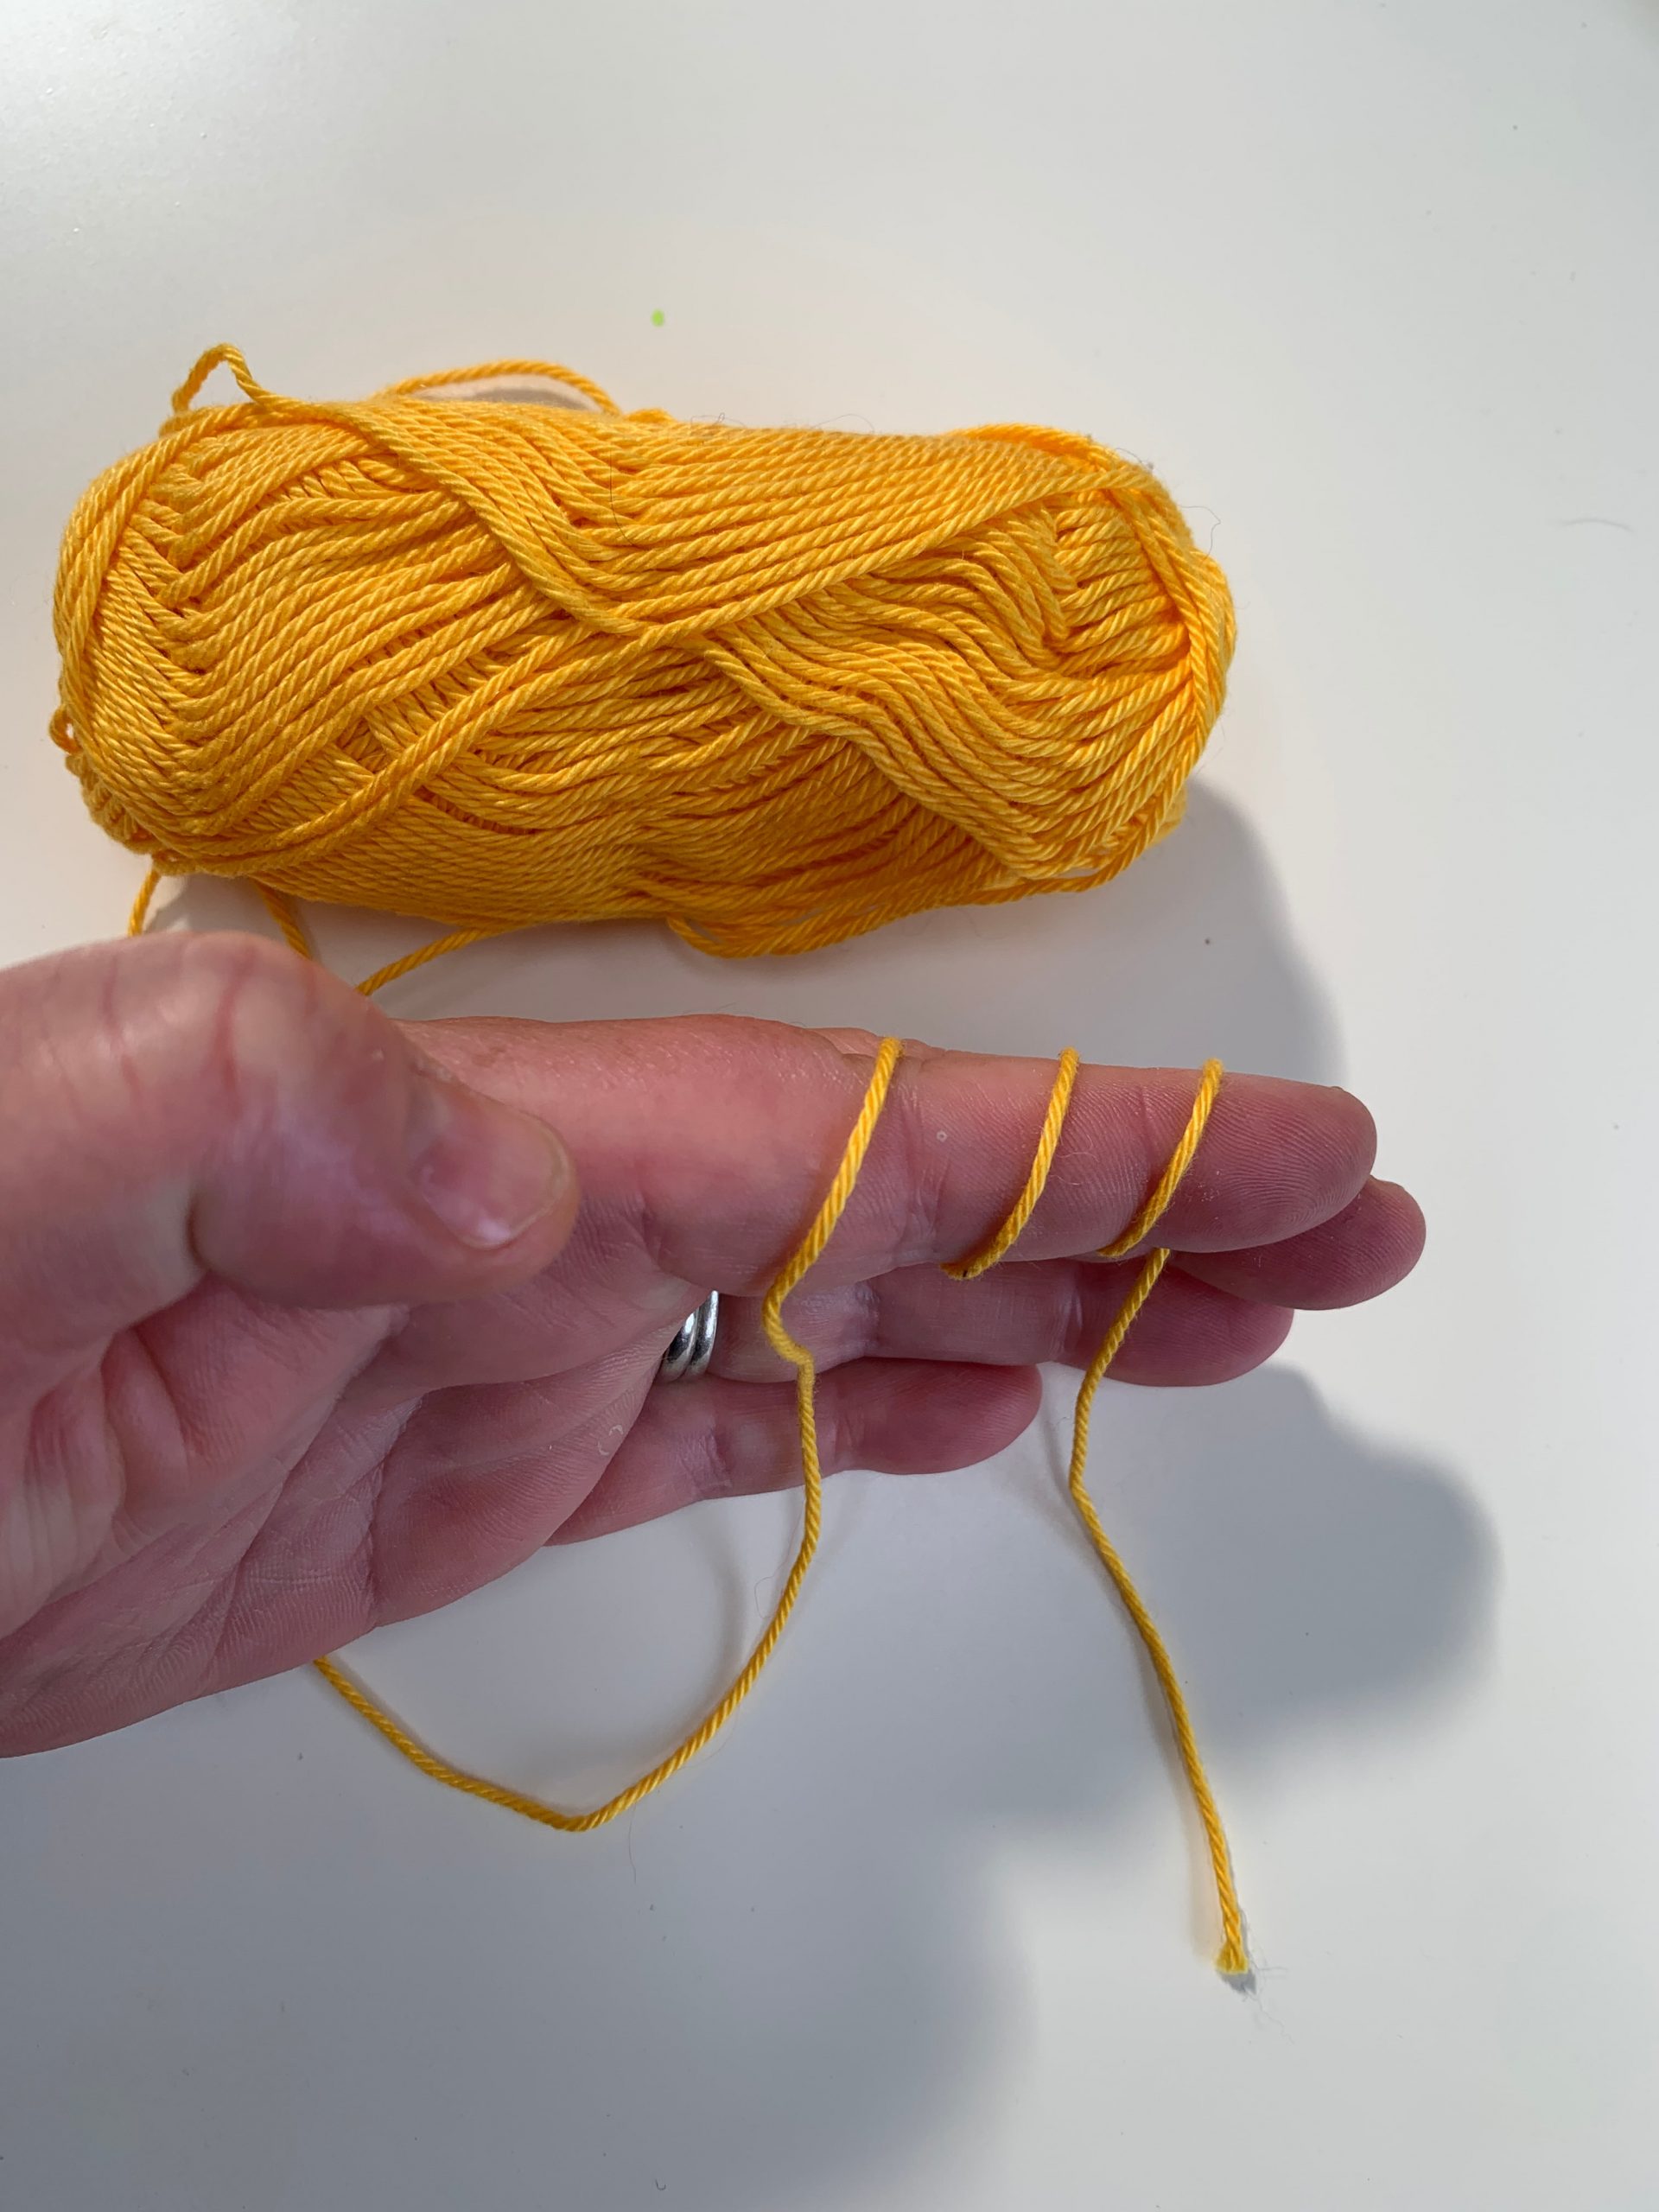
If right handed wind the yarn around your left hand forefinger 3 times, with the yarn starting at the base of your finger, and the tail will end up at the top of your finger (see above)

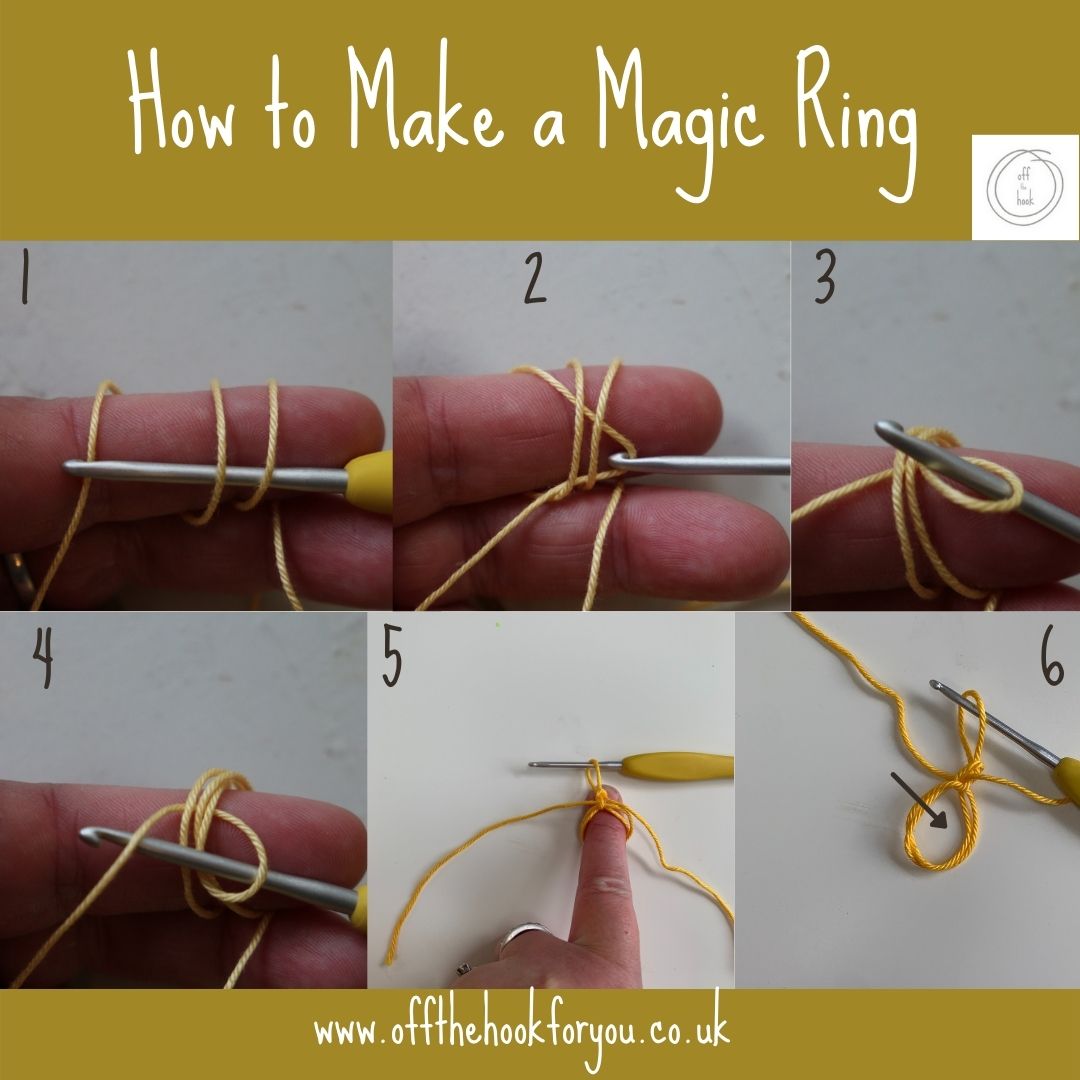
- Insert your hook under the 2 loops and grab the bottom loop.
- Pull this back underneth the 2 loops with you hook
- immediately chain 1 (Or how many depending in stitch height).
- This will feel really weird, as your yarn is by the palm of your hand, not towards the back where you’d usually find it.
- Very importantly – once you’ve chained, now point your finger, ensure the tail is to the LEFT and the yarn is to the RIGHT. Pull the loops off your finger.
- Move the tail in FRONT of the loop to right, and move the working yarn BEHIND. Work all your stitches as per your pattern in the 2 loops. Pull the tail to close.
What I’ve found is if you don’t do the steps in 5 and 6 in BOLD the ring will not close!
If you want to watch the video – watch below, but I’d love for you to head over to YouTube and hit the Subscribe button too!
Join me at Off The Hook For You to share your crochet!
Thanks for visiting – I’d love to stay connected with you so please sign up for my email list where a free PDF pattern is waiting for you (just so you can see what my PDF patterns are like).
Finished one of my crochet pattern makes? I’d love to see it and so would the world, so get sharing! You can find me in the following ways:
- Join my new Facebook group
- Share a picture on Instagram and tag me #offthehookforyou
- Share your projects on Ravelry
- Share your projects on LoveCrafts
Disclaimer
This post may contain affiliate links which I earn a small commission from if you choose to click and purchase anything from. You pay the same price, I get a very small amount for sending you their way. It helps me to make my crochet patterns free on the blog.
Please Pin this for later here