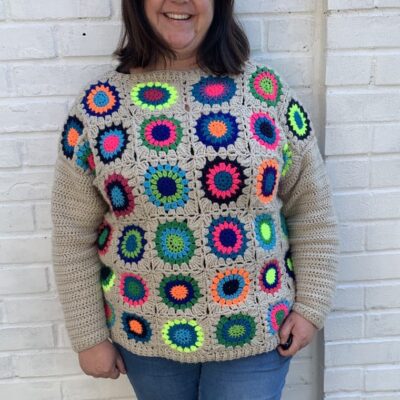
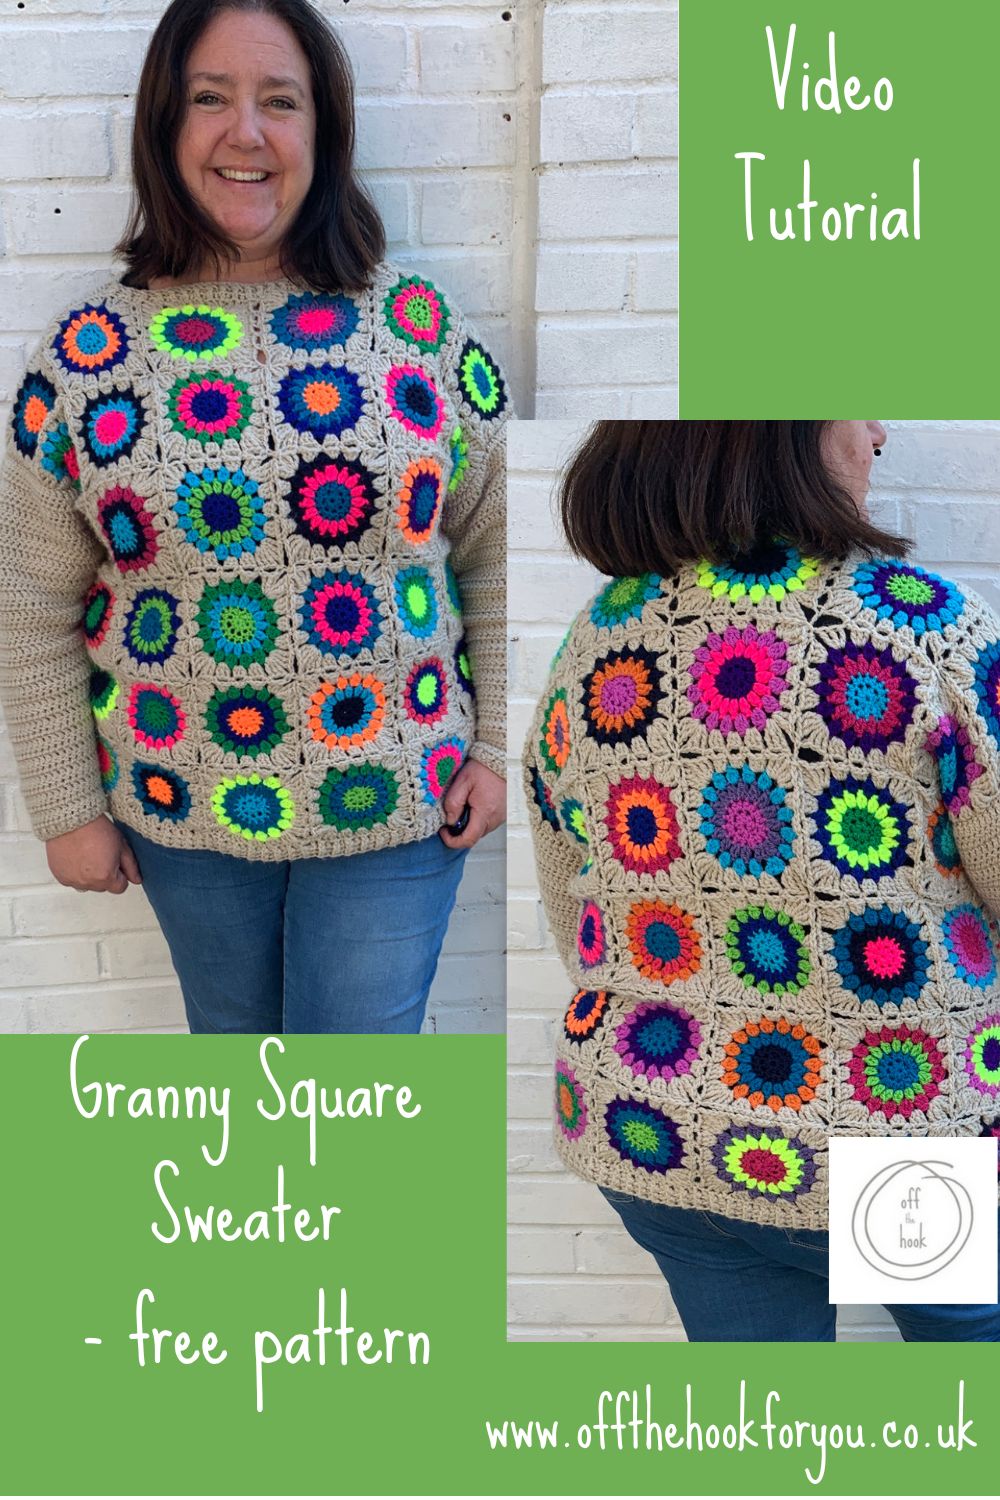
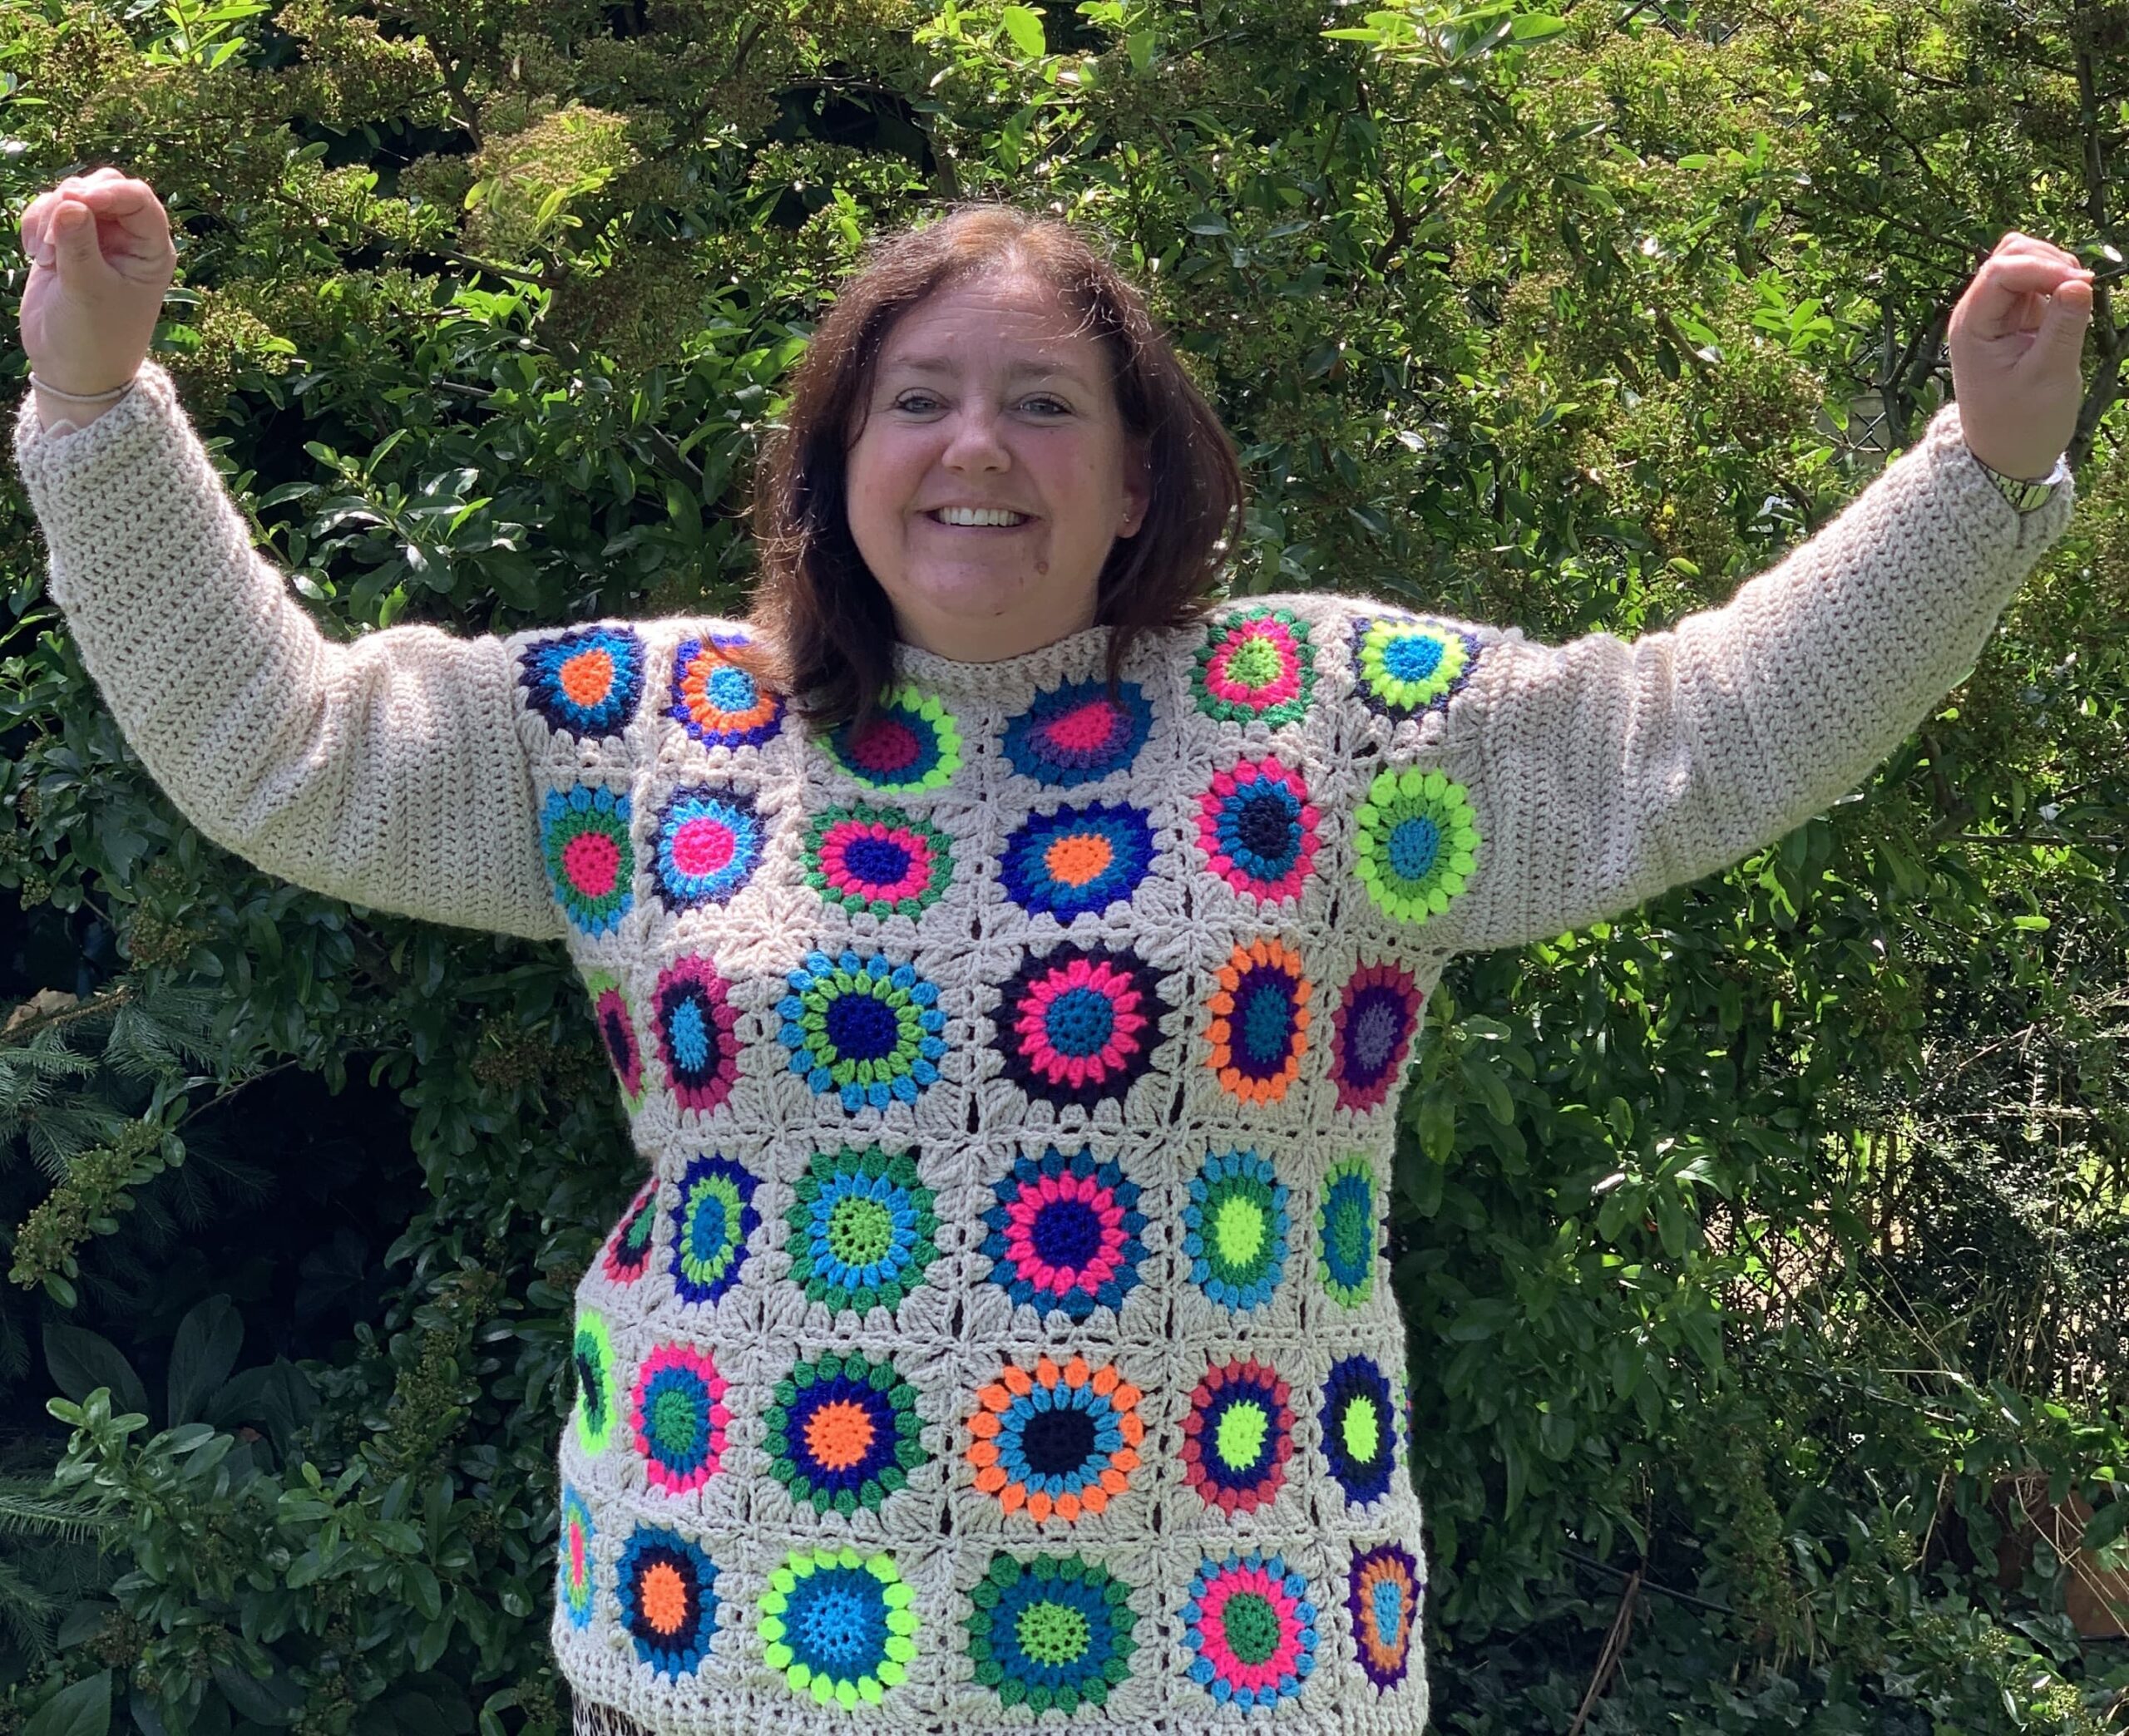
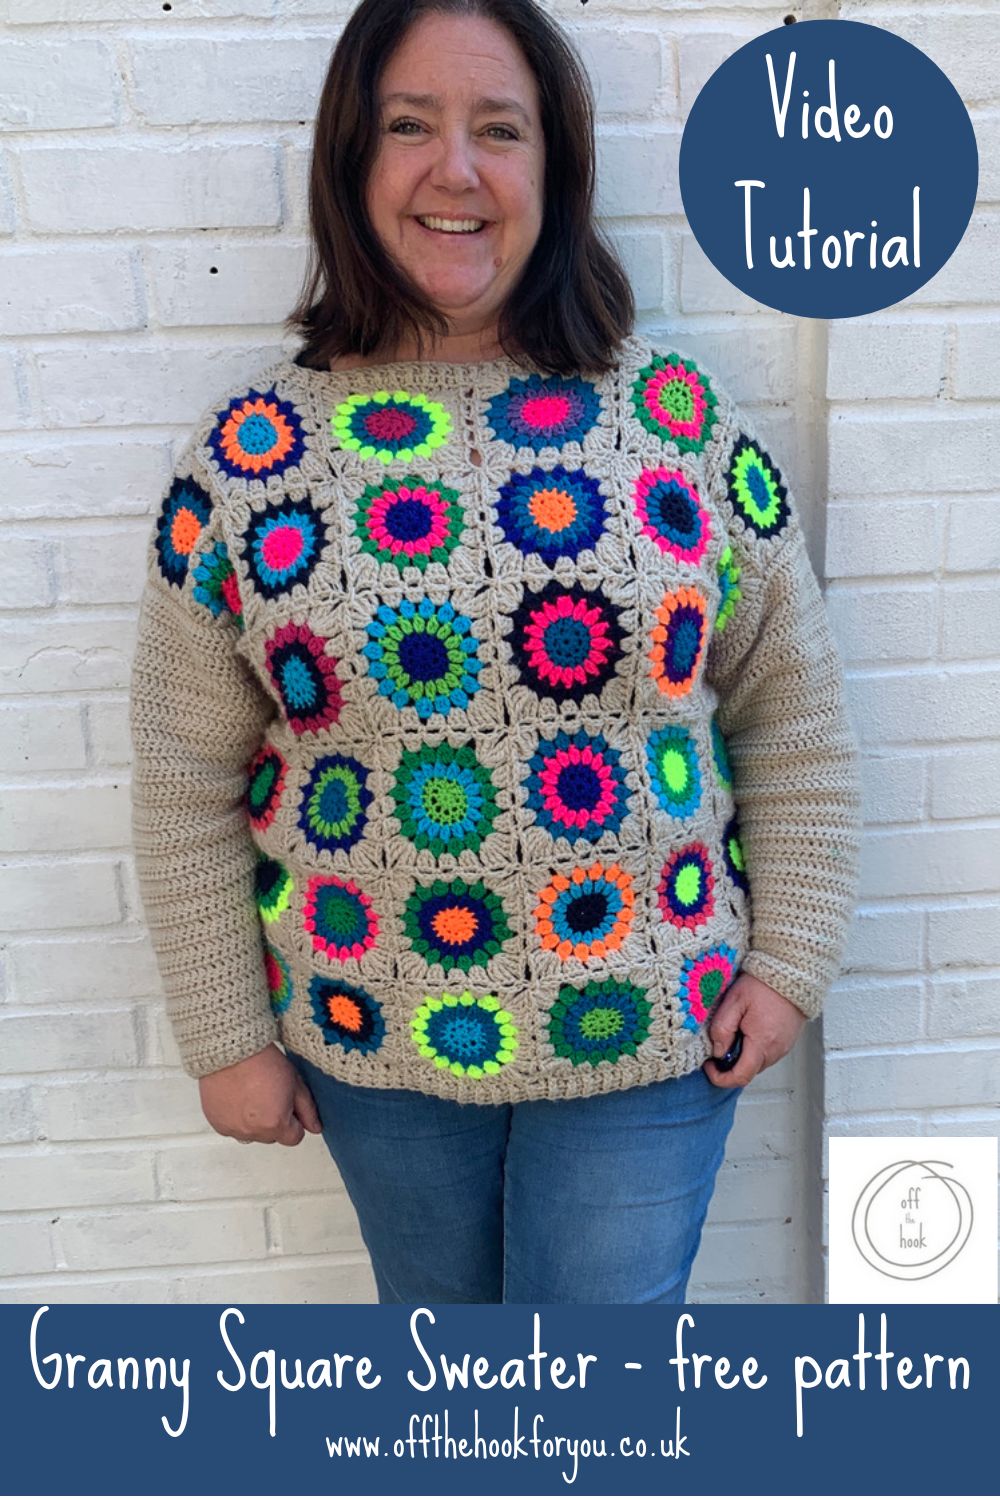
Here you can find the free pattern for a sweater made from crochet granny squares.
This jumper is deceptively easy to make, perfect for the advanced beginner who fancies trying a few more stitches, as it uses a Starburst or Sunburst granny square rather than a traditional granny square.
This is a perfect yarn stashbuster make, choosing all colours as you go, or planning in advance, this is a great way to use up you yarn stash and making a easy wearable too.
Make you own unique sweater today!

About the Granny Squares Sweater
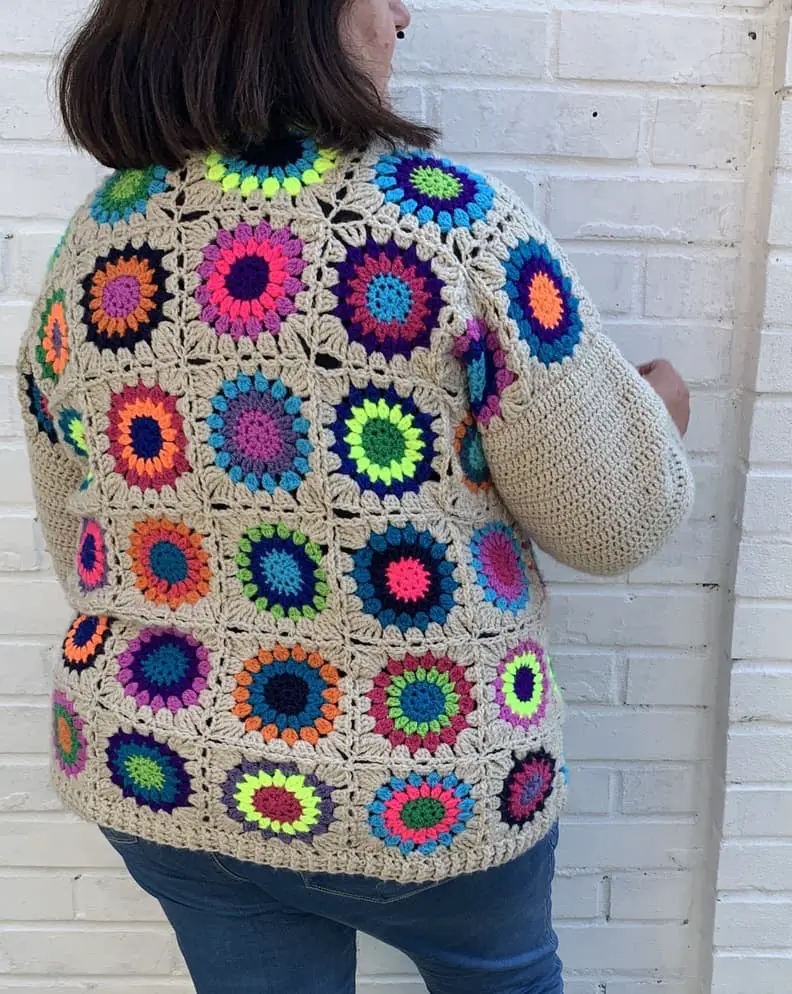
This pattern uses the Starburst or Sunburst granny square – so slightly different to your normal traditional granny square, but this is what gives it it’s striking circles design.
The jumper is made up of multiple little squares, so perfect if you have oddments of yarn left over.
It’s also a great summer pattern to make ready for the winter as small and little crochet is perfect for making on a warmer day.
This sweater is a great make if you fancy making something different to a blanket.
While I adore my Starburst Blanket Pattern (and lots of you too), it’s nice to be able to go out wearing my crochet too.
Imagine making this in just brown middles and yellow stars…….. With the same colour outside – a sunflower sweater!
What you need to know to crochet a Starburst granny Square
These are really easy to make – I call them an advanced beginner crochet pattern.
I have a whole post with videos to show you how to make them completely from scratch going nice and slowly.
>>>How to crochet a starburst granny square
But as a guide you’ll know how to:
- Make a magic ring
- Half Double crochet
- 2DC Cluster
- 3DC Cluster
Then joining via the Continuous Join As You Go method, which again I have a handy video for.
I love CJAYG, it was life changing when I learnt about this!
>>>Find out more about Continuous Join as You go for Starburst granny squares
If you love the starburst granny square you might also like:
- Starburst Granny square blanket
- Starburst cushion cover
- Starburst footstool
- Starburst weekender bag
- Starburst Blanket Scarf
- Starburst hexagon pattern
Why this design for a Granny Square Sweater?
I love anything colourful. I’m usually seen in very bright striped sweaters in the winter, crocheted or bought from the shop, but the brighter the better.
This crochet jumper was in my head as something to use up some yarn. I wanted bright (hence the neon), but also tamer, with the parchment joining.
Sleeves for a Granny Square Sweater
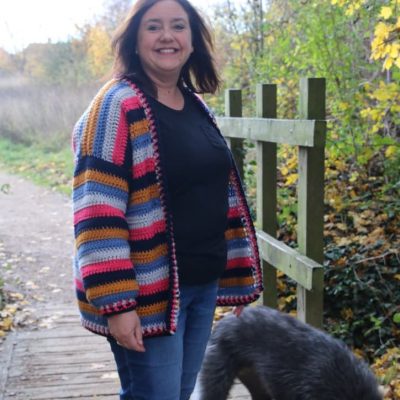
Crochet sleeves on a sweater are a big thing for me. I spend a lot of time at Ice Rinks, which are very cold, so I need to put a coat over the top of them.
I’ve have a few cardigans pattern which have what I’d call “Bishop” sleeves. These are brilliant, but if you try and fit your arms in a coat they can bunch up hugley.
Quick and Easy Crochet Cardigan
Sampler Stitch Striped Sweater
This sweater has fitted sleeves sized according to the Craft Yarn Council guidelines.
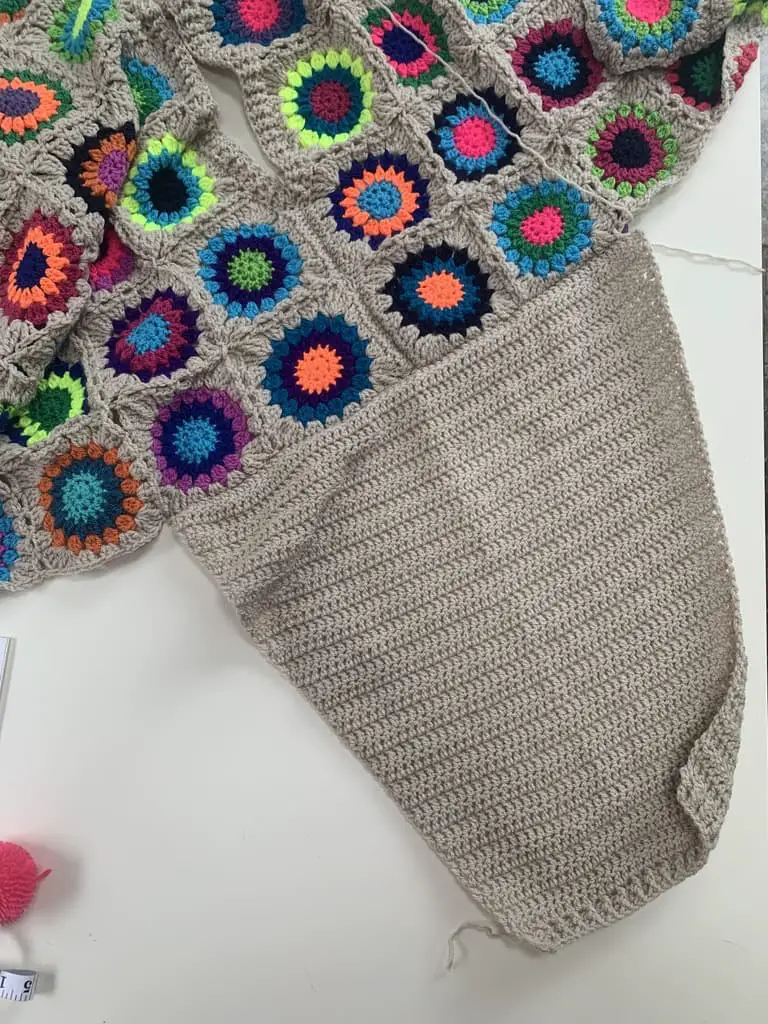
They are tapered and fit very nicely in a coat which is what I wanted.
They are also plain, for the reason if I’m wearing a coat, no-one will see the sleeves anyway, making them super quick to make!
Lots of designs about use squares for the sleeves – you can do this, and add a little strip at the top but this will again give Bishops sleeves.
Another option is to make them like granny stripe – but again this will give you a Bishops sleeve that won’t fit in a coat or jacket.
Yarn for a sweater from granny Squares
As I’ve said before – this is a perfect Stashbuster project.
I used yarn from my stash, and my testers did too.
I’ve used DK (Double Knit – 8 ply) yarn, mainly from Stylecraft, with a few other mixed in from Cygnet Yarns and Scheepjes too.
The amount of yarn you need to join the squares, and make the sleeves is listed below, but you’ll need between 3 and 6 balls on one single colour.
>>>Shop the USA Alternative – Worsted Lite
You will need
10m per square (up until row 4)
| Size | Number of squares | Total Metres/ yards of coloured yarn |
| XS | 48 | 480 / 525 |
| S | 48 | 480 / 525 |
| M | 60 | 600 / 660 |
| L | 60 | 600 / 660 |
| XL | 72 | 720 / 790 |
| 2XL | 72 | 720 / 790 |
| 3XL | 84 | 840 / 920 |
| 4XL | 84 | 840 / 920 |
| 5XL | 96 | 960 / 1050 |
This Sweater is a perfect Stashbuster. I’ve used the leftovers from a couple of different brands.
Stylecraft Special DK, 100% Acrylic Approx 298m/100g.
Cygnet Pato
For Joining and sleeves, Yarn A Stylecraft Special DK, 100% Acrylic Approx 298m/100g.
Granny Squares Sweater Crochet Pattern Options
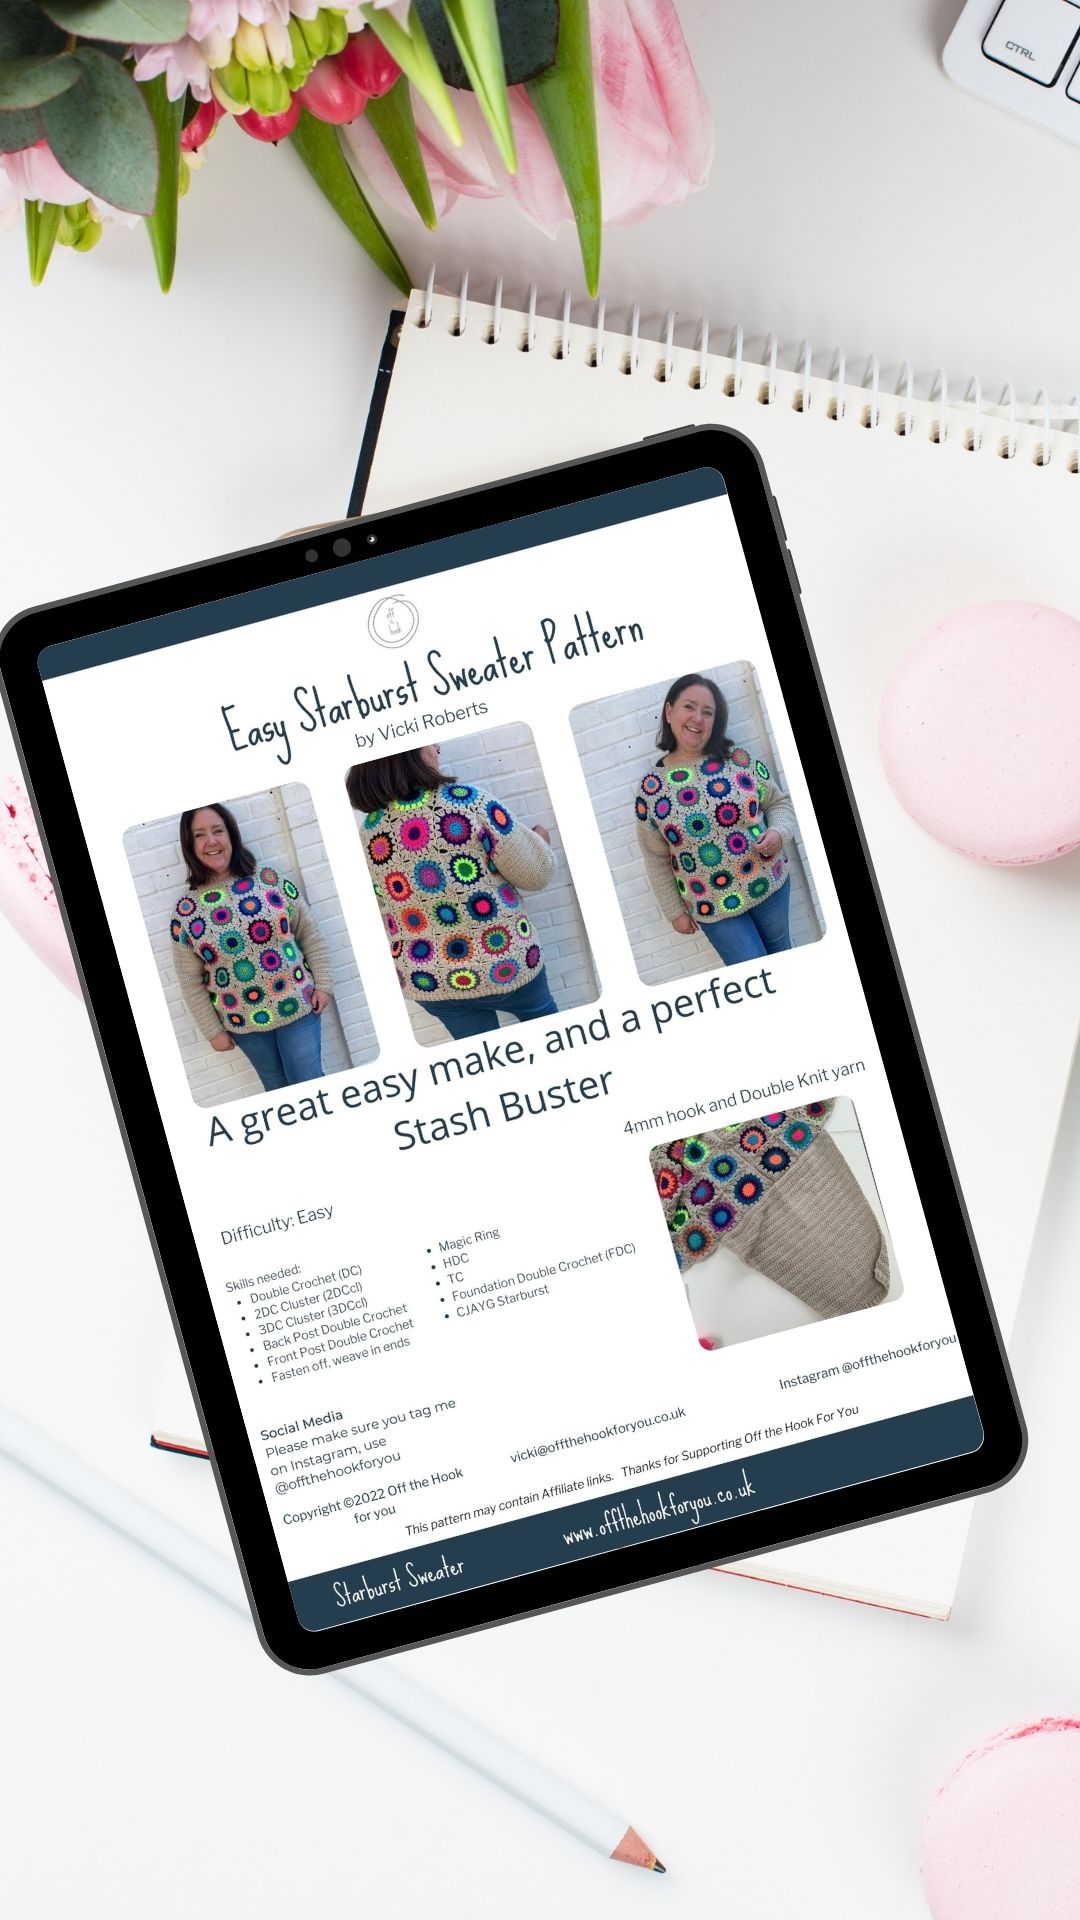
There are a few ways you can get the crochet pattern for my Granny Squares Sweater, and enjoy this crochet pattern and help support Off the Hook for You.
- You can find and use the granny squares sweater pattern here on the blog that is supplemented with ads.
- You can purchase, print and keep the 11 page advert-free pattern PDF in any of my shops as an instant download below – which includes schematics for neckline positions
Get the Ad free Pattern on Etsy
Get the Ad free pattern Lovecrafts
Get the Ad Free Pattern Ravelry
Granny Squares Sweater Crochet Pattern
This Sweater is a perfect Stashbuster. I’ve used the leftovers in a DK weight (light worsted) from a couple of different brands.
Stylecraft Special DK, 100% Acrylic Approx 298m/100g.
Empire 1829
Proper purple 1855
Turquoise 1068
Grass Green 1821
Midnight 1011
Green 1116
Spice 1711
Pomegranate 1083
Violet 1277
Magenta 1084
Boysenberry 1828
Petrol 1708
Jaffa 6632
Cygnet Pato
Luminous Yellow 972
Neon Pink 974
For Joining and sleeves, Yarn A Stylecraft Special DK, 100% Acrylic Approx 298m/100g. 3 (3, 3, 4, 4, 5, 5, 6, 7) balls in Parchment
A 4mm hook (US 6/G) or hook needed to achieve tension
Abbreviations – USA Terms used
Ch – chain stitch
BPDC – back post double crochet
DC – double crochet
FDC – foundation double crochet
FPDC – front post double crochet
HDC – Half double crochet
pul – pull up loop
ss – slip stitch
st(s) – stitch (es)
TC – Treble crochet
yrh – yarn round hook
Foundation Double Crochet (FDC): Ch3 (counts as first 1DC), yrh, insert hook in 3rd Ch from hook, [yrh, pul, yrh, draw through 1 loop on hook (Ch made), yrh, draw through 2 loops] twice (DC made)], insert hook in last Ch made; rep [ ] for number of sts required.
2DC Cluster (2DCcl) – YO, through st, pull back through, YO, pull back through 2 loops, YO, through same st, YO, pull back through, YO, pull back through 2 loops, YO pull back over all loops.
3 DC Cluster (3DCcl) – YO, through st, pull back through, YO, pull back through 2 loops, YO, through same st, YO, pull back through, YO, pull back through 2 loops, YO, through same st, YO, pull back through, YO, pull back through 2 loops, YO pull back over all loops.
Tension/ Gauge
Each complete square to round 5 will measure 10cm x 10cm (4in x 4in) square with a 4mm hook.
Please make at least one square up to round 5 to check your tension is correct. A small difference in this measure will affect the fit of the sweater.

Pattern Notes
The jumper is intended to have a snug fit, with only a small amount of positive ease which changes with the size. See Schematic for finished measurements.
The front and back are made as panels, from the circles joined together using the continuous join technique. To learn this technique click here. Stop making your squares at round 4, ready to CJAYG.
The sleeves are worked in rows, turning at the end of each row, then sewing together once made.
The Chains at the beginning of the rows/ rounds count as a stitch throughout.
x donates that the instruction does not apply to that size.
The length of the jumper can be changed by reducing or increasing the number of squares that make the front panel. The standard length is 62cm, made from a height of 6 squares.
The body of the sweater is made from mostly granny squares. Extension rows are used for some sizes to achieve the correct width. If your size is not mentioned, move onto next step.
As a guide, I am 5ft 3in, and I wear a UK 16/18, USA 14/16 and I made an XL size.
| Size | XS | S | M | L | XL | 2XL | 3XL | 4XL | 5XL |
| To Fit Bust (cm) | 76 | 86 | 97 | 107 | 117 | 127 | 137 | 147 | 158 |
| Actual Bust (cm) | 80 | 90 | 100 | 110 | 120 | 130 | 140 | 150 | 160 |
| Length (cm) (**Longer) | 62 | 62 | 62 | 62 | 62 | 62 | 62 | 62 | 62 |
| Armhole depth (cm) | 17 | 18 | 19 | 21 | 22 | 23 | 24 | 26 | 27 |
| Sleeve Length (cm) | 39 | 40 | 40 | 41 | 41 | 43 | 43 | 44 | 44 |
| To Fit Bust (inches) | 30 | 34 | 38 | 42 | 46 | 50 | 54 | 58 | 62 |
| Actual Bust (inches) | 31 | 35 | 39 | 43 | 47 | 51 | 55 | 59 | 63 |
| Length (inches) (**Longer) | 24 | 24 | 24 | 24 | 24 | 24 | 24 | 24 | 24 |
| Armhole Depth (inches) | 7 | 7 | 7 | 8 | 9 | 9 | 9 | 10 | 11 |
| Sleeve Length (inches) | 15 | 16 | 16 | 16 | 16 | 17 | 17 | 17 | 17 |


Back and Front
Pattern – Starburst Granny Square
Make a magic ring
Round 1 (RS) Ch2 (counts as HDC), 7HDC into loop, ss to top beg ch2. [8HDC]
Round 2(RS) Ch2 (counts as HDC), HDC in base of ch2, 2HDC in each st around, ss to top of beg ch2. [16HDC]. Fasten off, join another colour in any st.
Round 3 Ch3 (counts as first part of cl), DC in stitch at base of ch3, ch1 (2DCcl, ch1) in each st around, ss to top beg ch3. Fasten off, join another colour yarn in any chain space.
Round 4 Ch3 (counts as first leg of DCcl), 2DCcl in same space, ch1, (3DCcl, ch1) in each chain space around, ss to top of beg ch3. Fasten off, join new colour yarn in any chain space.
Now making the circle a square
Round 5 – Using the Continuous join as you go technique – Learn about it here
Join Yarn A, Ch4 (counts as a TC), (2TC, ch2, 3TC) in the same chain space *ch1, 3DC in next chain space, ch1, 3HDC in next chain space, ch1, 3DC in next chain space, ch1 **, (3TC, ch2, 3TC) into next chain space; rep from * 3 times more ending last rep at **, ss into top of beg ch4. Fasten off, weave in all ends.
Make 48 (48, 60, 60, 72, 72, 84, 84, 96) starburst granny squares in total.
Each square should use a combination of the three colours from yarns. Make squares following the instructions above.
Front and Back (repeat twice)
Make 24 (24, 30, 30, 36, 36, 42, 42, 48) starburst granny squares in total
Join squares using the continuous join 4 (4, 5, 5, 6, 6, 7, 7, 8) starburst granny squares across by 6 squares down.
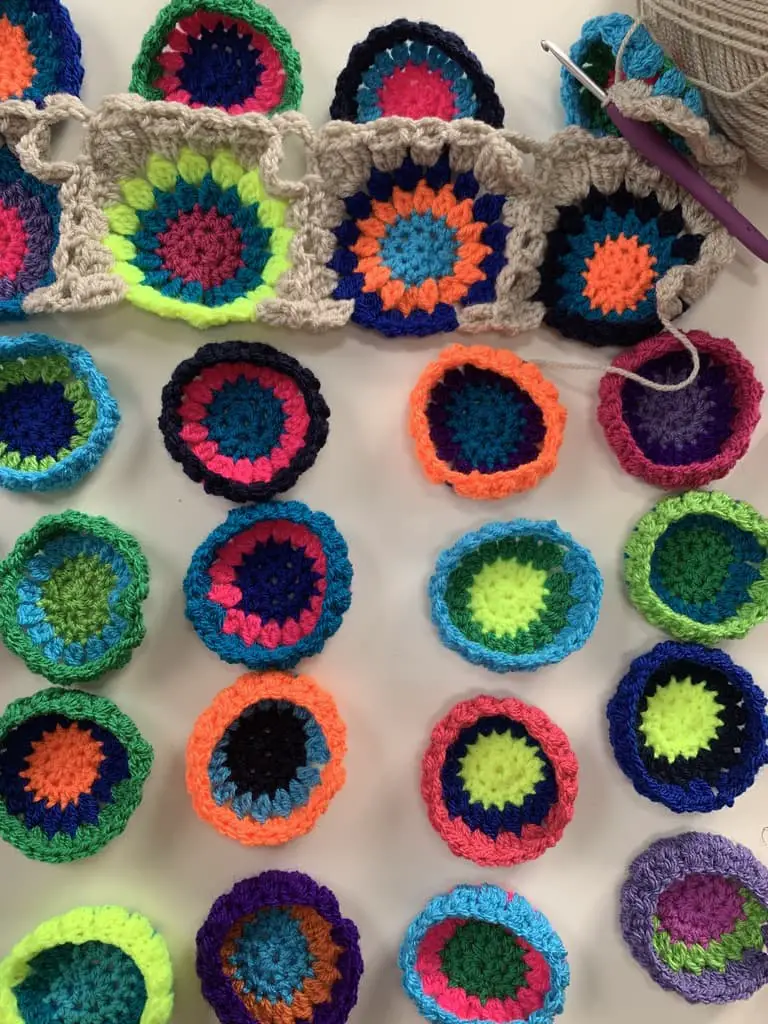
Joining the squares
Squares are joined using the continuous join as you go Technique on Round 5. Alternatively, work all squares to the end of Round 5, , then join them together on WS using a neat whip stitch in yarn A
Front – sizes Small, Large, 2XL, 4XL only
Decide what is the bottom and top of the sweater. On each side (left and right), crochet the side panels.
Row 1: Join Yarn A, Ch3, make 1DC in the top if each DC along, turn.
Rows 2: Ch3, DC across. Fasten off.
Repeat on the other side.
Back – sizes Small, Large, 2XL, 4XL only
Decide what is the bottom and top of the sweater. On each side (left and right), crochet the side panels.
Row 1: Join Yarn A, Ch3, make 1DC in the top if each DC along, turn.
Rows 2-3: Ch3, DC across. Fasten off.
Repeat on the other side.
Sleeves – make 2
Using yarn A FDC 30 (30, 32, 32, 34, 34, 38, 42, 44).
Row 2 (RS): Ch3 (counts as DC throughout), FPDC, *BPDC, FPDC; rep from * to end. Turn. 30 (30, 32, 32, 34, 34, 38, 42, 44) sts.
Row 3 (WS): Ch3, 2DC in first st, DC across. Turn. 31 (31, 33, 33, 35, 35, 39, 43, 45) sts.
Row 4: Repeat row 3 a further 24 (27, 28, 34, 38, 40, 38, 40, 41) times. 55 (58, 61, 67, 73, 74, 77, 83, 86) sts.
Row 5: Ch3, DC across. Turn. 12 (10, 11, 6, 0, 0, 2, 1, 0) times. 55 (58, 61, 67, 73, 74, 77, 83, 86) sts.
Shoulder Seam
Join the shoulders, using the neckline as a guide below.
To make up Sleeves
Fold RS together and sew the sleeve seam.
Sew sleeves to the body centred at the shoulder seam (see front page for diagram). Sew underarm and side sleeves. Weave in ends.
Hem (turn right side out)
Row 1: Join yarn A at the bottom of the jumper. Ch3 (counts as DC throughout), FPDC, *BPDC, FPDC; rep from * to end. SS to join.
Row 2: Ch3, FPDC, *BPDC, FPDC; rep from * to end. SS to join. Fasten off, weave in ends.
Neckline
The neckline is made by leaving 2 squares in the centre of the jumper. The number of squares either side will depend on what size you are making, and the position of the neckline depends on how many squares
XS and S – 1 square either side, yarn joined in a corner
M and L – 1.5 squares either side. Yarn joined in the centre of the side
Xl and 2XL – 2 squares either side, yarn joined in a corner
3XL 4XL – 2.5 squares either side. Yarn joined in the centre of the side
5XL – 3 squares either side.
Row 1: Join yarn A In the position noted above. Ch3 (counts as DC throughout), FPDC, *BPDC, FPDC; rep from * to end. SS to join.
Row 2: Ch3, FPDC, *BPDC, FPDC; rep from * to end. SS to join. Fasten off, weave in ends.
Diagrams to show where to position the neck and join the yarn for each size.
Join me at Off The Hook For You to share your crochet!
Thanks for visiting – I’d love to stay connected with you so please sign up for my email list where a free PDF pattern is waiting for you (just so you can see what my PDF patterns are like).
Finished one of my crochet pattern makes? I’d love to see it and so would the world, so get sharing! You can find me in the following ways:
- Follow me on Pinterest
- Join my new Facebook group
- Share a picture on Instagram and tag me #offthehookforyou
- Share your projects on Ravelry
- Share your projects on LoveCrafts
Disclaimer
This post may contain affiliate links which I earn a small commission from if you choose to click and purchase anything from. You pay the same price, I get a very small amount for sending you their way. It helps me to make my crochet patterns free on the blog.