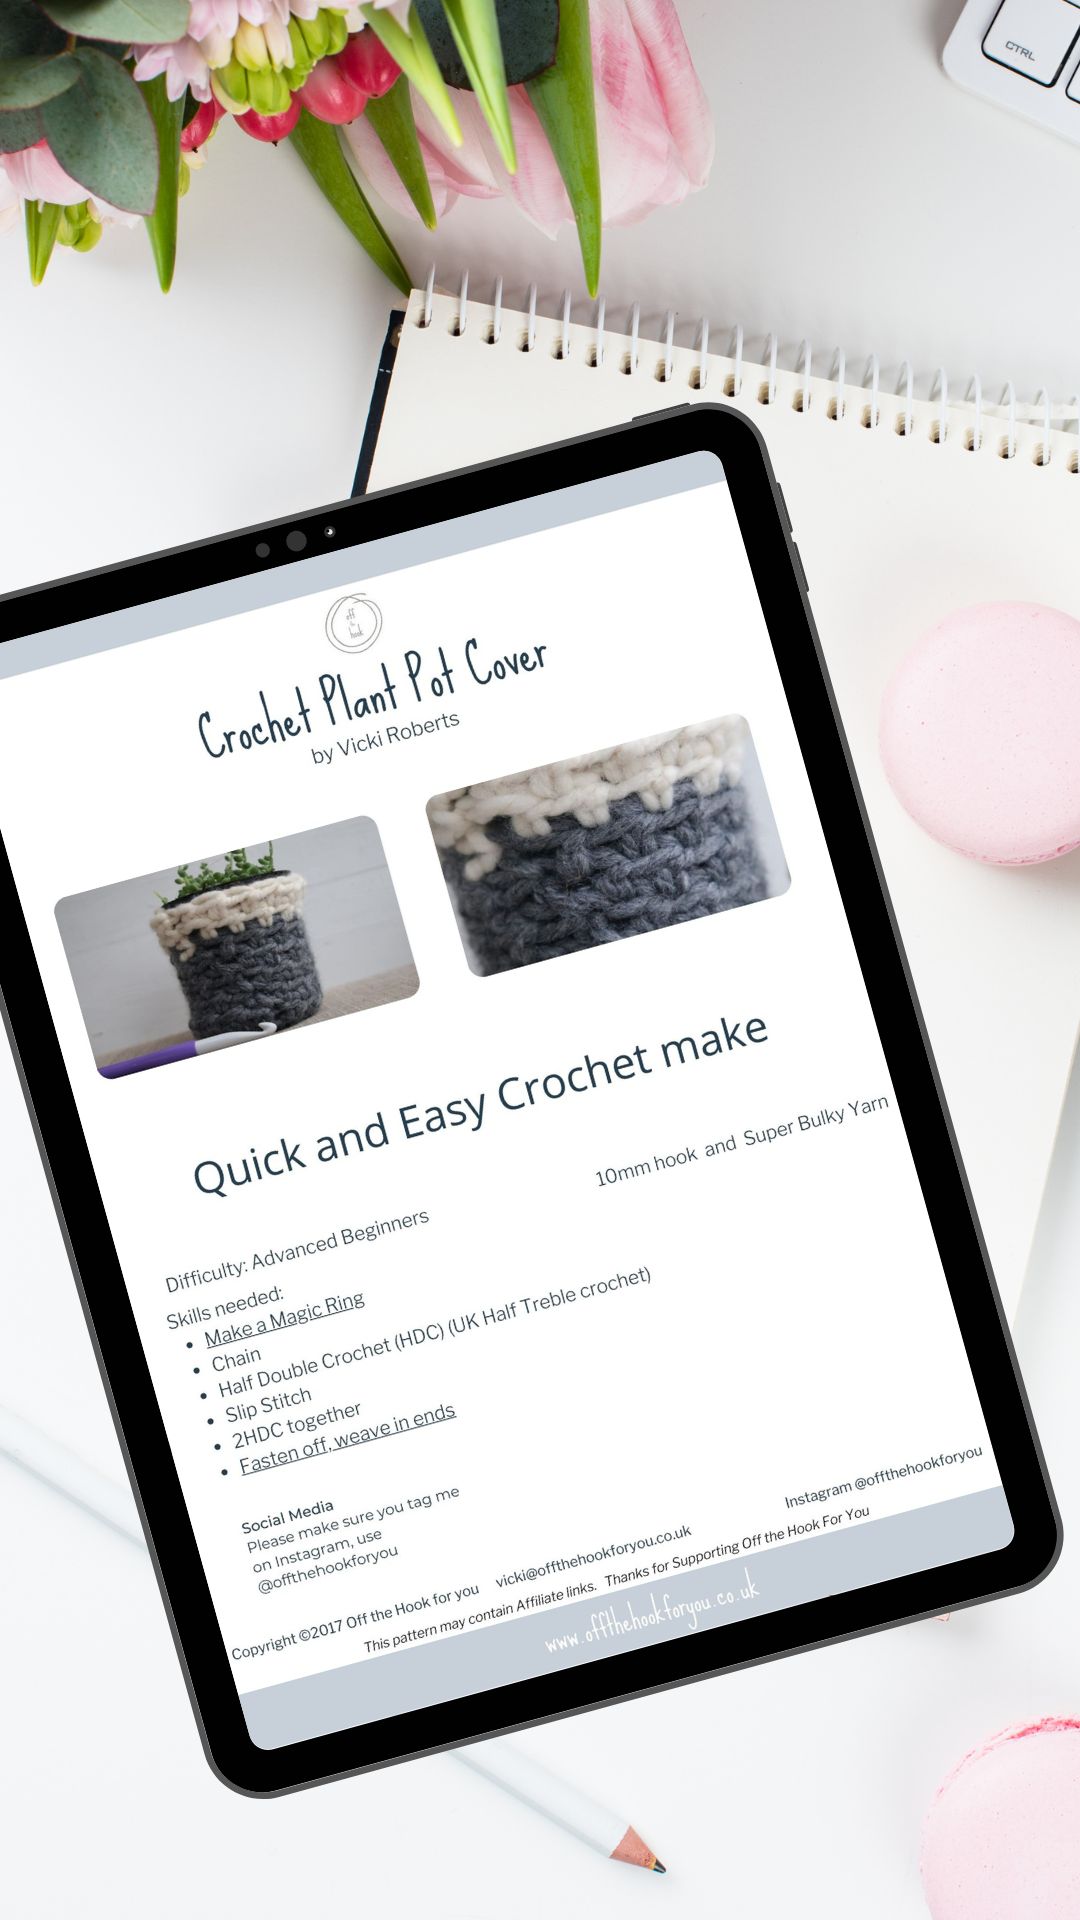
OK…… so this is something I’ve been wanting to make for a while, so I thought on this very dull, cold and rainy morning in August that I’d finally spend a bit of time making a crochet plant pot cover.
This is a super quick and easy Plant Pot cover, using Single and Half Double crochet to give a nice close texture – this is a super quick to make – and a perfect advanced beginners project.
Please Pin this using the photo below.

How long does it take to crochet a Plant Pot Cover?
These are a really quick make – because they use Super bulky yarn!
You can expect to have this finished, with the ends all sewn in within 30 minutes!
Other Super Bulky Yarn Patterns
If you are looking for quick quick crochet projects
What Stitches do you need to know?
As I’ve said before this is an advanced beginners project. There are a couple of slightly “trickier” bits, but with my tutorials – they will be super easy!
You need to know how too:
- Make a Magic Ring
- Single crochet
- Half Double Crochet
- FPHDC
- Change colour

Crochet Pattern Options
There are a few ways you can get the crochet pattern for my Easy Crochet Plant Pot Cosy, and enjoy this crochet pattern and help support Off the Hook for You.
- You can find and use the pot cosy pattern here on the blog that is supplemented with ads.
- You can purchase, print and keep the 3 page advert-free pattern PDF in any of my shops as an instant download below.

To make a crochet plant pot cover
10mm crochet hook
scissors
needle (for sewing in ends -These are perfect for super bulky yarn)
1/2 ball or each Cygnet Seriously chunky in Slate Grey and Cream.
stitch marker.
A tuna tin/ can (washed and dried)
A 10cm plant pot.
Check out another of my plant pot designs>>>> Little Lemon Pot covers
Abbreviations: US Terms
CH – Chain
SC – Single crochet
FPHDC – Front post Half Double crochet
HDC – Half Double Crochet
SS – Slip Stitch
>>>Get a jam jar crochet crochet pattern here
To crochet a plant pot cover
Start with a magic ring, chain 1.
Round 1: 8SC in the magic ring, SS to the top and pull tight.
Round 2: 2 SC in each stitch, SS
Round 3: CH2, 1 FPHDC in each stitch, SS to join
Round 4-10: 1 HDC in each, SS to join
>>>Check out the Donut Floor cushion I made with this yarn >>>
Round 11: Join the cream on the last YO from round 10. 1HDC in each stitch, SS to join.
Round 12: 1 HDC in each, SS to join and fasten off.

An extreme close up……..
>>>Get the pattern for a large crochet Pumpkin here
Here it is…….. So who’s going to make one?


Join me at Off The Hook For You to share your crochet!
Thanks for visiting – I’d love to stay connected with you so please sign up for my email list where a free PDF pattern is waiting for you (just so you can see what my PDF patterns are like).
Finished one of my crochet pattern makes? I’d love to see it and so would the world, so get sharing! You can find me in the following ways:
- Share a picture on Instagram and tag me #offthehookforyou
- Share your projects on Ravelry
- Share your projects on LoveCrafts
Disclaimer
This post may contain affiliate links which I earn a small commission from if you choose to click and purchase anything from. You pay the same price, I get a very small amount for sending you their way. It helps me to make my crochet patterns free on the blog.


