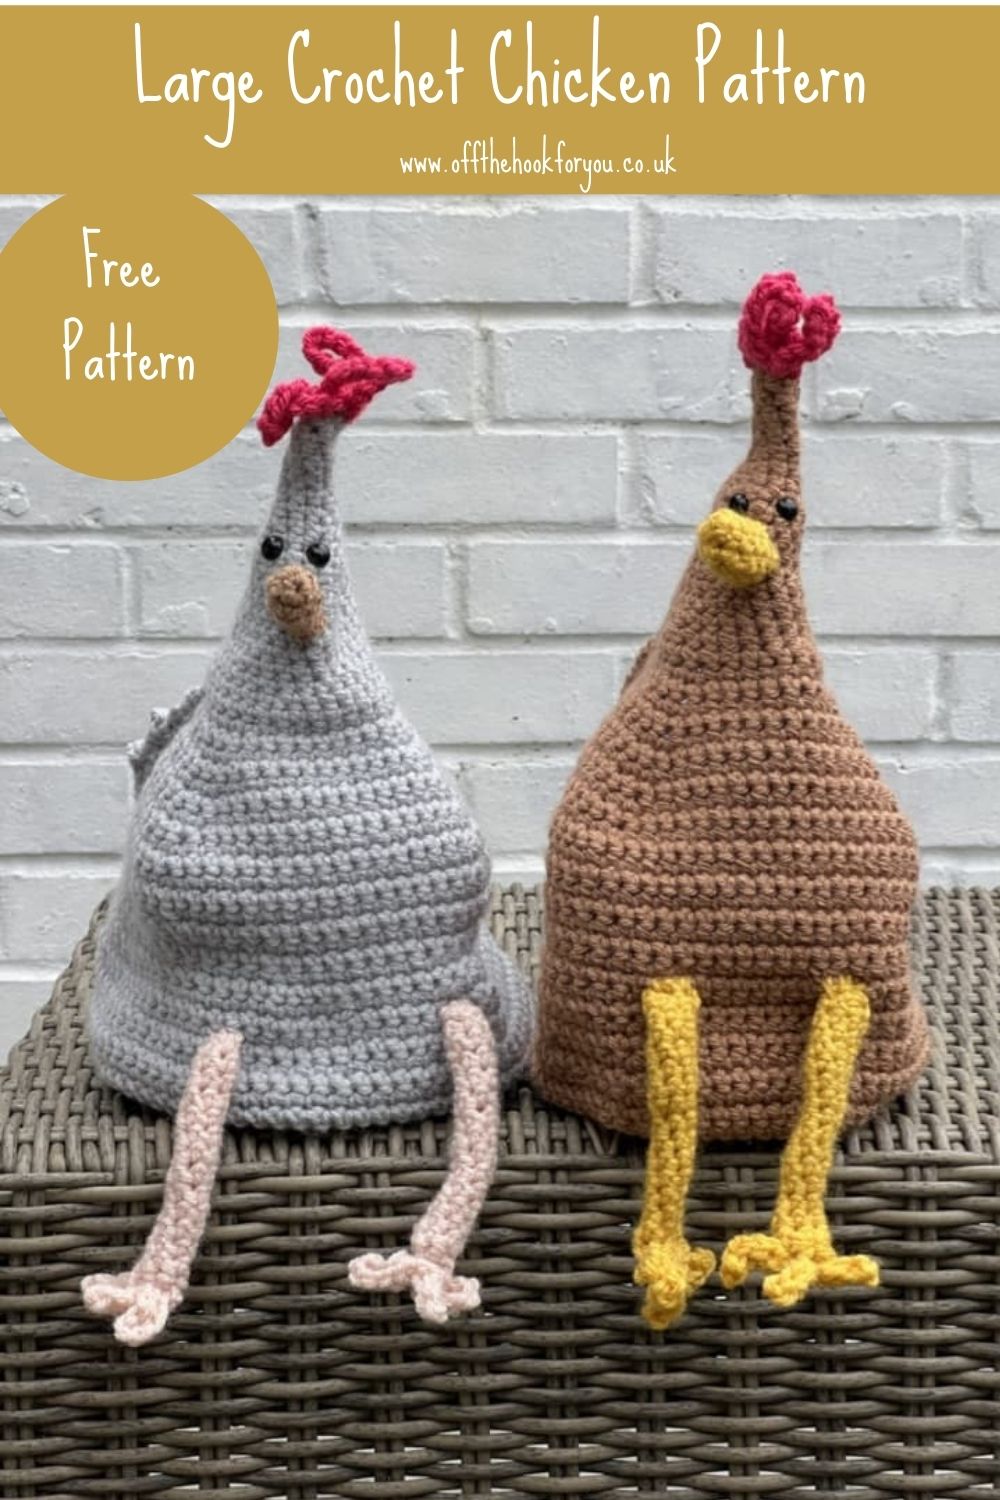
Here you can find the free pattern for a large crochet chicken or amigurumi chicken.
Do you call a chicken a hen or a chicken? I’ve always called my hens, the chickens (or girls), but I’ve no idea why?
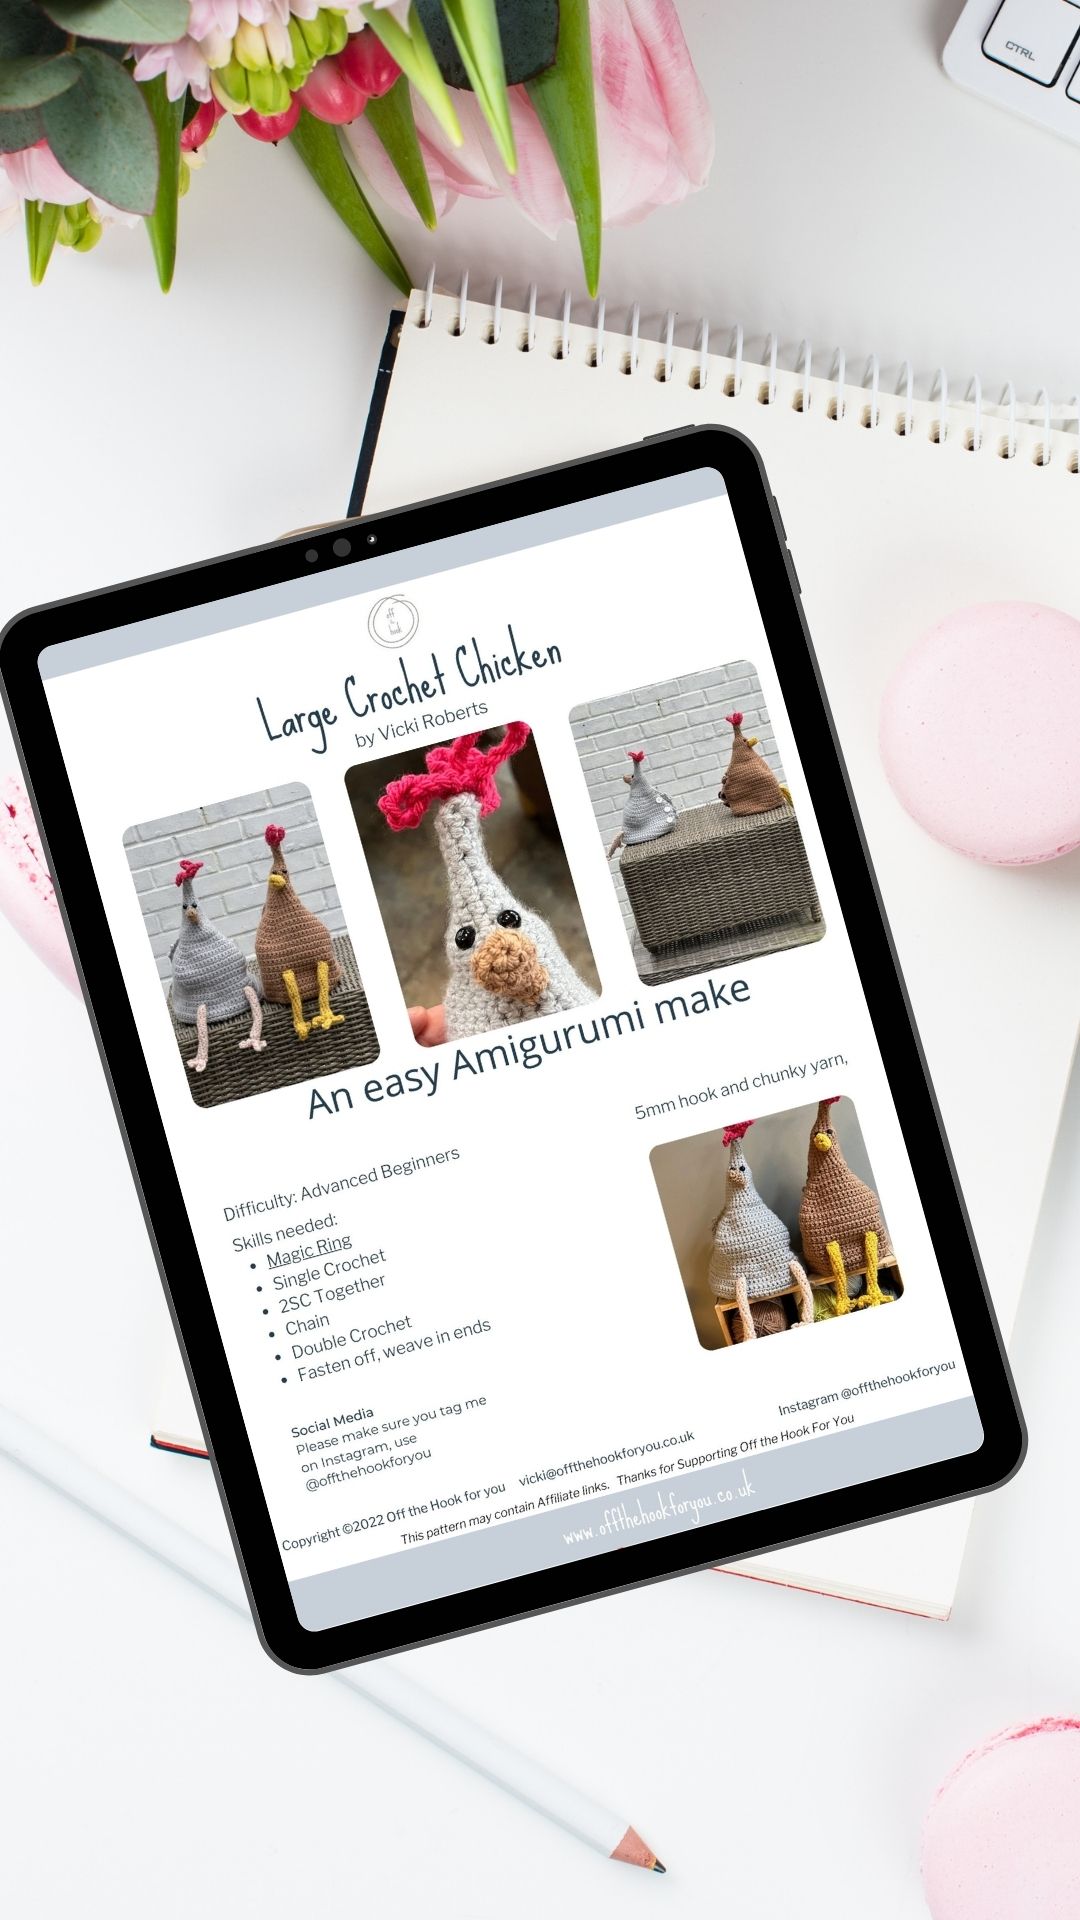
This crochet pattern was designed to be a door stop or a wine bladder holder, but it’s just as good as an Amigurumi toy make too.
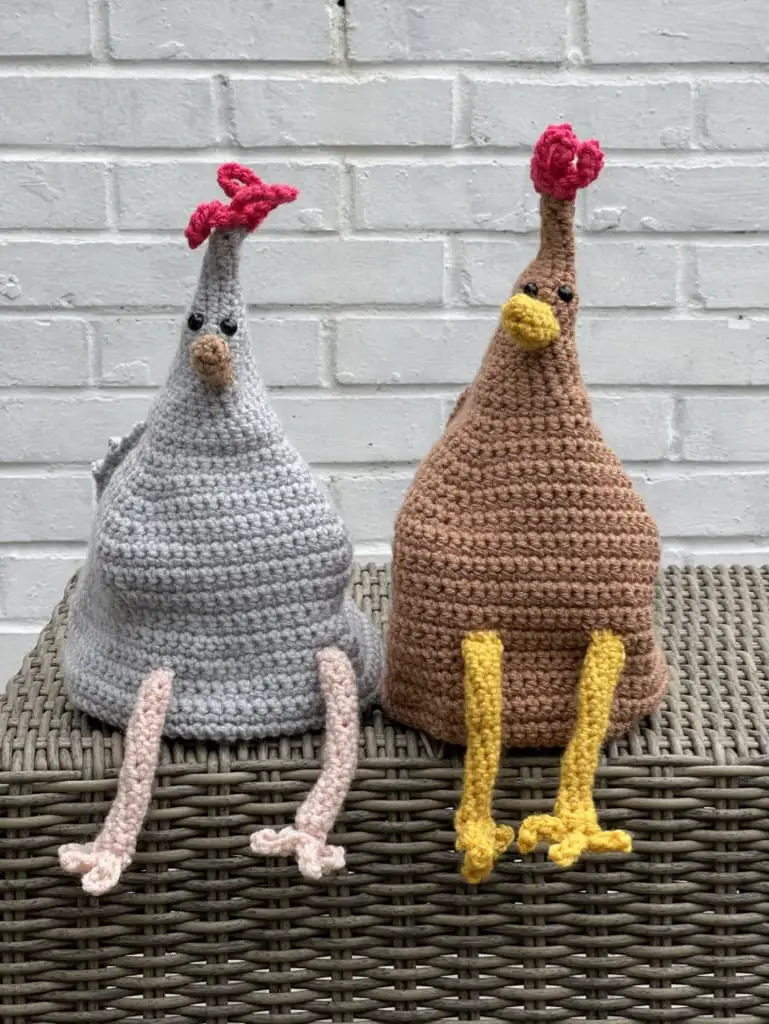
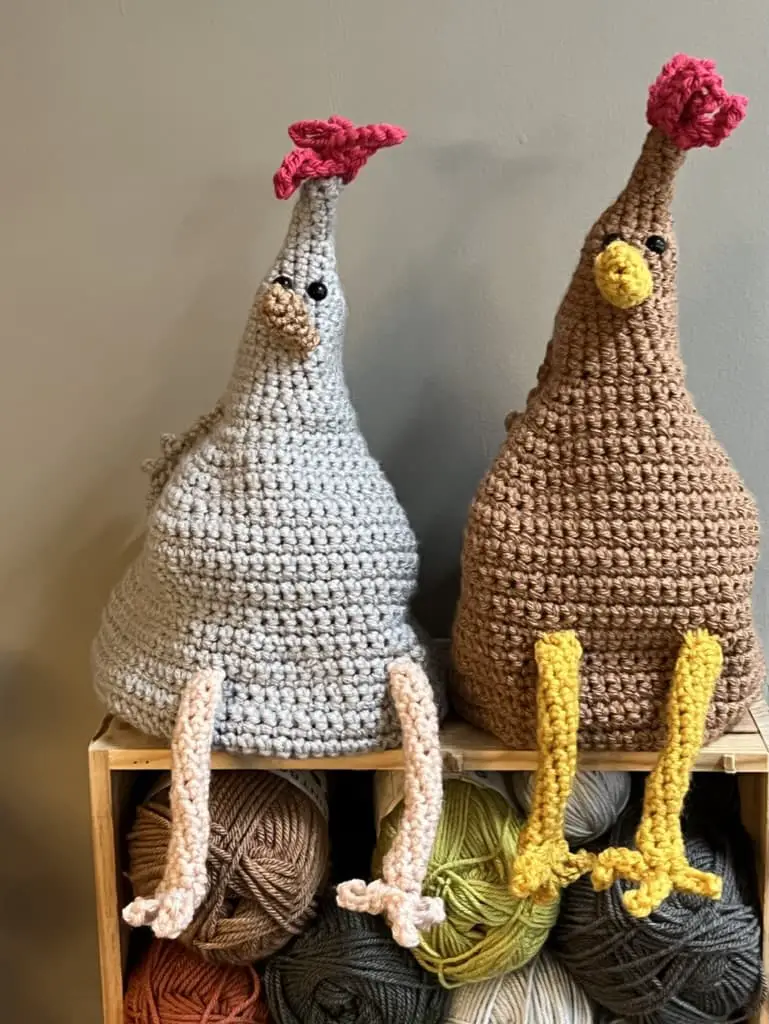
I have some insider knowledge here, as I have pet chickens, so have designed these to be cartoon based, but the colours are the same as some of the real girls in my tiny flock.
Why this Crochet Chicken?
When I first designed these crochet chickens, I did have the amazing plasticine models from “Chicken Run” in my head, but I think I muddled them up with the penguin “Feathers McGraw” in the series too. Then I went completely off-piste, and made them my own!
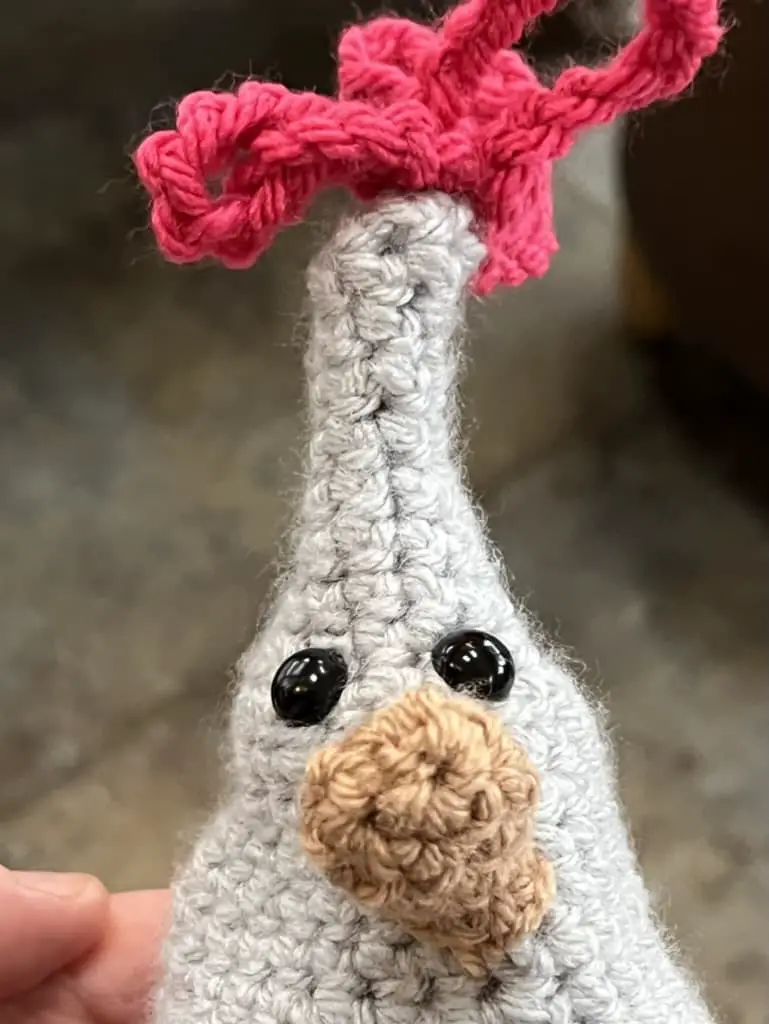
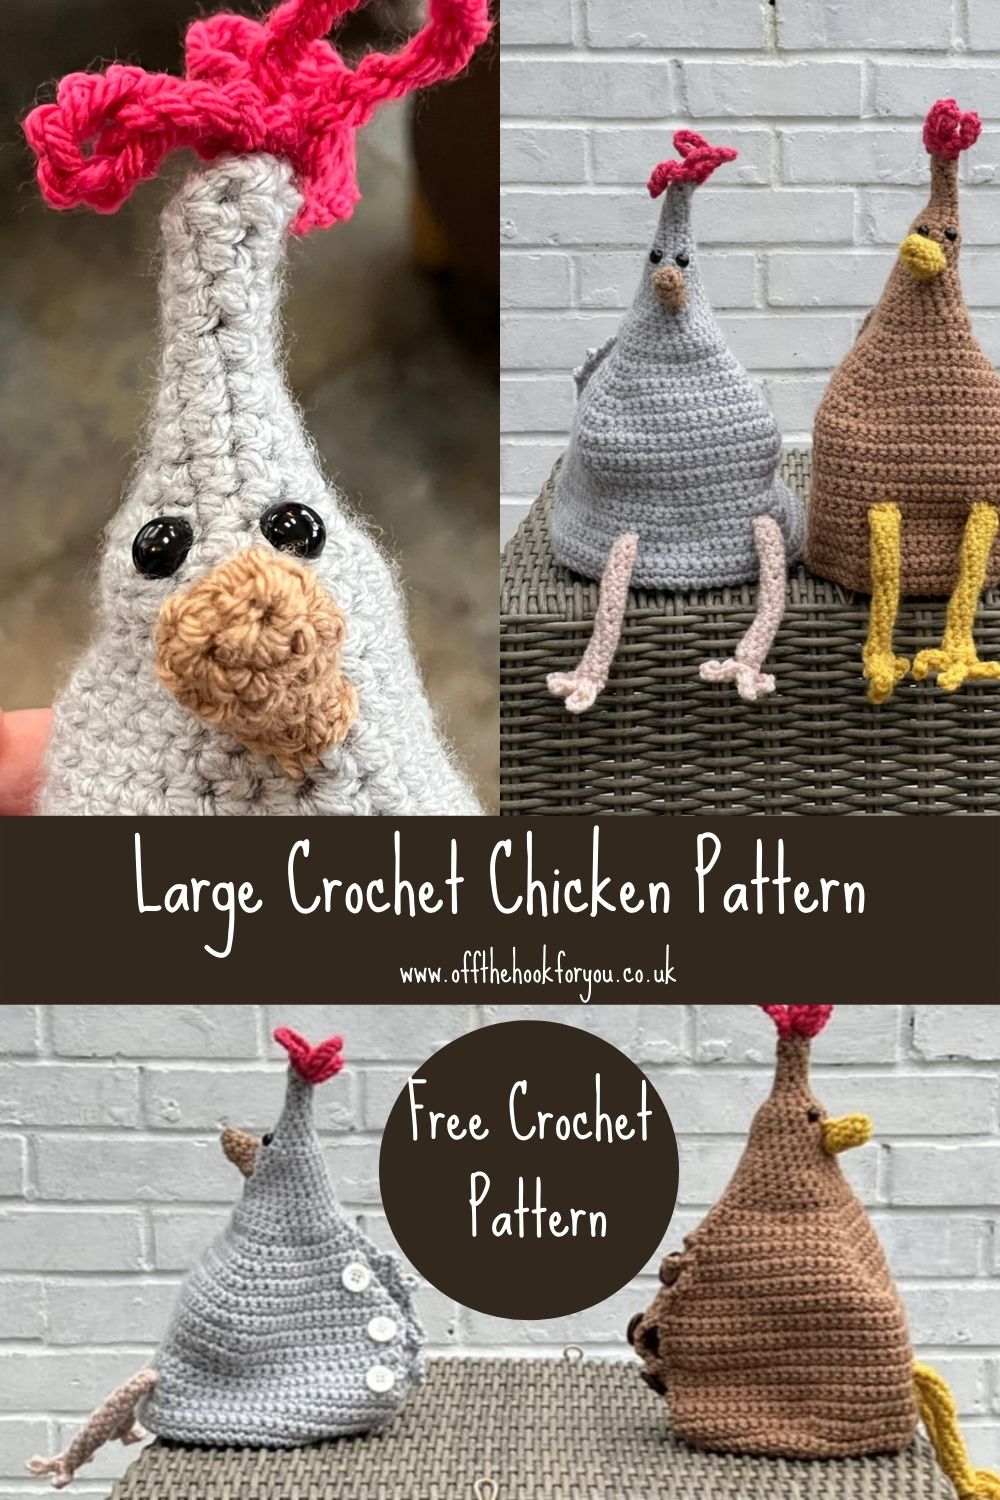
They work as a design as the eyes are so close together, giving them the “simple” (Stupid) look.
How do you Crochet a Chicken?
These crochet chickens are made from Chunky yarn, in “real”chicken colours.
They are a surprisingly easy Amigurumi make, using only the following stitches:
- How to make a Magic ring
- Single crochet
- 2 Single crochet in the same stitch
- 2 Single crochet together
- Chain
These are the same crochet techniques used in my other toy patterns:
How do you crochet chickens feet?
The chicken leg is made by working an Amigurumi tube, then the toes are made by chaining and “folding” the toes and sewing together.
How do you crochet a chickens beak?
Working in the Amigurumi method again, it’s a smaller version of the Chicken Leg, just a small amigurumi tube.
Make sure the yarn colour you use is a proper chicken colour though!
How long does it take to crochet a chicken?
These chickens take between 4 and 5 hours to make. They are pretty easy and repetitive once you start as the main body of the chicken is 1 single crochet in each stitch and turning at the end of each row (if making the wine bladder).
Chicken Wine Holder or Doorstop?
The great thing about this pattern is you can make the chicken to be exactly what you want.
The two I’ve made above are a wine bladder holder, the difference is that they have a hole in the back where you can insert the wine bag, and then button it up, as a novelty item.
How to make the Crochet Chicken a Doorstop?
To make this chicken into a doorstop, it’s really easy. Follow the crochet pattern below, and when you get to round 33, DO NOT Turn, continue working in a sprial.
You’ll need to put the eyes in a bit earlier, probably about round 20, then start to stuff the chicken from when you start to drecease.
To make this chicken heavy enough, rather than polyester stuffing, use this, but also add a sealed 1kg bag of rice or beans from the shop.
Yarn choice for a crochet chicken
I chose a chunky yarn for this crochet chicken pattern as I wanted something that would work up quickly.
Colour choice was very important here, as I wanted the crochet chickens to look realistic in terms of their colours.
The grey chicken (a cream legbar cross who laid blue eggs!) uses:
Stylecraft Special Chunky Silver for the body
Stylecraft Special Chunky in Pomegranate for the comb
Cygnet Chunky in Bisque for the legs and feet
Brava Worsted Weight Yarn in Almond for the beak.
The Brown Chicken (a Rhode Island Red – a beige egg layer) uses:
Paintbox Simply Chunky Soft Fudge for the body
Cygnet Chunkyin Gold for the legs and beak
Stylecraft Chunky in Pomegranate for the comb.
How do you crochet a small chicken?
This pattern was designed to be crocheted quickly, so a chunky yarn was used with a 5mm hook.
To make the chicken smaller, you could use a DK weight yarn #3 weight, and a 3.0mm hook.
You need to use a smaller hook than what the ball band says, to ensure you have really tight crochet with no holes.
Crochet Chicken Pattern Options
There are a few ways you can get the crochet pattern for my large crochet chicken and help support Off the Hook for You.
- You can find and use the Crochet Chicken Pattern here on the blog that is supplemented with ads.
- You can purchase, print and keep the 5 page advert-free pattern PDF in any of my shops.
>>>Get the pattern on Lovecrafts
Crochet Chicken Free Pattern
Finished Size
30 cm tall x 30cm wide
Tension
Tension is not important, but each stitch should be worked tightly to ensure you can’t see through the crochet.
Yarn and Equipment
Grey chicken
Yarn A Stylecraft Special Chunky 100% premium Acrylic 144m/ 157 yards per 100g ball in Silver (1203)
Yarn C Cygnet Chunky, 100% Acrylic 156m per 100g ball; in Bisque (349)
Yarn D Brava Worsted Weight Yarn, 218 yrds,/ 100g ball. 100% premium Acrylic 1 Ball Almond C28410
Brown Chicken
Yarn A Paintbox Simply Chunky 100% acrylic, 136m/ 149 yards per 100g ball in Soft Fudge 309
Yarn B Cygnet Chunky, 100% Acrylic 156m per 100g ball; in Gold (686)
Yarn C Stylecraft Chunky 100% premium Acrylic 144m/ 157 yards per 100g ball in Pomegranate (1083)
Scissors
Needle
2 safety eyes – 6mm
Stuffing
Abbreviations USA Terms
ch – Chain
Pul – Pull through
sc – single crochet
sc2tog – single crochet 2 together
ss – Slip Stitch
st – Stitch
YO – Yarn Over
Stitches
Single crochet
SC2tog
Hints and tips
The chicken is made using the amigurumi method. Each round is worked continuously (No SS).
Round 1: Using a 5 mm and Yarn A, make a magic ring, 3sc in the ring. [3sc]
Round 2: 2sc in each [6sc]
Round 3-5: 1sc in each [6sc]
Round 6: 2sc in the next st, sc in each st around each [7sc]
Round 7: sc in the next 3 sts, 2sc in the next st, sc in the next 3 sts [8sc]
Round 8: (2sc in the next st, sc in the next 3 sts) twice [10sc]
Round 9: (sc in the next 2 sts, 2sc in the next st, sc in the next 2 sts) twice [12sc]
Round 10: (sc in the next st, 2sc in the next st) repeat 6 times [18 sc]
Round 11: 1sc in each st [18sc]
Round 12: 1sc in each st [18sc]
Round 13: (2sc in the next st, sc in the next 8sc) twice [20sc]
Round 14: 1sc in each st [20sc]
Round 15: (sc in the next 4 sts, 2sc in the next st, sc in the next 5 sts twice. [22sc]
Round 16: 1sc in each st [22sc]
Round 17: (2sc in next st, sc in the next 10 sts) twice [24sc]
Round 18: 1sc in each [24sc]
Round 19: (sc in the next 8 sts, 2sc in the next st) 3 times [30sc]
Round 20: (sc in the next 3 sts, 2sc in the next st, sc in the next 4 sts, 2sc) 3 times [33]
Round 21: 1sc in each [33 sc]
Round 22: 2sc in the next st, 1sc in the next 10 stitches, 3 times [36 sts]
Round 23: 2sc in the next st, 1sc in the next 11 stitches, 3 times [39 sts]
Round 24: 2sc in the next st, 1sc in the next 12 stitches, 3 times [42 sts]
Round 25: 2sc in the next st, 1sc in the next 13 stitches, 3 times [45 sts]
Round 26: 2sc in the next st, 1sc in the next 14 stitches, 3 times [48 sts]
Round 27: 2sc in the next st, 1sc in the next 15 stitches, 3 times [51 sts]
Round 28: 2sc in the next st, 1sc in the next 16 stitches, 3 times [54 sts]
Round 29: 2sc in the next st, 1sc in the next 17 stitches, 3 times [57 sts]
Round 30: 2sc in the next st, 1sc in the next 18 stitches, 3 times [60 sts]
Round 31: 2sc in the next st, 1sc in the next 19 stitches, 3 times [63 sts]
Round 32: 2sc in the next st, 1sc in the next 20 stitches, 3 times [66 sts]
NOTE: Now turning at the end of each row, to make the hole to insert the wine bag.
Rounds 33-59 : ch1 1sc in each st around. Turn. [66sts]
You are now making the chicken smaller
Insert the eyes into the head placed between rows 9 and 10 3 stitches apart.
Round 60: 2sctog, 1sc in the next 9 stitches, 6 times [60 sts]
Round 61: 2sctog, 1sc in the next 8 stitches, 6 times [54 sts]
Round 62: 2sctog, 1sc in the next 7 stitches, 6 times [48 sts]
Round 63: 2sctog, 1sc in the next 6 stitches, 6 times [42 sts]
Round 64: 2sctog, 1sc in the next 5 stitches, 6 times [36 sts]
Round 65: 2sctog, 1sc in the next 4 stitches, 6 times [30 sts]
Round 66: 2sctog, 1sc in the next 3 stitches, 6 times [24 sts]
Round 67: 2sctog, 1sc in the next 2 stitches, 6 times [18 sts]
Round 68: 2sctog, 1sc in the next 1 stitches, 6 times [12 sts]
Round 69: 2sctog 6 times [6 sts]
Round 70: 2sctog to close.
Comb
Using Yarn B and a 5 mm hook, ch 50. Fasten off. Sew to the top of the head using the tails, making 4 loops approximately 12- 13 chains each.
Beak
Round 1: Using Yarn D and a 5 mm hook, Make a magic ring, 4sc in the ring. [4sc]
Round 2: 2sc in each st. [8sc]
Round 3-5: 1sc in each st. [8sc]
Fasten off.
Stuff lightly with a small amount of toy stuffing and sew on to the head using the tail 1-2 rows below the eyes.
Legs – make 2
Made from the feet upwards
Round 1: Using Yarn C and a 5 mm hook, Make a magic ring, 5sc in the ring. [5sc]
Rounds 2-14: 1sc in each st. [5sc]
Fasten off, leave ends long for sewing.
Feet – make 2
Round 1: Using Yarn B and a 5 mm hook, ch30, fasten off leaving a long end. Attach one end to the bottom of the foot (row 1), fold into 3 loops, and sew together to make the toes, sew the base of each toe to the bottom of the foot.
To make up
Sew 3, 2 cm buttons evening spaced along the opening on the left hand side.
For the button holes
Join Yarn A to the right hand side of the opening, chain 14 ss 2 rows below, ss yarn to the approximate position of the 2nd button, ch14, ss to join 2 rows below, ss yarn to the position of the bottom button, ch 14, ss to join 2 rows below. Fasten off, weave in ends.
Fill with wine bag ensure the tap is positioned out of the back of the chicken.
Join me at Off The Hook For You to share your crochet!
Thanks for visiting – I’d love to stay connected with you so please sign up for my email list where a free PDF pattern is waiting for you (just so you can see what my PDF patterns are like).
Finished one of my crochet pattern makes? I’d love to see it and so would the world, so get sharing! You can find me in the following ways:
- Follow me on Pinterest
- Join my new Facebook group
- Share a picture on Instagram and tag me #offthehookforyou
- Share your projects on Ravelry
- Share your projects on LoveCrafts
Disclaimer
This post may contain affiliate links which I earn a small commission from if you choose to click and purchase anything from. You pay the same price, I get a very small amount for sending you their way. It helps me to make my crochet patterns free on the blog.