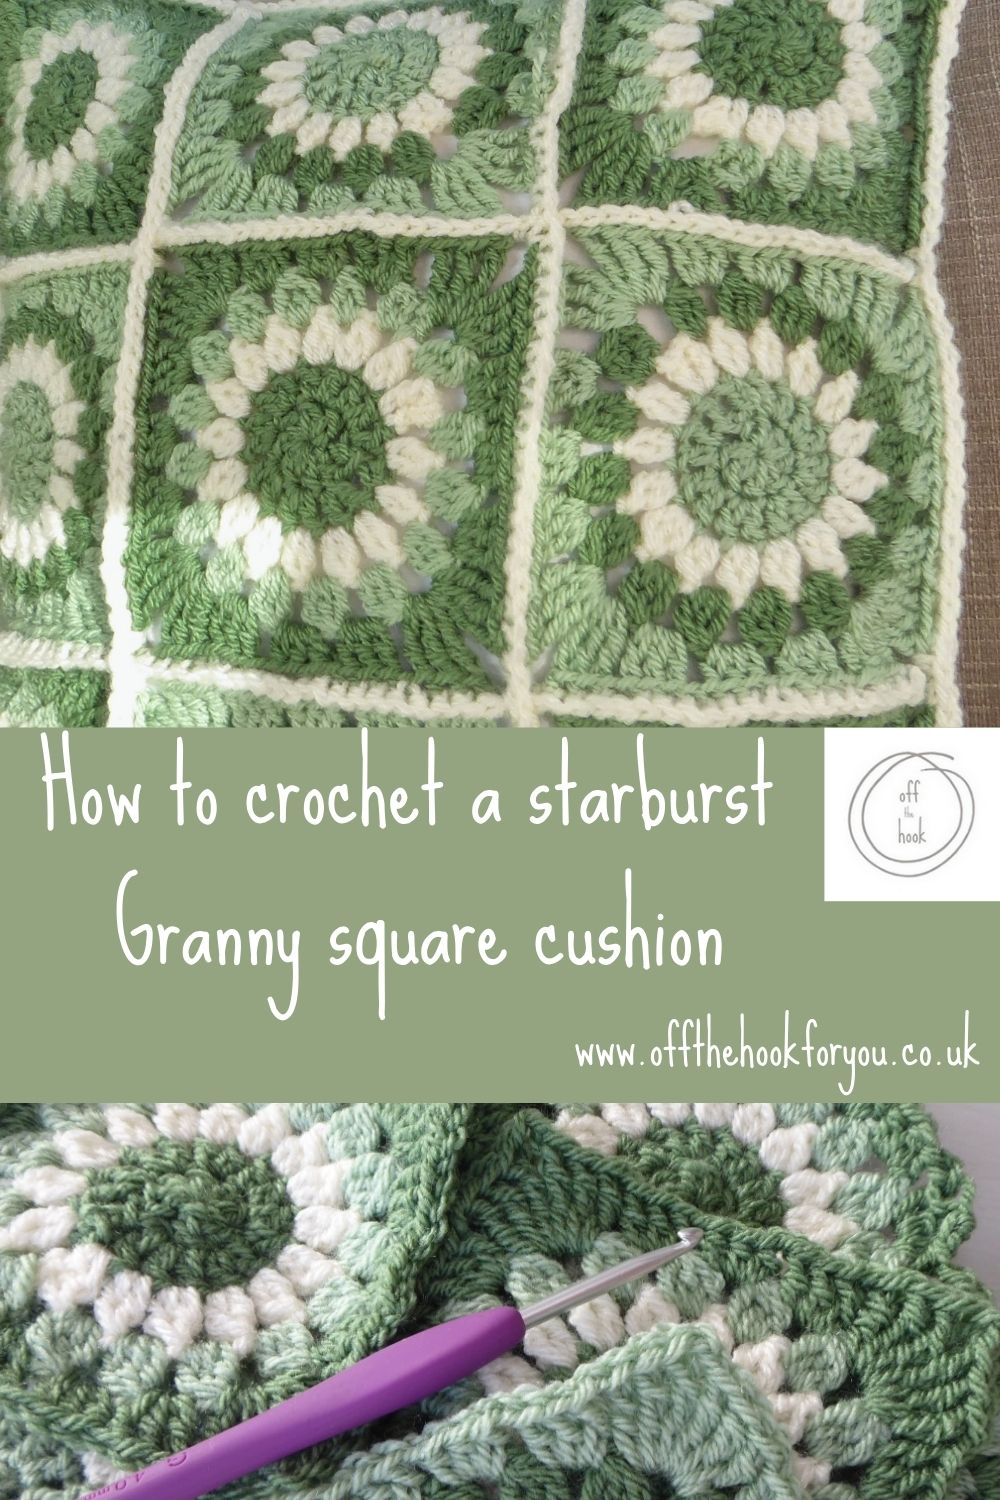
Hello, here you can find the basic instructions for how to make a Starburst/ Sunburst Granny Square Cushion Cover.
This is a great easy beginners crochet pattern, that can be adjusted for any sized cushion pad.
This is the perfect improvers pattern. If you can already crochet a basic granny square this is a great way to make something a little more complicated, and to increase your stitch knowledge.
This is a really quick make, and very methodical. I made this as a present for a friend who was moving away, My friends favourite colour is green, anything in green, so the colour choice was easy peasy this time.
For another crochet cushion make – check out my heart design here
If you want to save this for later, please Pin it below.
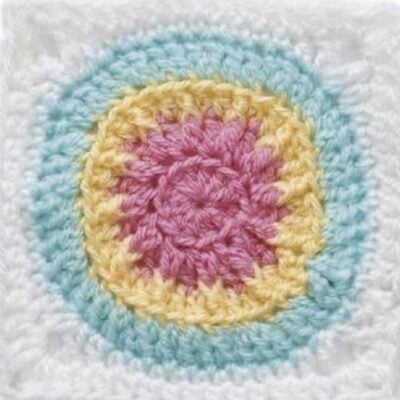
How to crochet a Starburst Granny Square
A starburst (or Sunburst) granny square is really simple to make. I call this an advanced beginners crochet pattern.
You need to know how to (USA Terms):
- How to make a magic ring
- Half double crochet
- Slip stitch
- Chain Stitch
- 2DC Cluster (2DCcl)
- 3DC Cluster (3DCcl)
- Double crochet
- Treble crochet
Luckily for you I have a complete video tutorial below
Learn to make a Starburst Granny Square video tutorial >>>
How long does it take to make a Starburst Granny Square
It takes about 10-15 minutes to make one square of 5 rounds.
Remember you have to sew in your ends too, so depending on your technique here, it may add a couple of minutes – my number one tip here is to Sew as you Go.
>>>Learn about sewing in ends here
There are a lot of ends to sew in as you change colour every round for a Starburst Granny Square.
This was part of the reason for the back of the cushion I used a traditional Granny Square for the back of the cushion.
>>>Learn how to make a traditional granny square here for absolute beginners
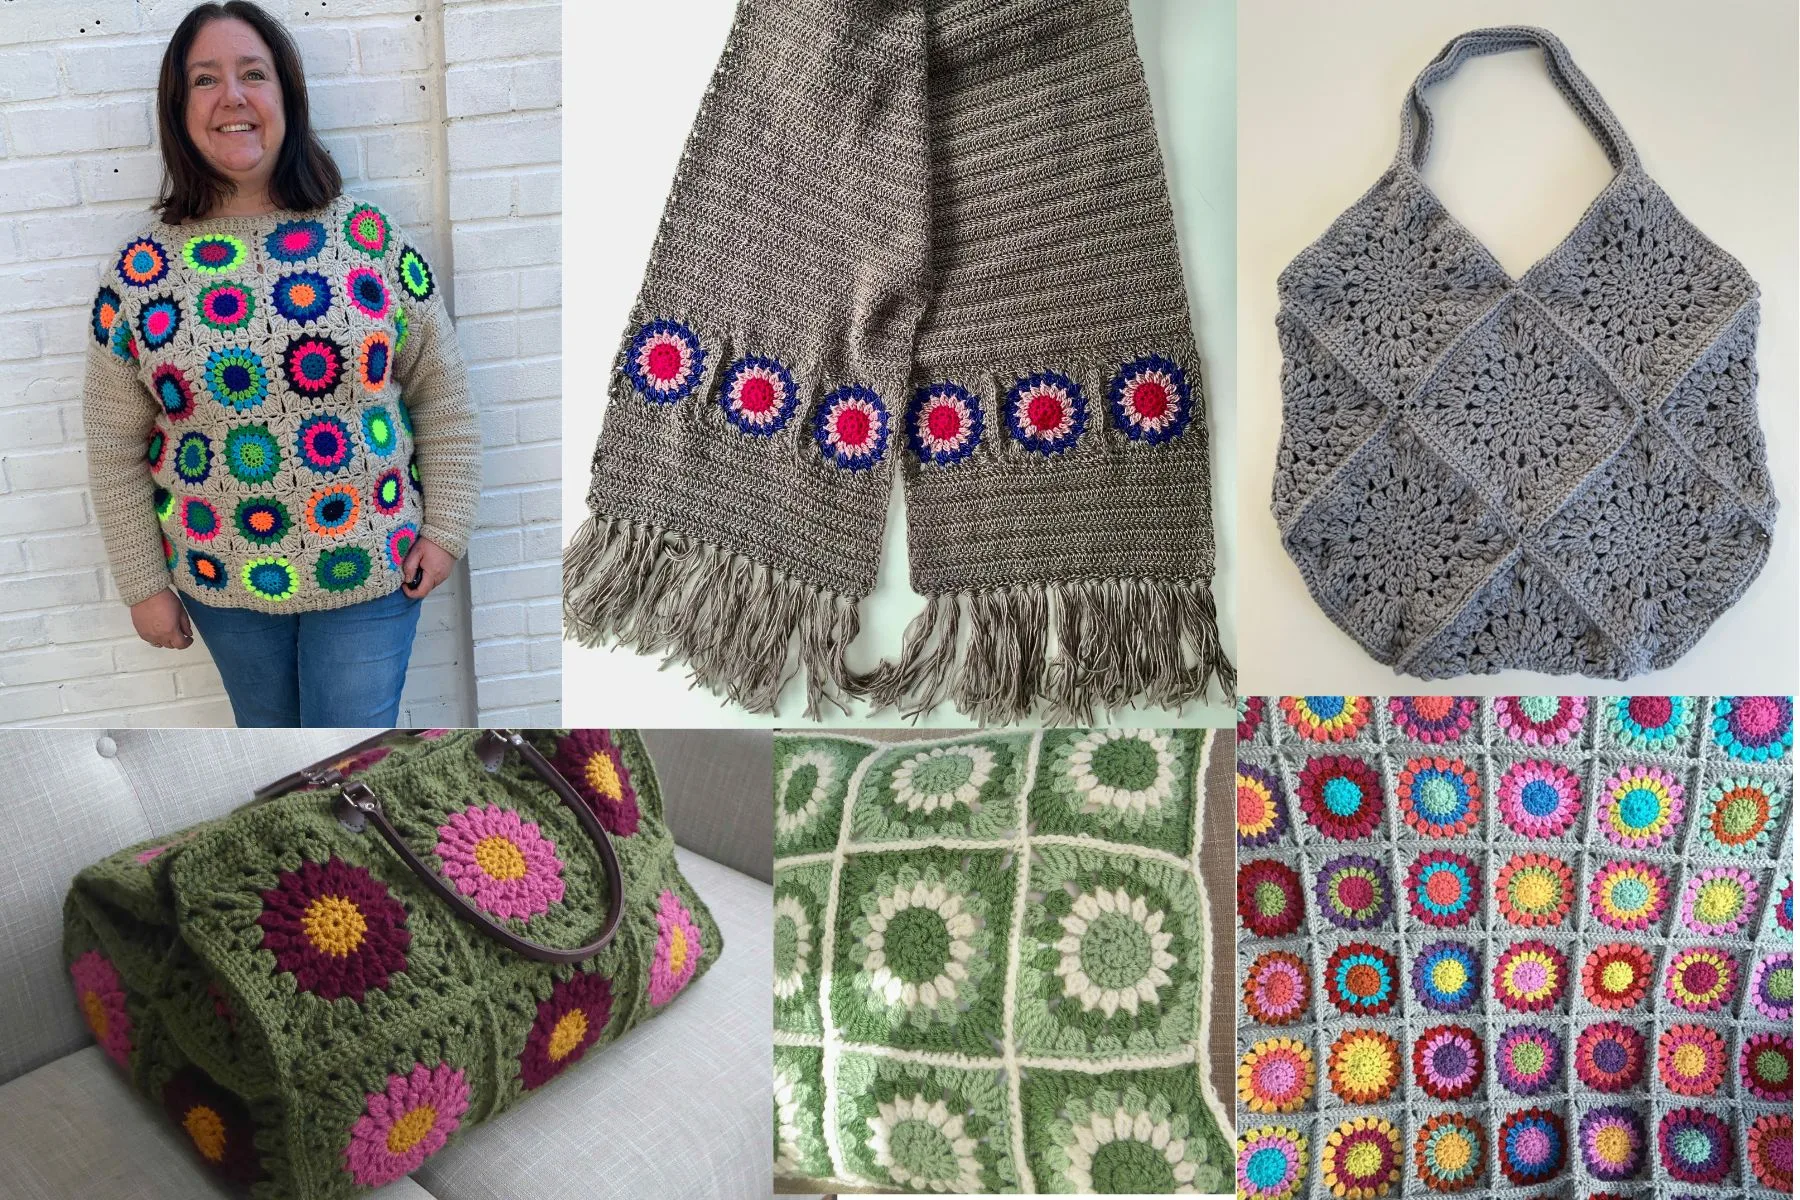
What else can you do with Starburst Granny Squares?
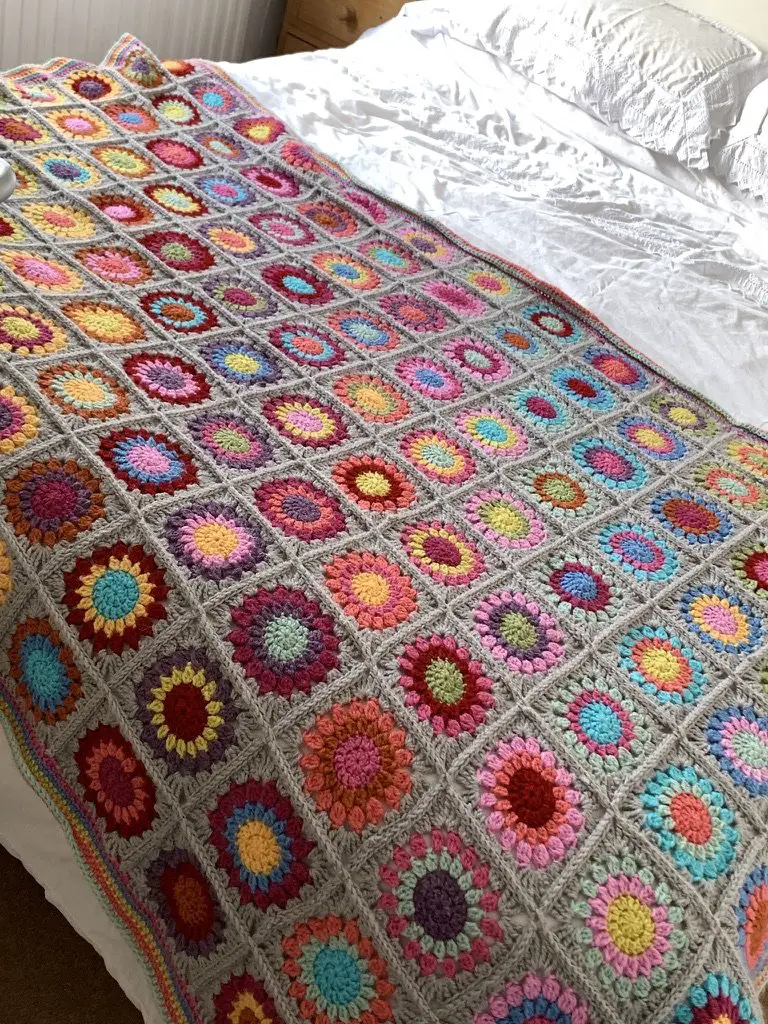
I love a starburst granny square, and use them a lot in my crochet patterns.
See my other patterns:
- Starburst Granny Square Blanket
- Starburst Weekender Bag
- Starburst stool cover
- Starburst scarf
- Starburst Granny square sweater
- Starburst Hexagon
- Fancy Starburst Bag
Yarn for a Starburst Granny Square
You can use any yarn to make a Starburst/ Sunburst granny square.
I used Stylecraft Special DK in Cream, Cypress and Lincoln.
Check out the Stylecraft Colours here>>>
The weight of the yarn and the hook size will determine how many squares you need to make.
I made 5 squares with Cypress as the Rounds 1 and 2 and round 5, and 4 with Lincoln.
Round 3 was always cream, and round 4 the other colour.

How many Granny Squares will you need to make a crochet Cushion Cover
For the Cushion I made I needed 9 Starburst granny squares.
Using a DK yarn, and a 4mm hook each square measures 10cm across. (Easy maths here)
The cushion pad measured 30cm x 30cm.
So to work out how many squares you need, in my case, it was 3 across (10×3 = 30cm) and 3 down (10×3=30cm)
3 x 3 = 9 squares.
For a bigger cushion 40x40cm, you’d need to crochet 16 squares.
For a 50x 50cm cushion you’d need to crochet 25 squares.
This is per cushion face/ side. So if you are making the back and the front out of Starbursts you’ll need to double these numbers.
18 = 30x30cm
32 = 40x40cm
50 = 50x50cm

I cheated and crocheted the back as a large granny square. Each round adds 2 cm to the edge.
15 rounds = 30cm
20 rounds = 40cm
25 rounds = 50cm
Lots of beautiful green squares later, and a few posh photos


All the squares were blocked, and then crocheted together.
>>>Find out about Crochet Blocking here
How to join the Starburst Granny Squares together.
There are lots of different ways to join granny squares together. Sewing with WIP stitch, or crocheting
My favourite at the time of making this cushion was through the BLO (Back Loop Only), and Single crochet (USA Terms) when they are put back sides together to give a raised seam in a different colour.
To do this,
- place the wrong sides together
- Inert your crochet hook through the back loop of each square (the two middle loops if counting across both squares) (2 loops)
- Yarn over, and pull back through the 2 back loops
- Yarn over, pull through the 2 loops
- Repeat this for every stitch on each square.
If you are using the same colour to join your squares together, I highly recommend Continuous Join as You go.

>>>Find out about Continuous Join as You go for sunburst granny squares here


And the back (before crocheted together in the same way).
Join me at Off The Hook For You to share your crochet!
Thanks for visiting – I’d love to stay connected with you so please sign up for my email list where a free PDF pattern is waiting for you (just so you can see what my PDF patterns are like).
Finished one of my crochet pattern makes? I’d love to see it and so would the world, so get sharing! You can find me in the following ways:
- Join my new Facebook group
- Share a picture on Instagram and tag me #offthehookforyou
- Share your projects on Ravelry
- Share your projects on LoveCrafts
Disclaimer
This post may contain affiliate links which I earn a small commission from if you choose to click and purchase anything from. You pay the same price, I get a very small amount for sending you their way. It helps me to make my crochet patterns free on the blog.