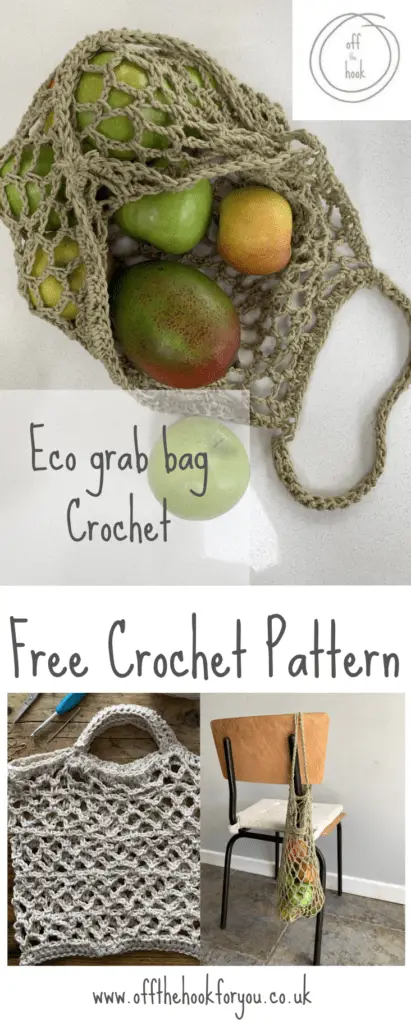
Here you can find the free crochet pattern for a crochet market tote, or crochet shopping bag, that is a perfect retro make.
This is a really easy market bag pattern written in both UK and USA crochet terms, and it only takes 50g of yarn to make 1 bag, that a bag from one ball of yarn!
Carry on reading to find out how to make a reusable Eco crochet market tote, perfect for shopping for fruit and veg at the local market, and really environmentally friendly.
>>You can see all of my Crochet Accessory designs here

If you want to save this for later, please Pin it below

Why crochet a market bag?
Crochet bags are great. Very retro! I always get lots of comments when I turn up at the supermarket with my crochet bags full of crochet bags!
They start off really little, so easily fit in your handbag.
But, and this is the big but, can expand absolutely hugely when you fill them up, and this bag is no exception to this!
>>>Check out my market tote round up post here – 10 free patterns from great designers
or get my free beach bag pattern here

What do you need to crochet a market bag?
Cotton yarn, and this is key.
Cotton doesn’t stretch.
Things to note with a crochet bag:
- it’ll start small
- it’ll expand hugely
- it needs to be very holey to help with the expanding
Can you use acrylic yarn to crochet a market bag?
You can, but it’s not ideal.
Remember I said at the beginning of this post that crochet bags are great as they are small and then stretch loads….. well acrylic yarn stretches even more!
So if you do make a bag from acrylic, you’ll need to factor in this extra stretch.
One way round this, would be to use a cotton Acrylic blend, like Comfy from WeCrochet.
What yarn to use for a crochet bag?
As I’ve said before Cotton.
I used a 100% organic cotton, which came in 50g balls, or just 110m or 120yards of cotton.
That is why this pattern turned out as it did, I wanted to use 1 whole ball, no more no less.
Unfortunately they don’t make the exact yarn I used anymore, but some alternatives are:
>>> Stylecraft Classique Cotton
If you want a slightly bigger bag >>>check out the Wing it Market bag here

Yep, It looks tiny, but let me tell you, it holds loads and loads of shopping!
What stitches do you need to know to make a crochet market bag?
This bag is really easy to make. You need to know how to:
- Foundation Double Crochet
- Foundation Half Double Crochet
- Single crochet
- Chain
- Slip Stitch
- Fasten off, weave in ends
Crochet market tote pattern
So what do you need to know?
It’s a 4.5mm hook,
One ball of Sublime organic cotton yarn, yep, one little ball of yarn = 1 reusable shopping bag.
A bag for life, that you make – and it only takes 1 ball of yarn – what’s not to like about that!
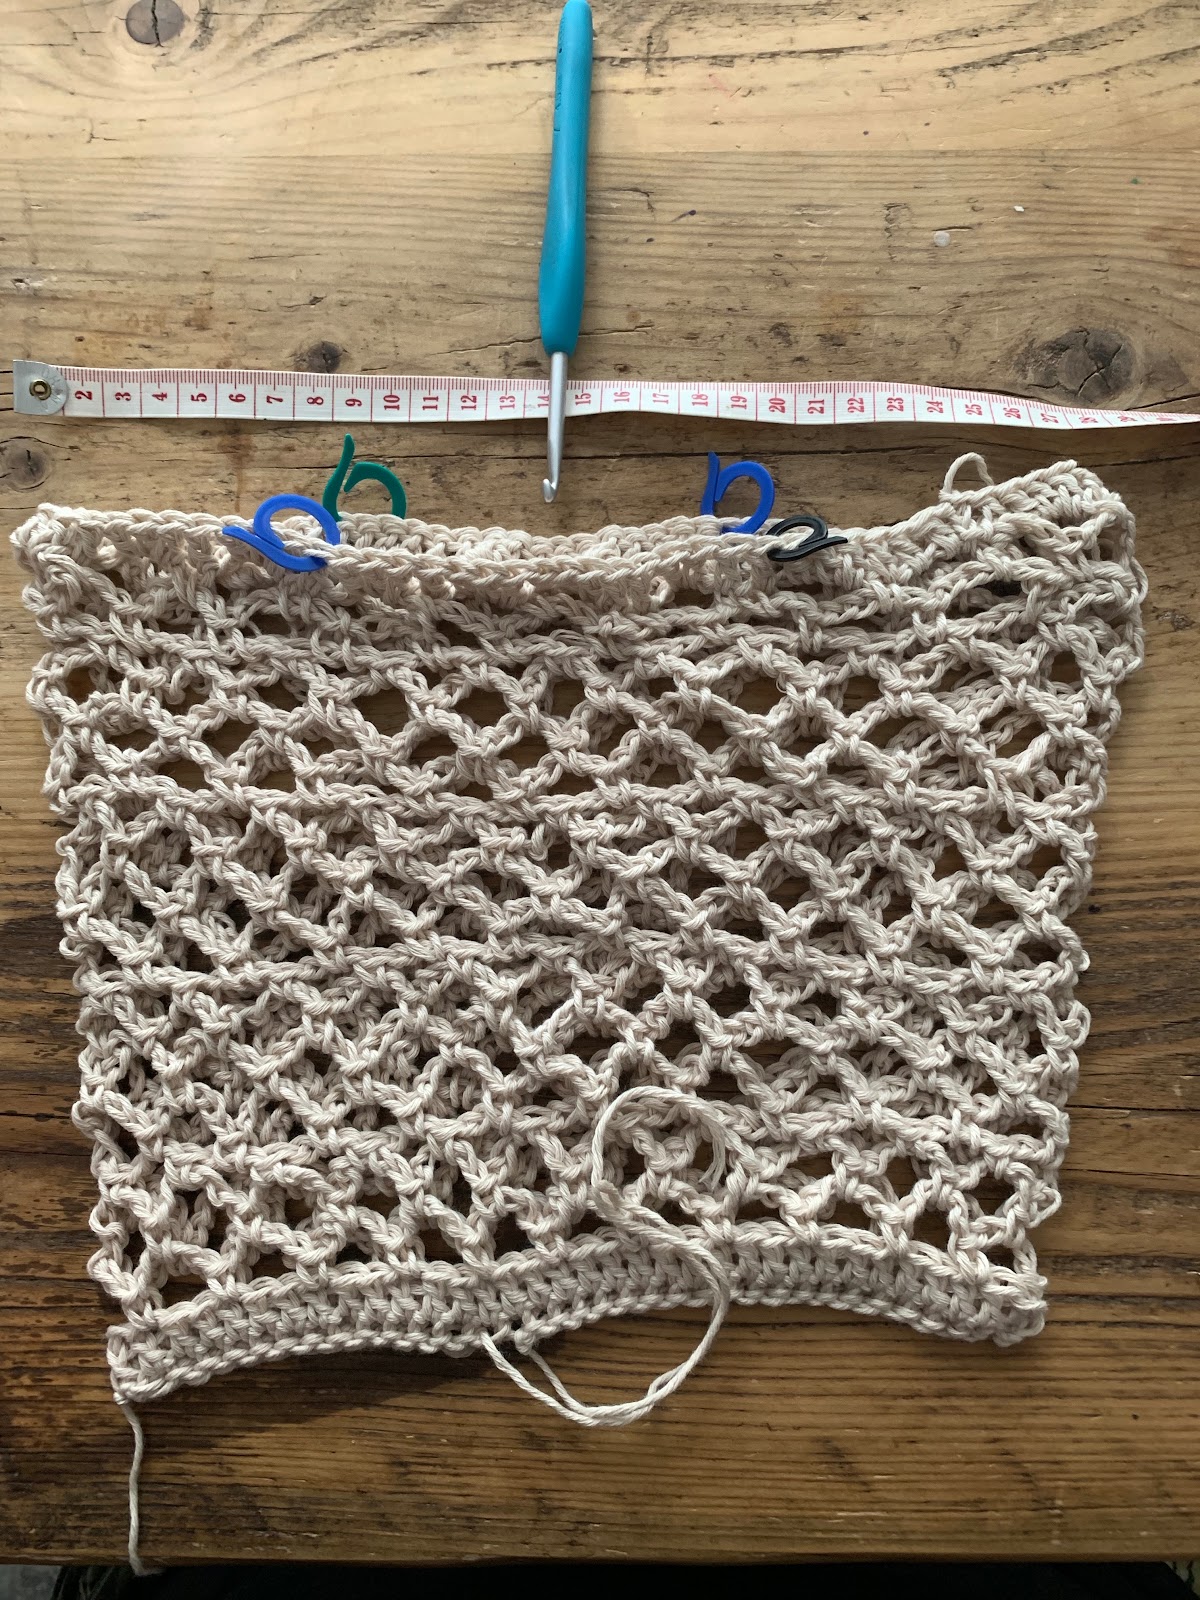
Finished bag measures 22cm x 24 cm (Height x Width) – but will expand to a lot more when you start adding your shopping.
Crochet Pattern Options
There are a few ways you can get the crochet pattern for my Easy Crochet market Bag and enjoy this crochet pattern and help support Off the Hook for You.
- You can find and use the Crochet Market Tote here on the blog that is supplemented with ads.
- You can purchase, print and keep the 7 page advert-free pattern PDF in any of my shops in both USA and UK terms.
Get the Advert free PDF pattern on Etsy
Get the Advert free PDF pattern on Lovecrafts
Add to your Ravelry Queue here
Yarn and Equipment to make a crochet market tote
1 ball of cotton yarn Sublime Organic Cotton 110M, 120Yrds
needle
stitch marker
Scissors
Fancy another Eco Make? How about some Face Scrubbies – get the free pattern here


To make a crochet market tote bag
Abbreviations US crochet terms (Jump to UK terms)
CH – Chain
DC – Double Crochet
FDC -Foundation double crochet
FHDC – Foundation Half double crochet
HDC – Half Double crochet
SC- Single crochet
SS – Slip stitch
Pattern Notes
The bag is worked from the bottom up, working in the round.
When you start with your slip knot, leave a long tail of approximately 30 inches, this can then be used to sew the bottom of the bag together
Ch at the beginning of the first and last row counts as a stitch.
Place a stitch marker at the beginning of the row.
Pattern
Row 1: FDC 69. SS to join. [69]
R2: CH5, SC to join on 3rd DC from the previous round. * CH5, skip 2 st, and SC to 3rd st along *. Repeat *- * all the way around.
R3: CH5, SC to join in previous CH 5 gap. Repeat all the way around.
R4: CH3, SC to join in previous CH5 gap. Repeat all the way around.
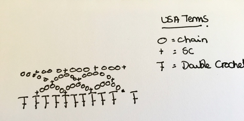
This is what it looks like in written pattern form for the first 4 rows.
NOTE: From R5 onwards, 3 rounds of CH5 are made, before the CH3 round (see below)
R5:CH5, SC to join in previous CH 5 gap. Repeat all the way around.
R6:CH5, SC to join in previous CH 5 gap. Repeat all the way around.
R7:CH5, SC to join in previous CH 5 gap. Repeat all the way around.
R8:CH3, SC to join in previous CH5 gap. Repeat all the way around.
>>>Check out my other market tote bag pattern here>>>
R9: CH5, SC to join in previous CH 5 gap. Repeat all the way around.
R10: CH5, SC to join in previous CH 5 gap. Repeat all the way around.
R11: CH5, SC to join in previous CH 5 gap. Repeat all the way around.
R12:CH3, SC to join in previous CH5 gap. Repeat all the way around.
R13: CH5, SC to join in previous CH 5 gap. Repeat all the way around.
>>>Have a look at all of my accessory patterns here
>>>Have a look at my blanket patterns here
R14:CH5, SC to join in previous CH 5 gap. Repeat all the way around.
R15:CH5, SC to join in previous CH 5 gap. Repeat all the way around.
R16:CH3, SC to join in previous CH5 gap. Repeat all the way around.
R17:CH5, SC to join in previous CH 5 gap. Repeat all the way around.
R18: CH5, SC to join in previous CH 5 gap. Repeat all the way around.

R19: SS over to the CH5 Gap, CH3 (To get to the height), Make 2 DC in the same Ch5 gap, DC in the top of the SC of the previous round. Make 3 DC in every CH5 gap from the previous round, and 1 DC in the top of each SC. SS to Join. [ 92HDC] Fasten off – weave in ends.
Making up:
Using the long end from where you first started, Fold the bag in half, and sew the bottom seam together.

Finish off, weave in ends.
Handles:
Fold the bag in half so the seam at the bottom is straight.
Join yarn on stitch number 12 when counting from the left on any side (we are just trying to get the handles in the centre).
Using stitch markers, and making sure you are choosing the HDC in the SC of the previous round, mark the space where you will join the handles. This should be 16 stitches apart.
Turn the bag over, and mark the same on the other side – using the stitch markers from the other side to guide you.
Handle 1: Join to the closest DC in a SC from the previous round.
CH2, and FHDC 20, join to the body of the bag with a SC, then make another SC in the next DC to the left of where you have joined.

Now working in the back of the FHDC.
make 1 HDC in each chain (to give you a double thickness handle). SC to join to the DC next to where you started, catching the top of the chain 2 to join it to the bag. Make a SS in the next stitch across the other side (we are just trying to secure the handle, so it sounds complicated, but isn’t).
Repeat on the other side for handle 2.
Foundation Double Crochet
Used instead of chaining as you get a nice straight line, and the chain doesn’t twist.
Slip knot and chain 3.
In the last chain (one closest the hook), YO, through the chain, and pull yarn back through. (3 loops)
YO, pull through one loop.
This gives you the working chain for the NEXT stitch.
YO, Pull through 2, YO pull through 2 (just like a normal DC).
Now YO, and insert your hook in the next chain (as above).
Work the next Foundation DC in the chain marked above.
Foundation Half Double Crochet
As above, but on Bold Step, YO pull through all 3 loops.
UK Crochet Pattern terms
This pattern is written in UK terms
CH – Chain
Tr – Treble Crochet
FTr – Foundation treble crochet
FHTr – Foundation Half treble crochet
HTr – Half Treble crochet
DC- Double crochet
SS – Slip stitch
yrh – yarn round hook
Pattern
Row 1: FTr 69. SS to join. [69]
R2: CH5, DC to join on 3rd Tr from previous round. * CH5, skip 2 st, and DC to 3rd st along *. Repeat *- * all the way around.
R3: CH5, DC to join in previous CH5 gap. Repeat all the way around.
R4: CH3, DC to join in previous CH5 gap. Repeat all the way around.
This is what it looks like in written pattern form for the first 4 rows.
NOTE: From R5 onwards, 3 rounds of CH5 are made, before the CH3 round (see below)
R5: CH5, DC to join in previous CH5 gap. Repeat all the way around.
R6: CH5, DC to join in previous CH5 gap. Repeat all the way around.
R7: CH5, DC to join in previous CH5 gap. Repeat all the way around.
R8: CH3, DC to join in previous CH5 gap. Repeat all the way around.
R9: CH5, DC to join in previous CH5 gap. Repeat all the way around.
R10: CH5, DC to join in previous CH5 gap. Repeat all the way around.
R11: CH5, DC to join in previous CH5 gap. Repeat all the way around.
R12: CH3, DC to join in previous CH5 gap. Repeat all the way around.
R13: CH5, DC to join in previous CH5 gap. Repeat all the way around.
R14: CH5, DC to join in previous CH5 gap. Repeat all the way around.
R15: CH5, DC to join in previous CH5 gap. Repeat all the way around.
R16: CH3, DC to join in previous CH5 gap. Repeat all the way around.
R17: CH5, DC to join in previous CH5 gap. Repeat all the way around.
R18: CH5, DC to join in previous CH5 gap. Repeat all the way around.
R19: SS over to the CH5 Gap, CH3 (To get to the height of the Tr), Make 2Tr in the same CH5 gap, Tr in the top of the DC of the previous round. Make 3Tr in every CH5 gap from the previous round, and 1Tr in the top of each DC. SS to join. [ 92Tr] Fasten off – weave in ends.
Making up:
Using the long end from where you first started, Fold the bag in half, and sew/ crochet the bottom seam together. Fig 1.
Finish off, weave in ends.
Handles:
Fold the bag in half so the seam at the bottom is straight, with the tail.
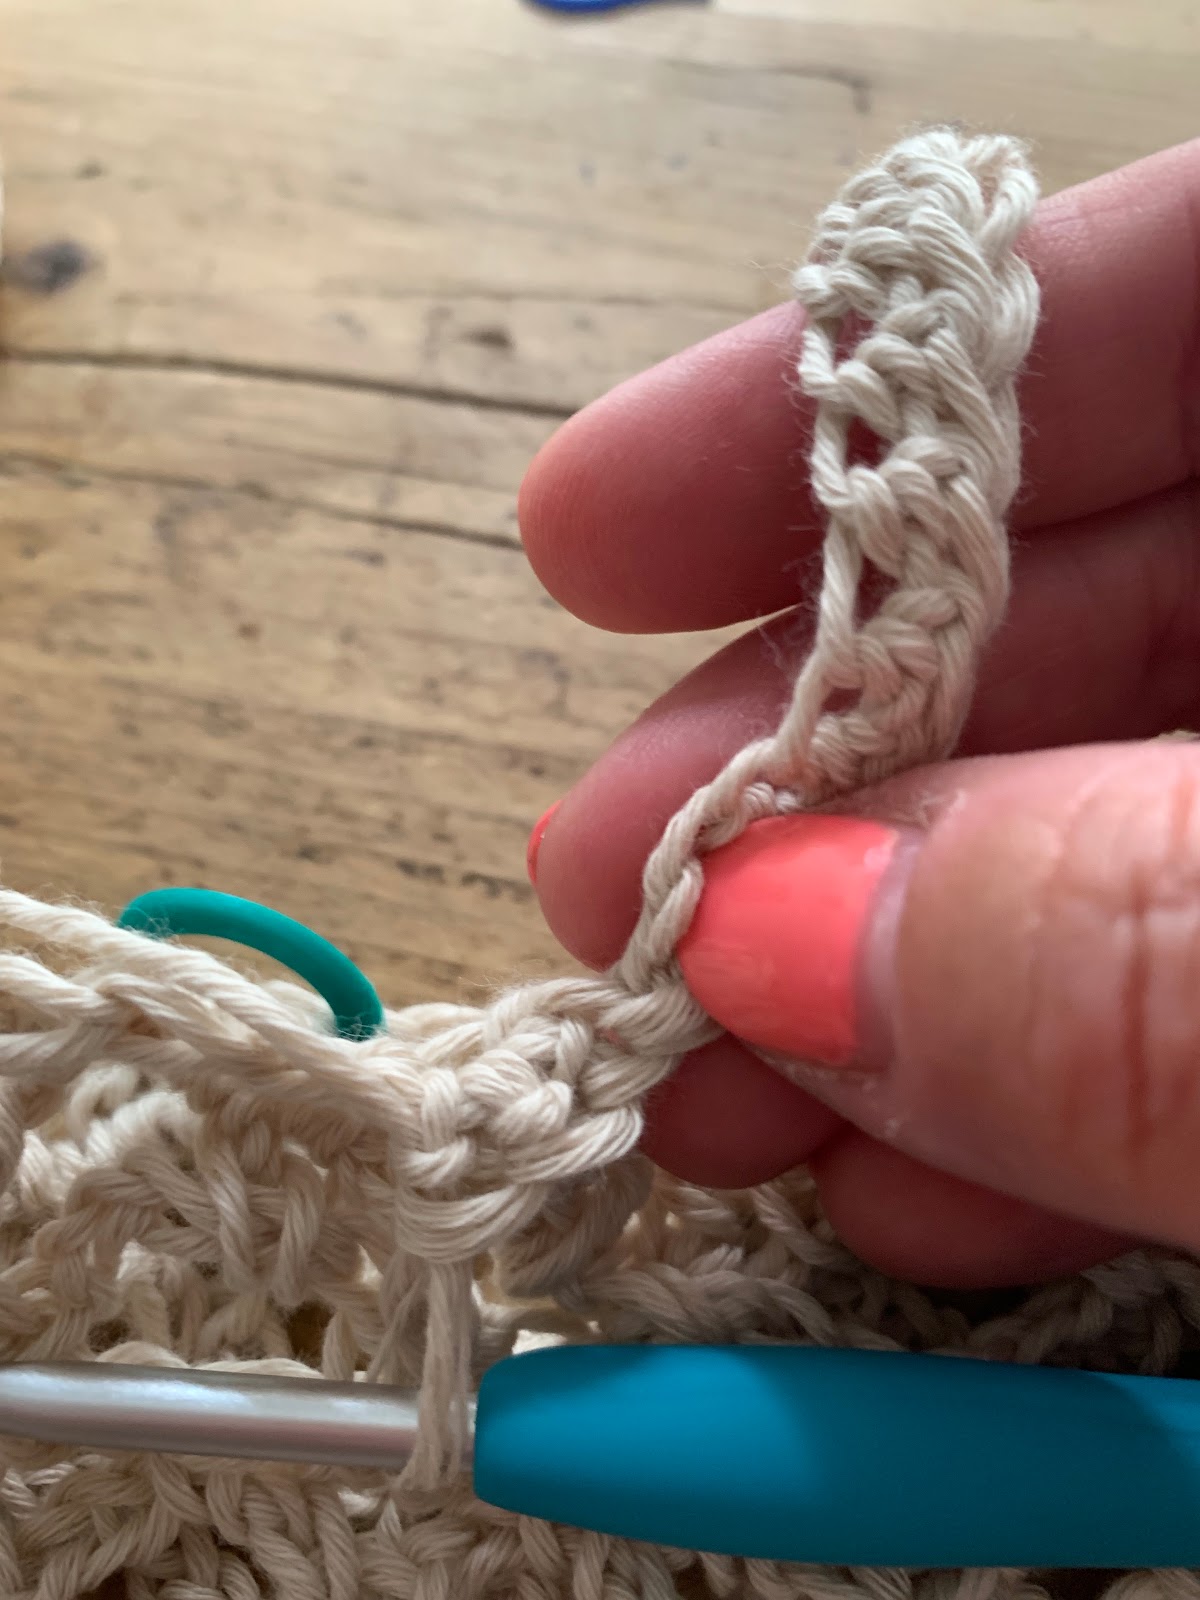
Join yarn on stitch number 12 when counting from the left on any side (you are just trying to get the handles in the centre). Fig 2.
Using stitch markers, and making sure you are choosing the HTr in the DC of the previous round, mark the space where you will join the handles. This should be 16 stitches apart.
Turn the bag over, and mark the same on the other side – using the stitch markers from the other side to guide you.
Handle 1: Join to the closest Tr in a DC from the previous round.
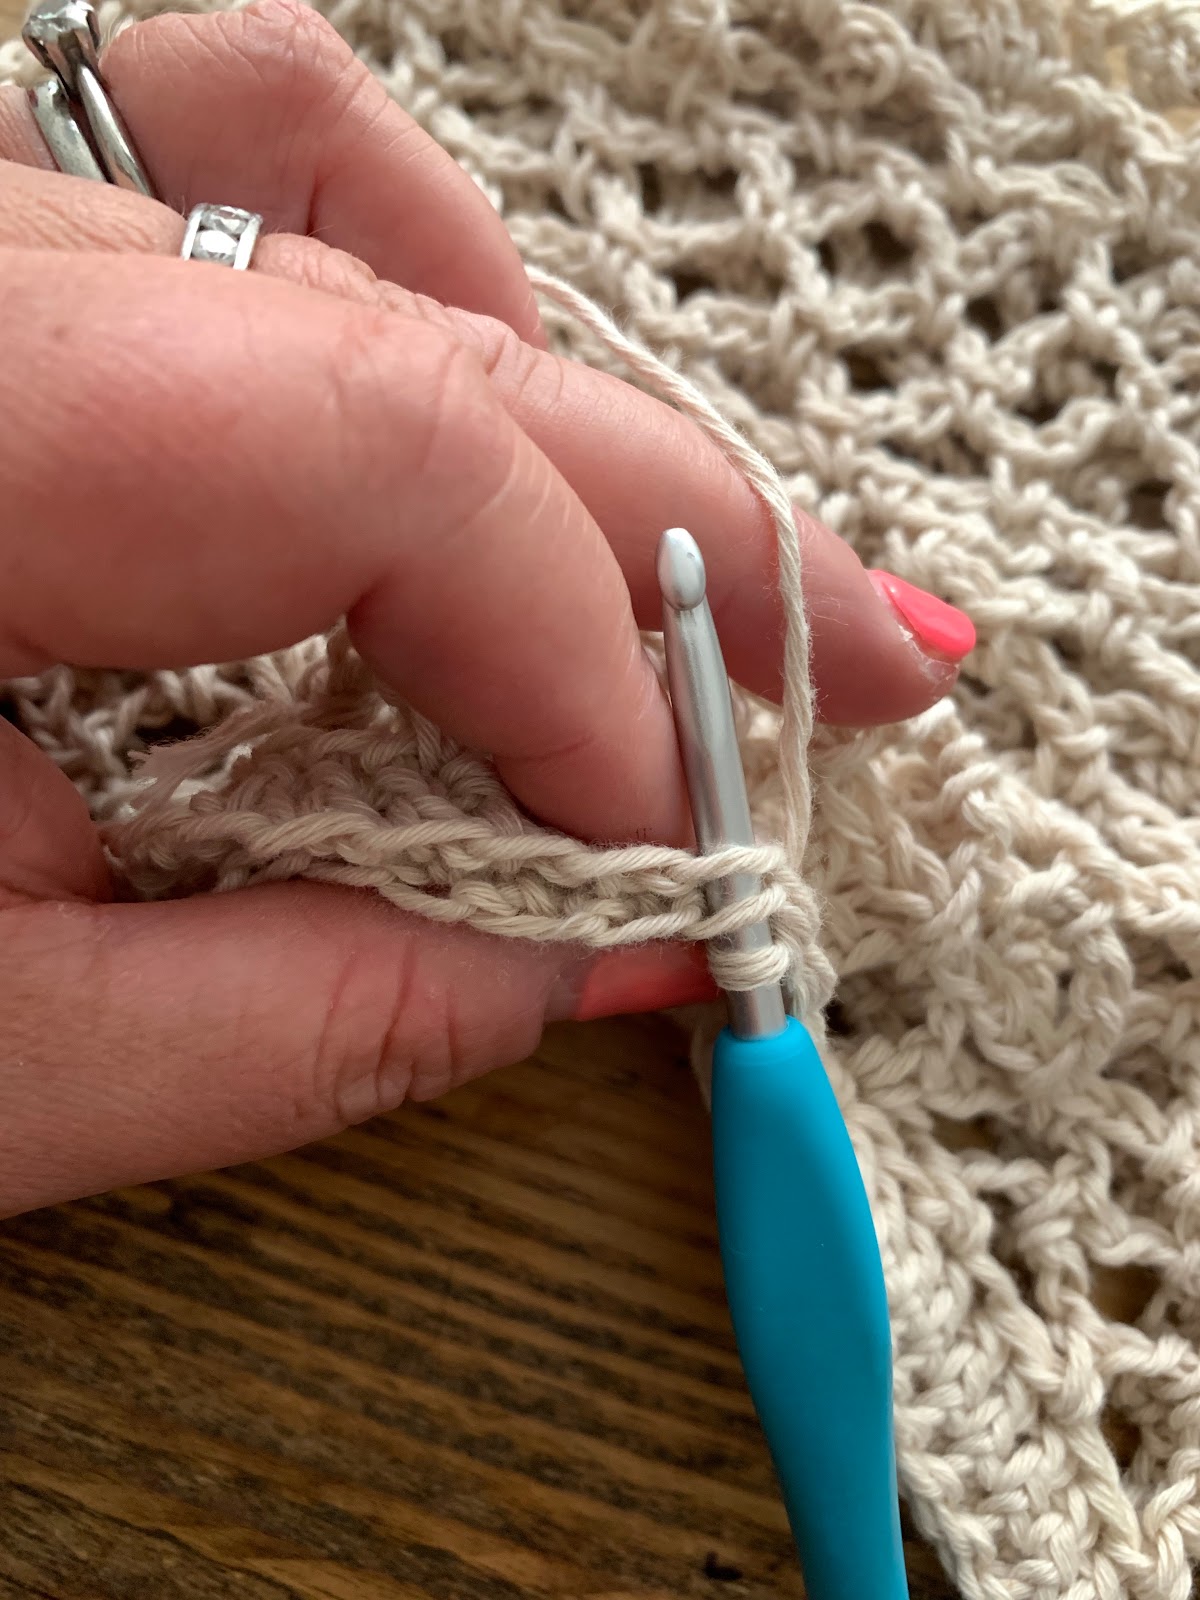
CH2, and FHTr 20, join to the body of the bag with a DC, Fig 3, then make another DC in the next Tr to the left of where you have joined. Fig 4
Now working in the back of the FHTr.
make 1HTr in each chain (to give you a double thickness handle). DC to join to the Tr next to where you started, catching the top of the CH2 to join it to the bag. Make a SS in the next stitch across the other side (we are just trying to secure the handle, so it sounds complicated, but isn’t). Fig 5.
Repeat on the other side for handle 2
Join me at Off The Hook For You to share your crochet!
Thanks for visiting – I’d love to stay connected with you so please sign up for my email list where a free PDF pattern is waiting for you (just so you can see what my PDF patterns are like).
Finished one of my crochet pattern makes? I’d love to see it and so would the world, so get sharing! You can find me in the following ways:
- Share a picture on Instagram and tag me #offthehookforyou
- Share your projects on Ravelry
- Share your projects on LoveCrafts
Disclaimer
This post may contain affiliate links which I earn a small commission from if you choose to click and purchase anything from. You pay the same price, I get a very small amount for sending you their way. It helps me to make my crochet patterns free on the blog.