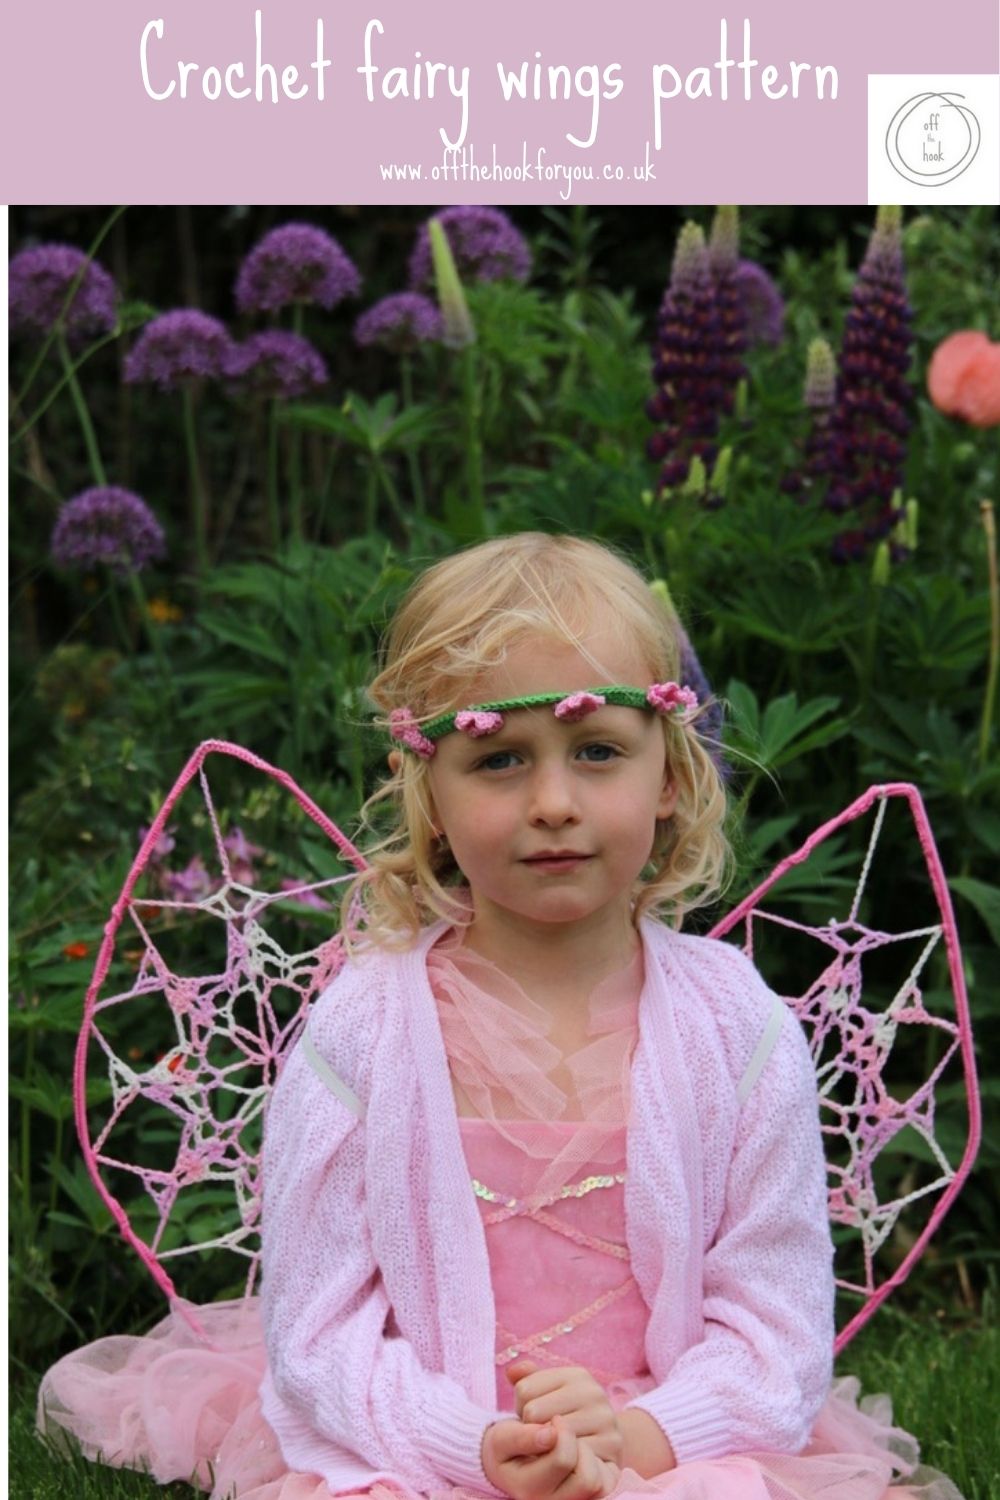
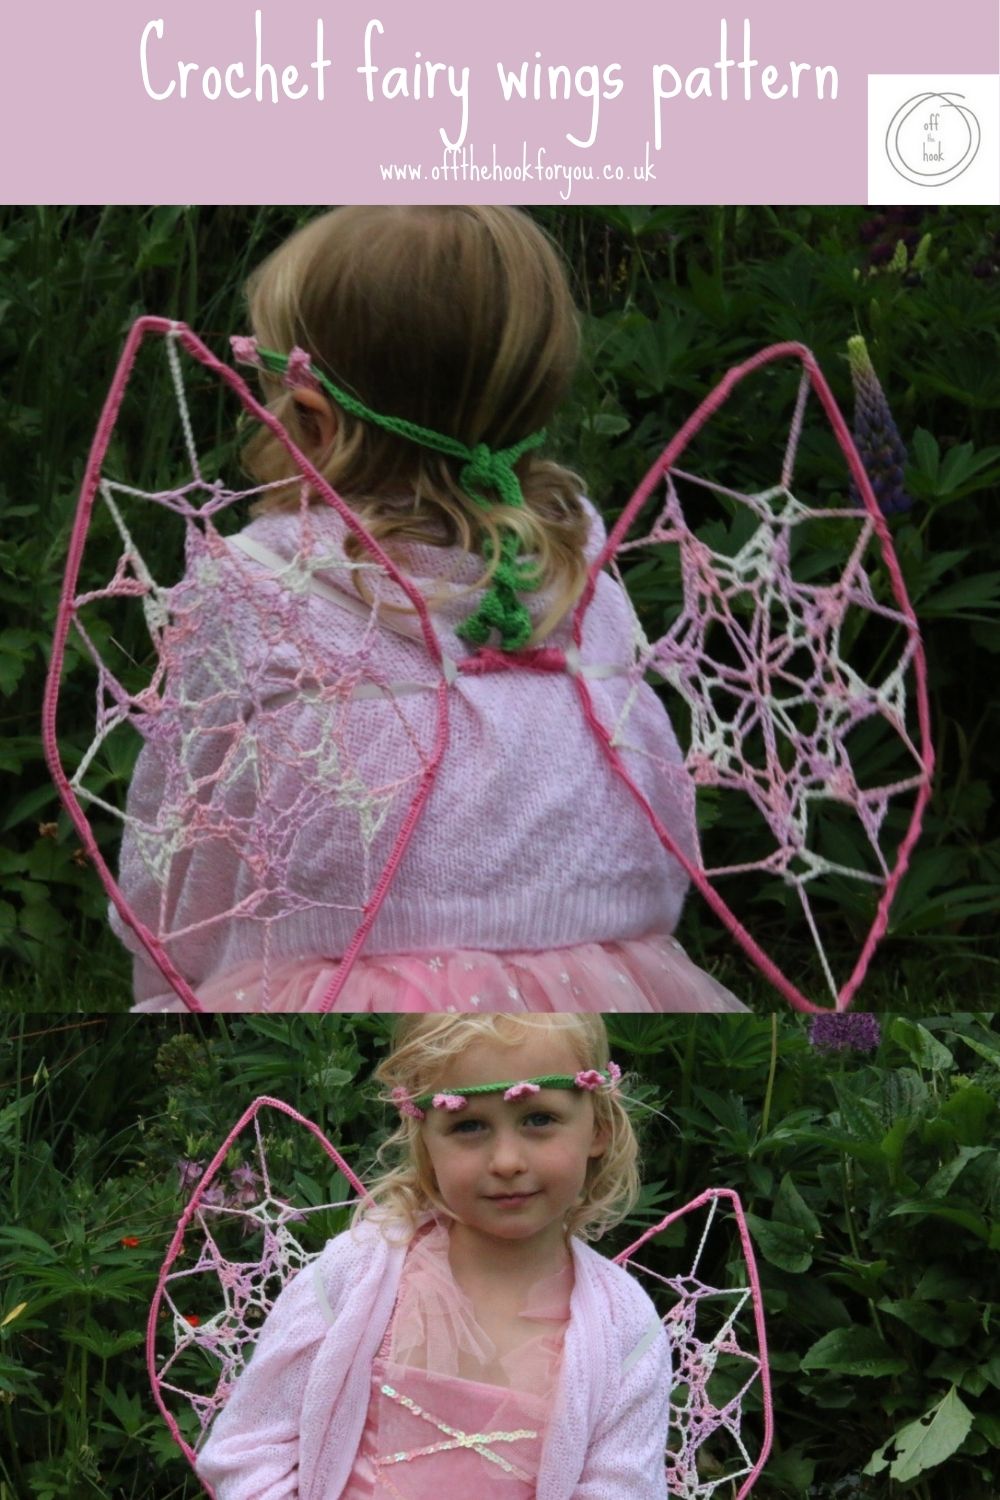
Here you can find my free pattern for some crochet fairy wings. These crochet wings are another crochet pattern I didn’t think I’d be writing up, but you’ve got to love a bit of fancy dress , and these would be perfect for a halloween costume too.
I made these wings as part of a dressing up outfit for my daughter a good few years ago, when she went to a fairy festival as a fairy – and a crochet fairy at that, complete with flower headband. This is the perfect little girls costume for halloween – and it’s surprisingly quick to make!
I’ve said before and I’ll say it again, I think crochet and festivals go together like “salt and pepper”, you’ can’t really have one without the other.
In this case I don’t think you can have a crochet fairy without wings, or a flower hair garland either.
>>>Get the Flower headband pattern here
If you’d like to save this for later, please pin it here
Perfect crochet dressing up costume
This would be the perfect outfit for some trick or treating – or even just a costume (fancy dress) party. You could even combine this with a quick crochet tutu too (yep I’ve made a few of these too over the years!)
The crochet wings could also be modified to be cob web wings – just by changing the yarn colour – then you could have a crochet spider or witch – perfect for the Halloween celebrations.
The beauty about the crochet motif used for the fairy wings is that the motif actually works up really quickly, as its so holey!
They are really simple to make.
What you need to know to crochet the wings
These you could actually call an improving beginners project. They use only 2 more stitches that the traditional granny square so are great as giving you a tiny bit more crochet knowledge.
>>>Get the complete beginners Granny square tutorial here
They are really easy to make – using only (USA Terms) Single crochet, Double crochet and Treble crochets, along with Chains.
So a minimal number of stitches, to get a great effect.
Single crochet – no yarn over (YO) before going through the stitch / chain
Double crochet- yarn over once before going through the chain/ stitch, then each final YO pulling through 2 loops.
Treble crochet, yarn over twice before going through the stitch, then each YO pulling through 2 loops (just like a Double crochet – but you do it once more!).
They really are that simple.
Get the Advert free Instant PDF pattern on Ravelry>>>
You work the majority of the stitches of the next round into the chain spaces of the previous round too – so pretty straight forward.
You might also like if thinking Halloween
Day of the dead Dressing up idea – free crochet pattern>>>
Free crochet pumpkin pattern >>>
Crochet fairy wings
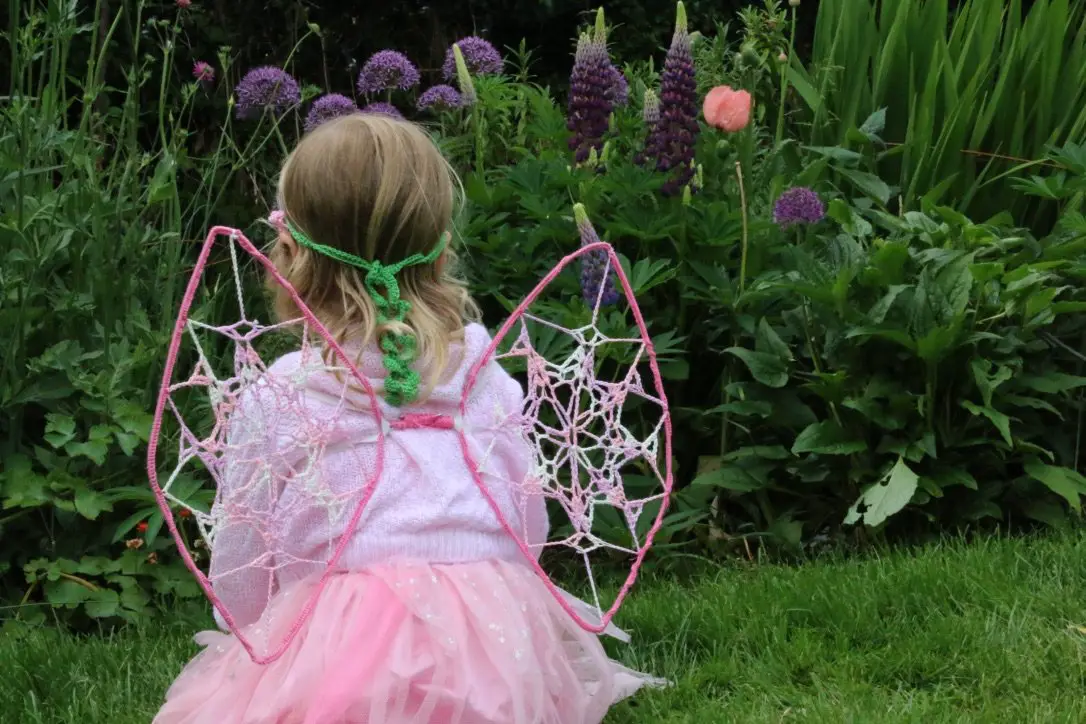
The most important part of the crochet wings is the frames themselves.
For this, I investigated a lot of different things – but have a guess at what was the best things to use?
Coathangers!
Yep – the cheap metal ones you can get from a dry cleaners. I went to the local one to see if I could buy a couple, and they gave me 2 for free!
If you need to buy some Amazon is a great place to start>>>
Or ebay!

They have 13 hangers for about $10, but its definitely worth an ask in your local dry cleaners or just checking your hanging rail).
Yarn choice for crochet wings
Here you have a few choices.
I used Yarnart Begonia – a mercerized cotton yarn, that is really fine, and has a gradual pink colour change to it.
If you are thinking floaty and spider web a fine cotton would be brilliant – like this one.
You could even go all out – with a super fluffy yarn too for the real cob web feel!
To make some crochet fairy wings
You will need:
2 metal coat hangers
1 ball of Yarnart Begonia Melange – in pink.
1 ball Yarnart Begonia Pink (5001)
Wire grips (to bend the coat hangers),
Scissors
Yarn needle
Elastic
Tension – Tension is not important in this project. Just make sure you sew the motif tightly to ensure it’s stretched across the coat hangers.
Abbreviations – USA terms
Ch- chain
Ch-sp – chain space
DC- Double crochet
SC – Single crochet
SS – slip stitch
TR – treble crochet
To crochet the fairy wings
Get the free crochet headband pattern here>>>
Firstly – you will need to bend the coat hangers slightly, on the bottom straight edge. Just pull it with your hand, to give it a slight bend.
Using the hook part of the coathanger, you need to bend this around the other coat hanger to secure them together. – you’ll need wire grips for this.
Then – over the centre piece where you’ve joined the wings together, wrap around some duct tape to secure them.
Time to crochet now…..
Using the 3mm hook and your yarn, SC around the outside of each coat hanger (this will take some time, but it’s so you can secure the middle “wing motif” to the edge securely.
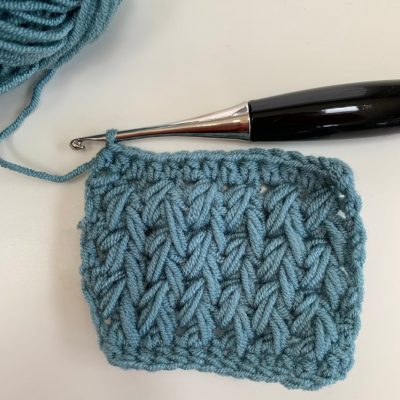
Crochet wing motif
Round 1: with the 4mm hook, Ch8 and SS to join to make a ring.
Round 2: [1SC in the ring Ch10] repeat 8 times. SS to the top of the first SC to join.
Round 3: SS in each of the next 5 Ch, SC in the next ch, ch6, DC in the same ch as the SC, [ch4, into the next loop 1DC ch3 1DC] repeat 7 times, 4 ch, SS into the 3rd ch of the initial ch6.
Round 4: SS into the next ch-sp, ch3 (Counts as 1st DC), 1DC ch2 2DC in the same sp. [ch2,SC ch2 in the next sp, 2DC ch2 2DC in next sp] repeat [ ] around ending on ch2. SS to join to top of the ch3.
>>>Check out all my free designs here
Round 5: SS over to the 1st ch-sp, ch3 (Counts as 1st DC), 2DC ch2 3DC in the same sp. [ch2,SC ch2 in the next sp, 3DC ch2 3DC in next sp] repeat [ ] around ending on ch2. SS to join to top of the ch3.
Round 6: SS over to the 1st ch-sp, ch4 1TR Counts as first TR), ch2, TR in same sp, ch11. 2TR ch2 2TR ch11 in each ch2 sp around. Fasten off.
Stretch the crochet motif, so it fits the coat hanger, and sew the middle of the ch11 to the outer rim of the coat hanger.
>>>Get the free fairy headband pattern here

If you want to save this for later, please Pin it below
Join me at Off The Hook For You to share your crochet!
Thanks for visiting – I’d love to stay connected with you so please sign up for my email list where a free PDF pattern is waiting for you (just so you can see what my PDF patterns are like).
Finished one of my crochet pattern makes? I’d love to see it and so would the world, so get sharing! You can find me in the following ways:
- Join my new Facebook group
- Share a picture on Instagram and tag me #offthehookforyou
- Share your projects on Ravelry
- Share your projects on LoveCrafts
Disclaimer
This post may contain affiliate links which I earn a small commission from if you choose to click and purchase anything from. You pay the same price, I get a very small amount for sending you their way. It helps me to make my crochet patterns free on the blog.