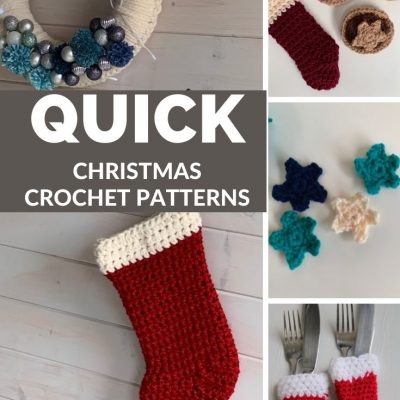
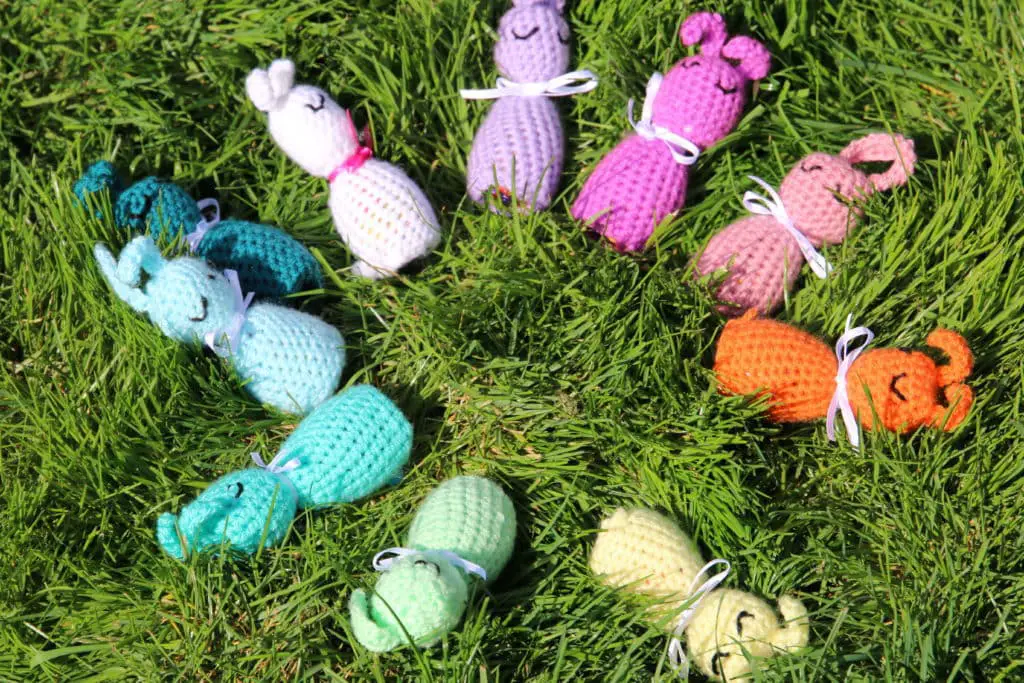
Here you can find the free pattern for some little crochet creme egg covers, that look like a rabbit, and fit over a chocolate egg.
They are so quick to make, and perfect for Easter and can be reused (even better), with new creme eggs next year!
These little Easter bunny creme eggs covers are perfect for any little person to hunt for on Easter Sunday.
If you’d like to save this for later, please pin it here

What do you need to know to make a crochet chocolate egg cover?
Not much! These are a great easy beginners pattern that uses Amigurumi to make a bunny shape, with the head and the body, then add the ears and you get quick crochet rabbit.
You will need to know:
- Make a Magic Ring
- Single Crochet (SC)
- 2SC together
- HDC
- Chain

If you fancy making something else – what about a tiny quick crochet flower -a perfect spring make
How long does it take to make a crochet creme egg cover?
These are really quick to make, in total they should take less than an hour to make, probably about 30 minutes.
What yarn for a crochet creme egg cover?
These crochet creme egg covers are made with normal Double Knitting Yarn and a 4mm hook.

Crochet Creme Egg Covers Pattern Options
There are a few ways you can get the crochet pattern for these crochet creme egg covers enjoy this crochet pattern and help support Off the Hook for You.
- You can find and use the creme egg pattern here on the blog that is supplemented with ads.
- You can purchase, print and keep the 2 page advert-free pattern PDF in any of my shops as an instant download below.
Get the advert free PDF on Etsy
Add to you Ravelry Queue


Some other Easter Patterns
Here are some other Easter patterns or Toy patterns you might like:
>>>Crochet Easter Bunny Basket
>>>Dinky little crochet rabbit
Crochet Pattern Creme Egg Covers
You will need:
DK yarn – I used Stylecraft special DK in lots of colours
Black yarn for eyes (small oddment)
oddment of yarn or ribbon for bow.
1cm pom pom
4mm crochet hook
needle
stitch marker
Scissors
A small amount of soft toy stuffing (for the head)
20cm of a thin ribbon
Abbreviations – US Terminology
CH- Chain
HDC – Half Double Crochet
MR – Magic Rong
sc – Single Crochet
2sctog – 2 Single Crochet together
Rabbit Ears – make 2
R1 – CH8, 1sc in the 2nd CH from the hook. HDC in the next 4 stitches, 1sc in the last 2 chain, finish off leaving longer ends for sewing together.

Rabbit Body – worked in the round
Start with a magic ring
Round 1: 6sc in the MR
R2: 2sc in each sc around. [12sc]

R3: (2sc in next sc, 1sc) 6 times. [18sc]
R4-8: 1sc in each [18sc]
Now is the time to sew the ears on the head, joining them onto the circle between rounds 2 and 3.


At this point – it’s easier to sew the eyes on too.
Eyes: Sew a v shape, starting in round 5, go diagonally down to round 6, then across one stitch, before sewing diagonally up to round 5 again. Leave a gap of 1 stitch before starting eye number 2 – repeating the same procedure.


Now it’s time to shape the neck.
R9: (2sctog in the next sc, 1sc) 6 times [12sc]
R10: (2sctog in the next sc), 6 times [6sc]
>>>Check put my Easter basket Design here – free crochet pattern
R11: 1sc in each sc [6sc]
R12: 2sc in each sc [12sc]
R13: (2sc in the next sc, 1 sc) 6 times [18sc]

R14-24: – 1sc in each sc [18sc]
Finish off
How to make up
Add a small amount of toy stuffing to the head through the small gap.
Stuff the bottom of the bunny with a Caburys creme egg.
Add a bow to the bunnies neck, and fix a pom pom using glue to the bottom.